Preemie Snowbear Snowsuit
The ad free premium pattern can be purchased here in sizes Preemie to 2 Years
200g (190 meters) Weight 5 chunky chenille yarn (Aldi baby yarn 100g=95 meters)
7 and 8mm hooks
4 x 20mm buttons
Yarn Substitutions
King Cole Yummy Yarn 100g (120 meters)
Himalaya Dolphin Baby yarn 100g (120 meters)
Bernat Velvet Yarn 300g (288 meters)
Written in English US terms with abbreviations for UK
sc=single crochet (double crochet in UK)
hdc=half double crochet (half treble crochet UK)
fphdc=front post half double crochet (front post half treble UK)
bphdc=back post half double crochet (back post half treble UK)
ch=chain
inc=increase
slst=slip stitch
Gauge Square
With 8mm hook
Row 1: Ch7, sc in 2nd ch from hook and each chain across. (6) Turn
Row 2-4: ch1, sc in base of ch1, sc 5. (6) Turn
Square should measure approx 2 x 2 inches. (The length is not too important as measurements will be given to follow)
If you're out with a 8mm hook try a smaller or larger hook.
*Please note as this onesie is outdoor wear so the finished chest measurement will be around 2 inches wider to allow space for undergarments*
* Working in first stitch the ch1 does not count as a stitch so always ch1 and sc in the first stitch*
Size to fit: 13 Inch chest 4-6 lb Preemie Baby
Ch31 using 8mm hook
Row 1: 1 sc in 2nd ch from hook, 1 sc in each of next 2ch, 3 sc in next ch, 1 sc in each of next 6ch, 3 sc in next ch, 1 sc in each of next 8ch, 3 sc in next ch, 1 sc in each of next 6ch, 3 sc in next ch, 1 sc in each of next 3ch. (38) Turn
Row 2: ch1, 1 sc in base of ch1, 1 sc in each stitch. (38) Turn
Row 3: ch1, 1 sc in base of ch1, 1 sc in each of next 3, 3 sc in next, 1 sc in each of next 8, 3 sc in next, 1 sc in each of next 10, 3 sc in next, 1 sc in each of next 8, 3 sc in next, 1 sc in each of next 4. (46) Turn
Row 4: ch1, 1 sc in base of ch1, 1 sc in each stitch. (46) Turn
Row 5: ch1, 1 sc in base of ch1, 1 sc in each of next 4, 3 sc in next, 1 sc in each of next 10, 3 sc in next, 1 sc in each of next 12, 3 sc in next, 1 sc in each of next 10, 3 sc in next, 1 sc in each of next 5. (54) Turn
Row 6: ch1, 1 sc in base of ch1, 1 sc in each stitch. (54) Turn
Row 7: ch1, 1 sc in base of ch1, 1 sc in each of next 5, 3 sc in next, 1 sc in each of next 12, 3 sc in next, 1 sc in each of next 14, 3 sc in next, 1 sc in each of next 12, 3 sc in next, 1 sc in each of next 6. (62) Turn
Row 8: (Divide for armholes) ch1, 1 sc in base of ch1, 1 sc in each of the next 6, 2 sc in the next, skip next 14, 2 sc in the next, 1 sc in each of the next 16, 2 sc in the next, skip next 14, 2 sc in the next, 1 sc in each of the next 7. (38) Turn
Row 9: ch1, sc in base of ch1, sc to end. (38) Turn
Repeat Row 9 until work measures approximately 11 Inches from the shoulder, slst to first and continue to legs.
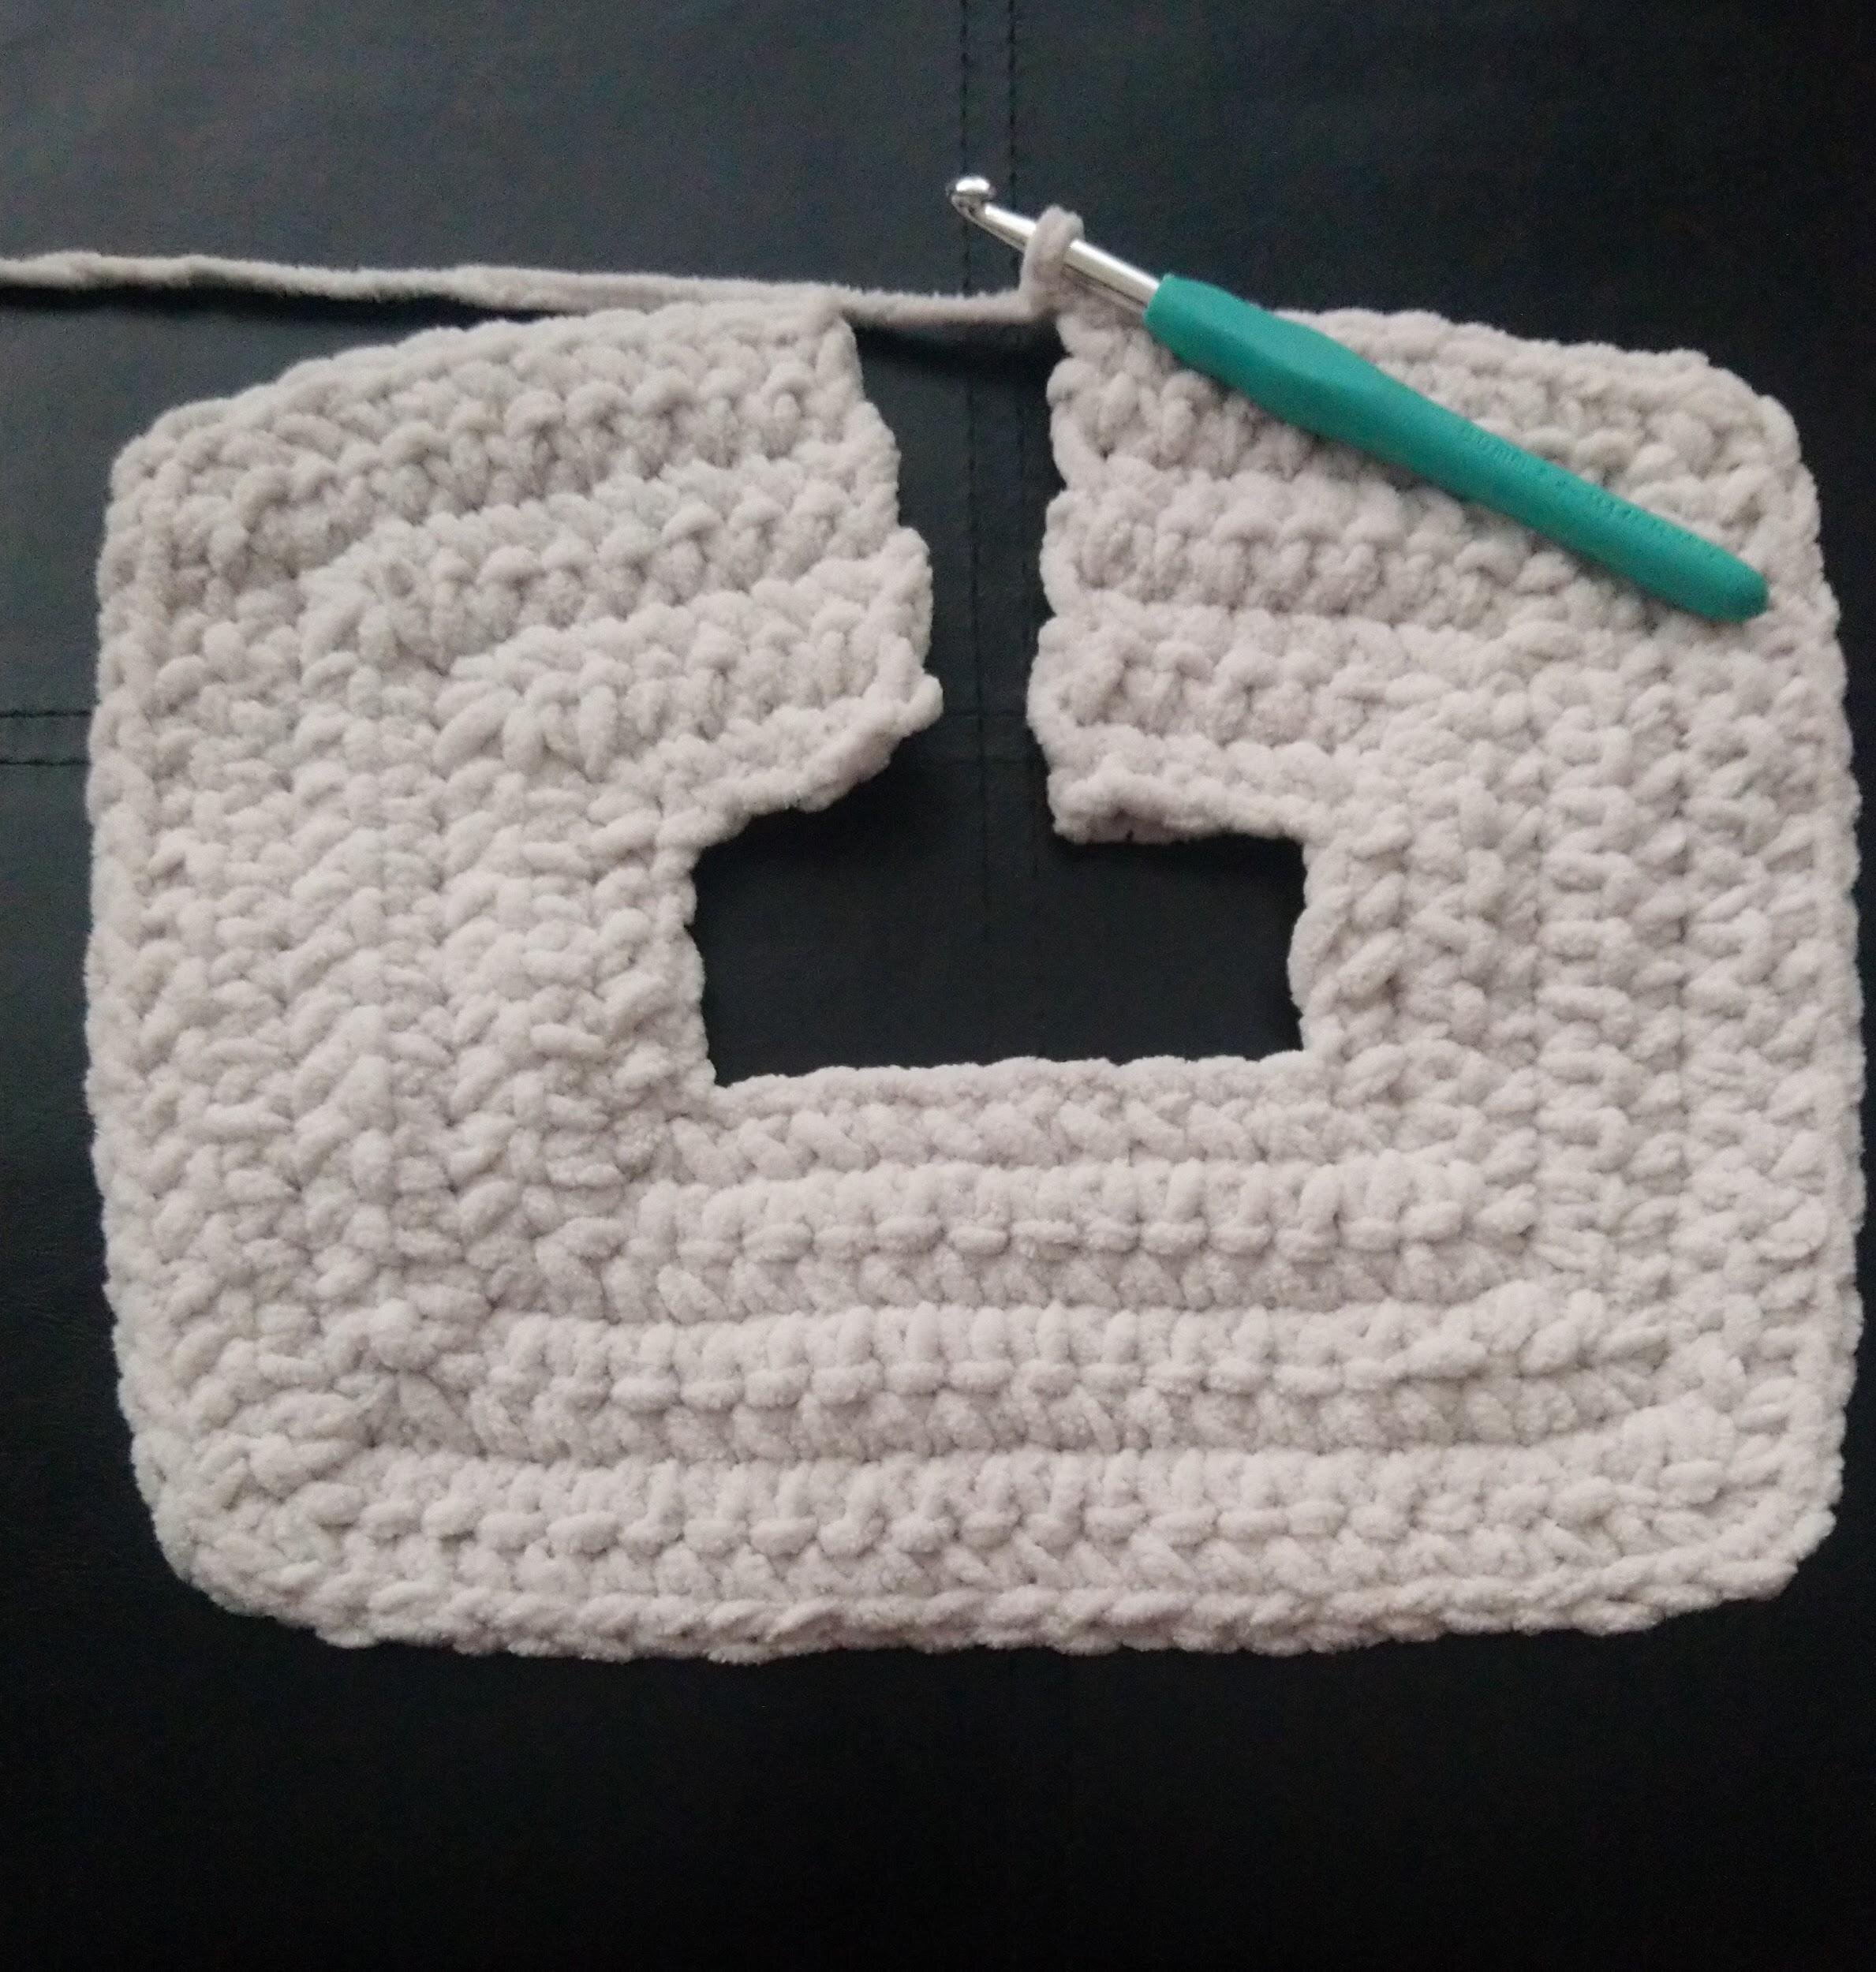
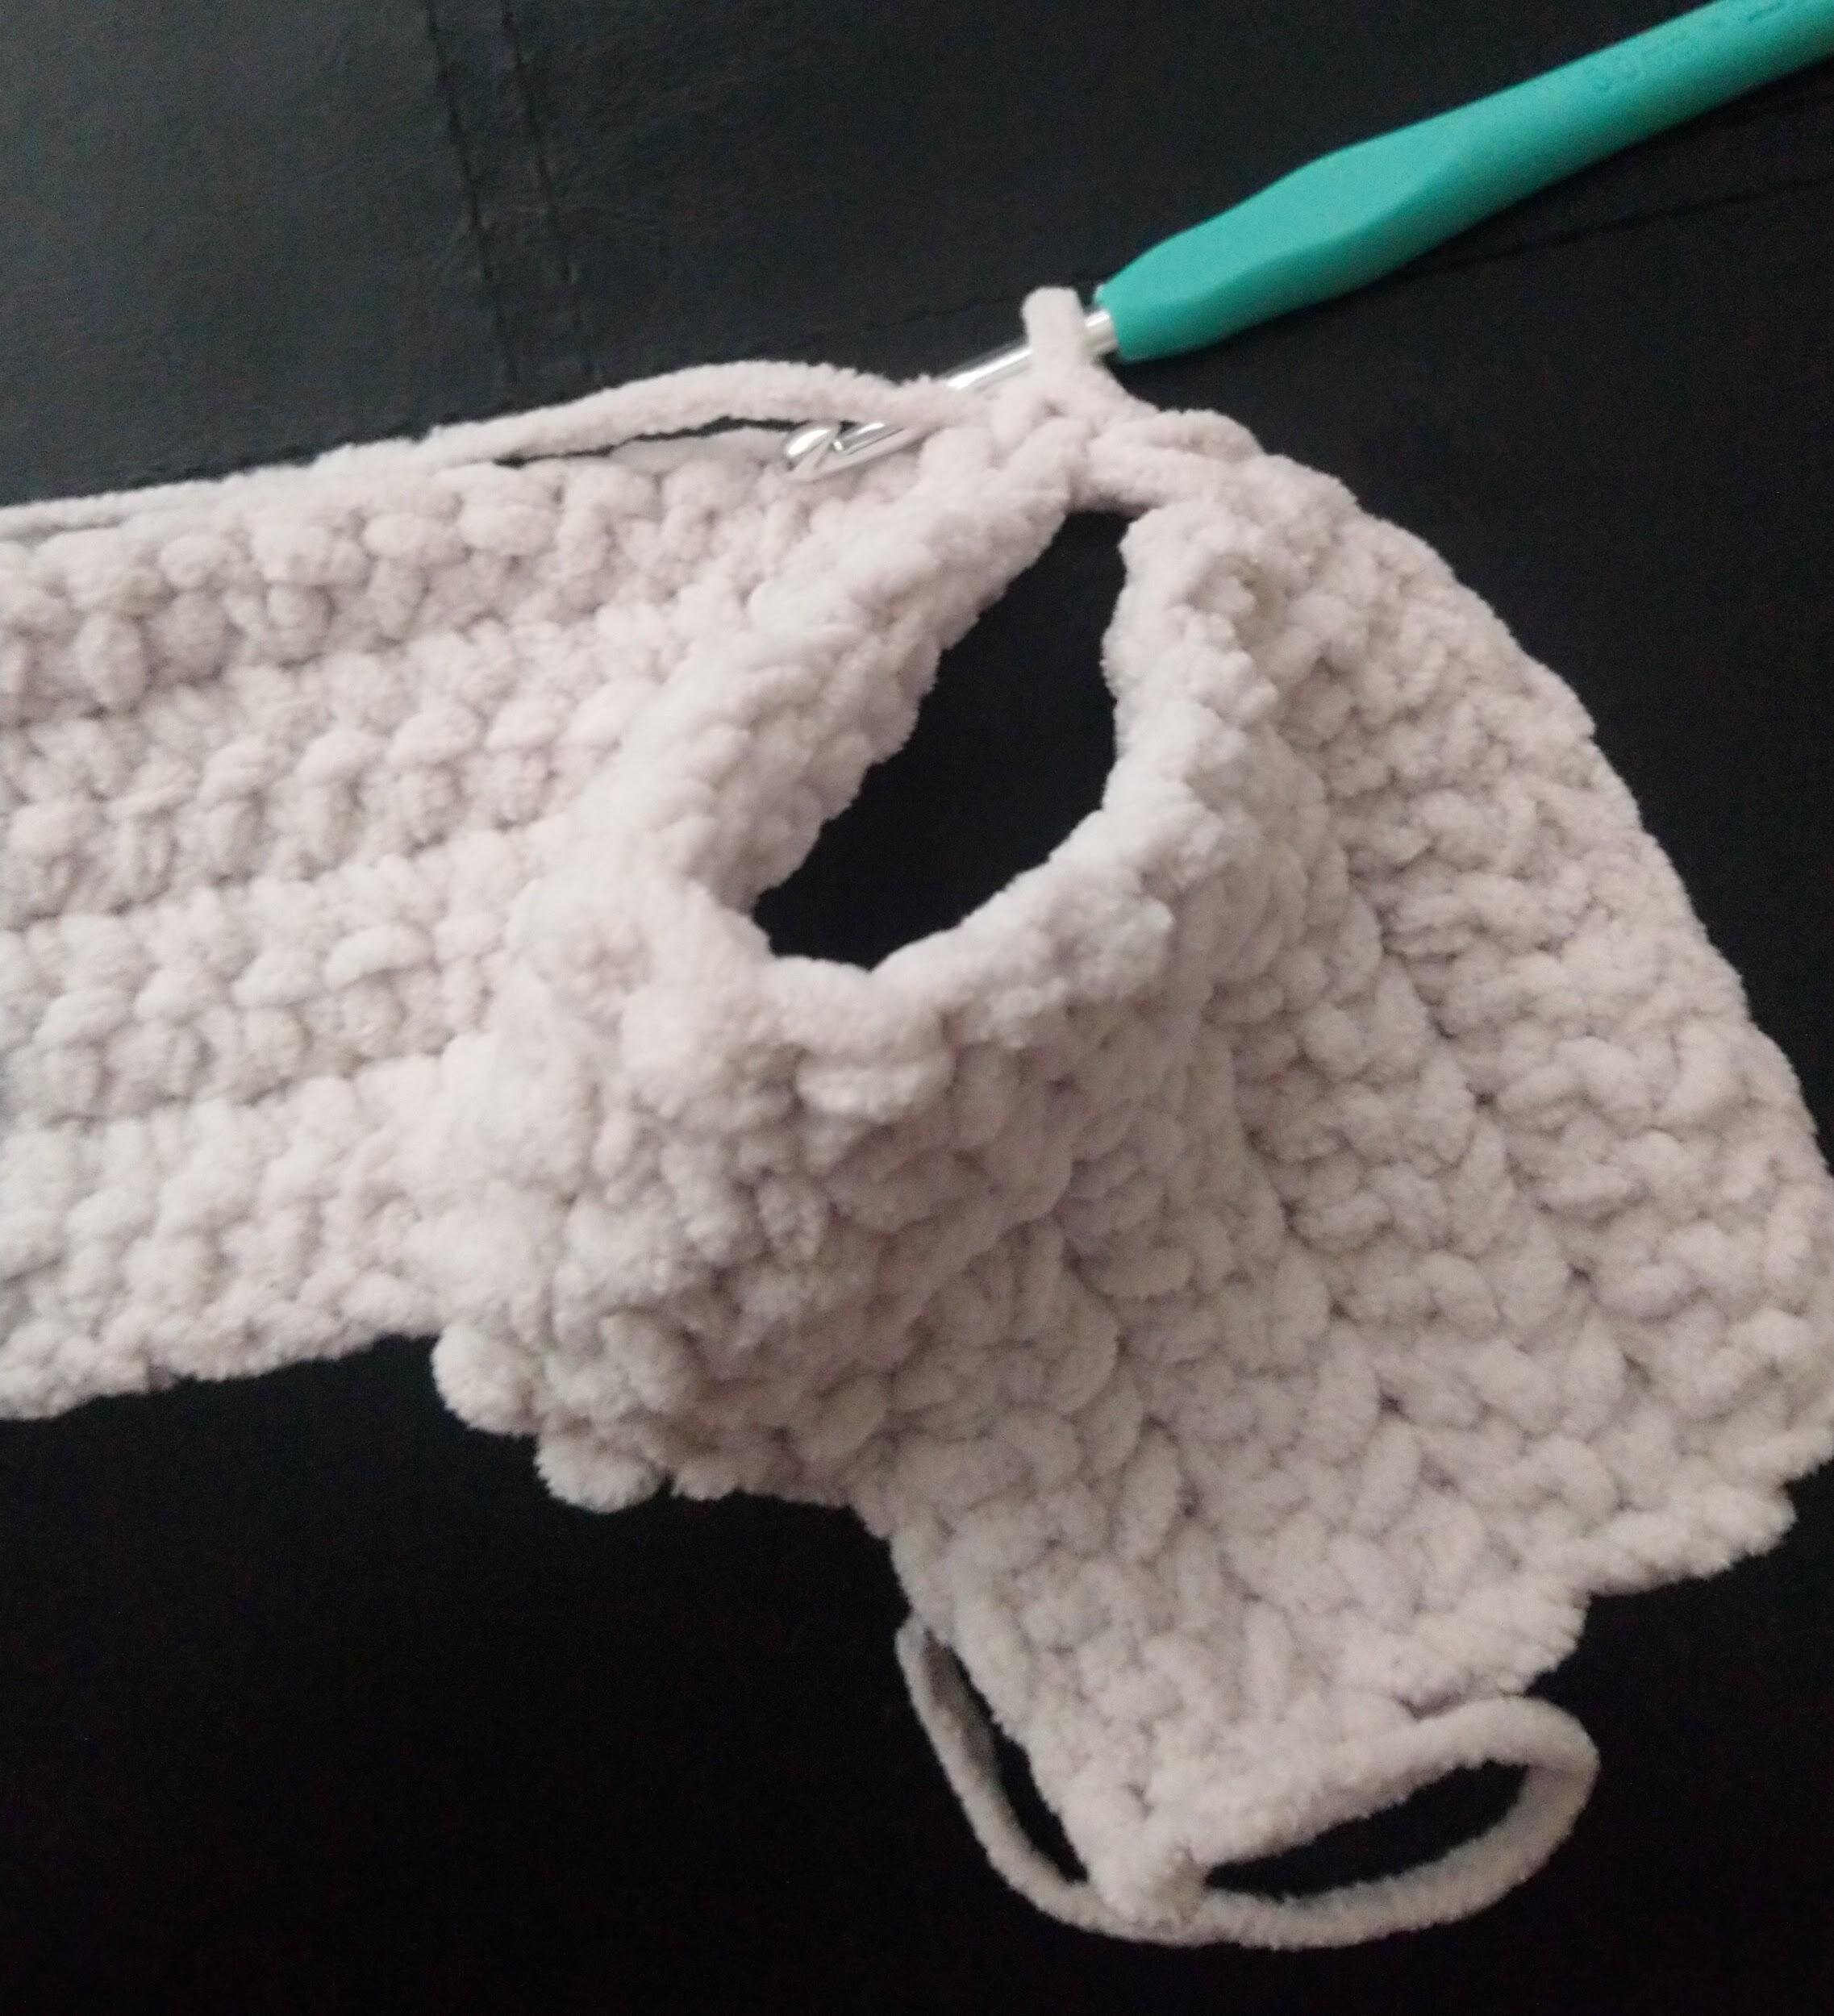
Skip 14 stitches for the sleeve
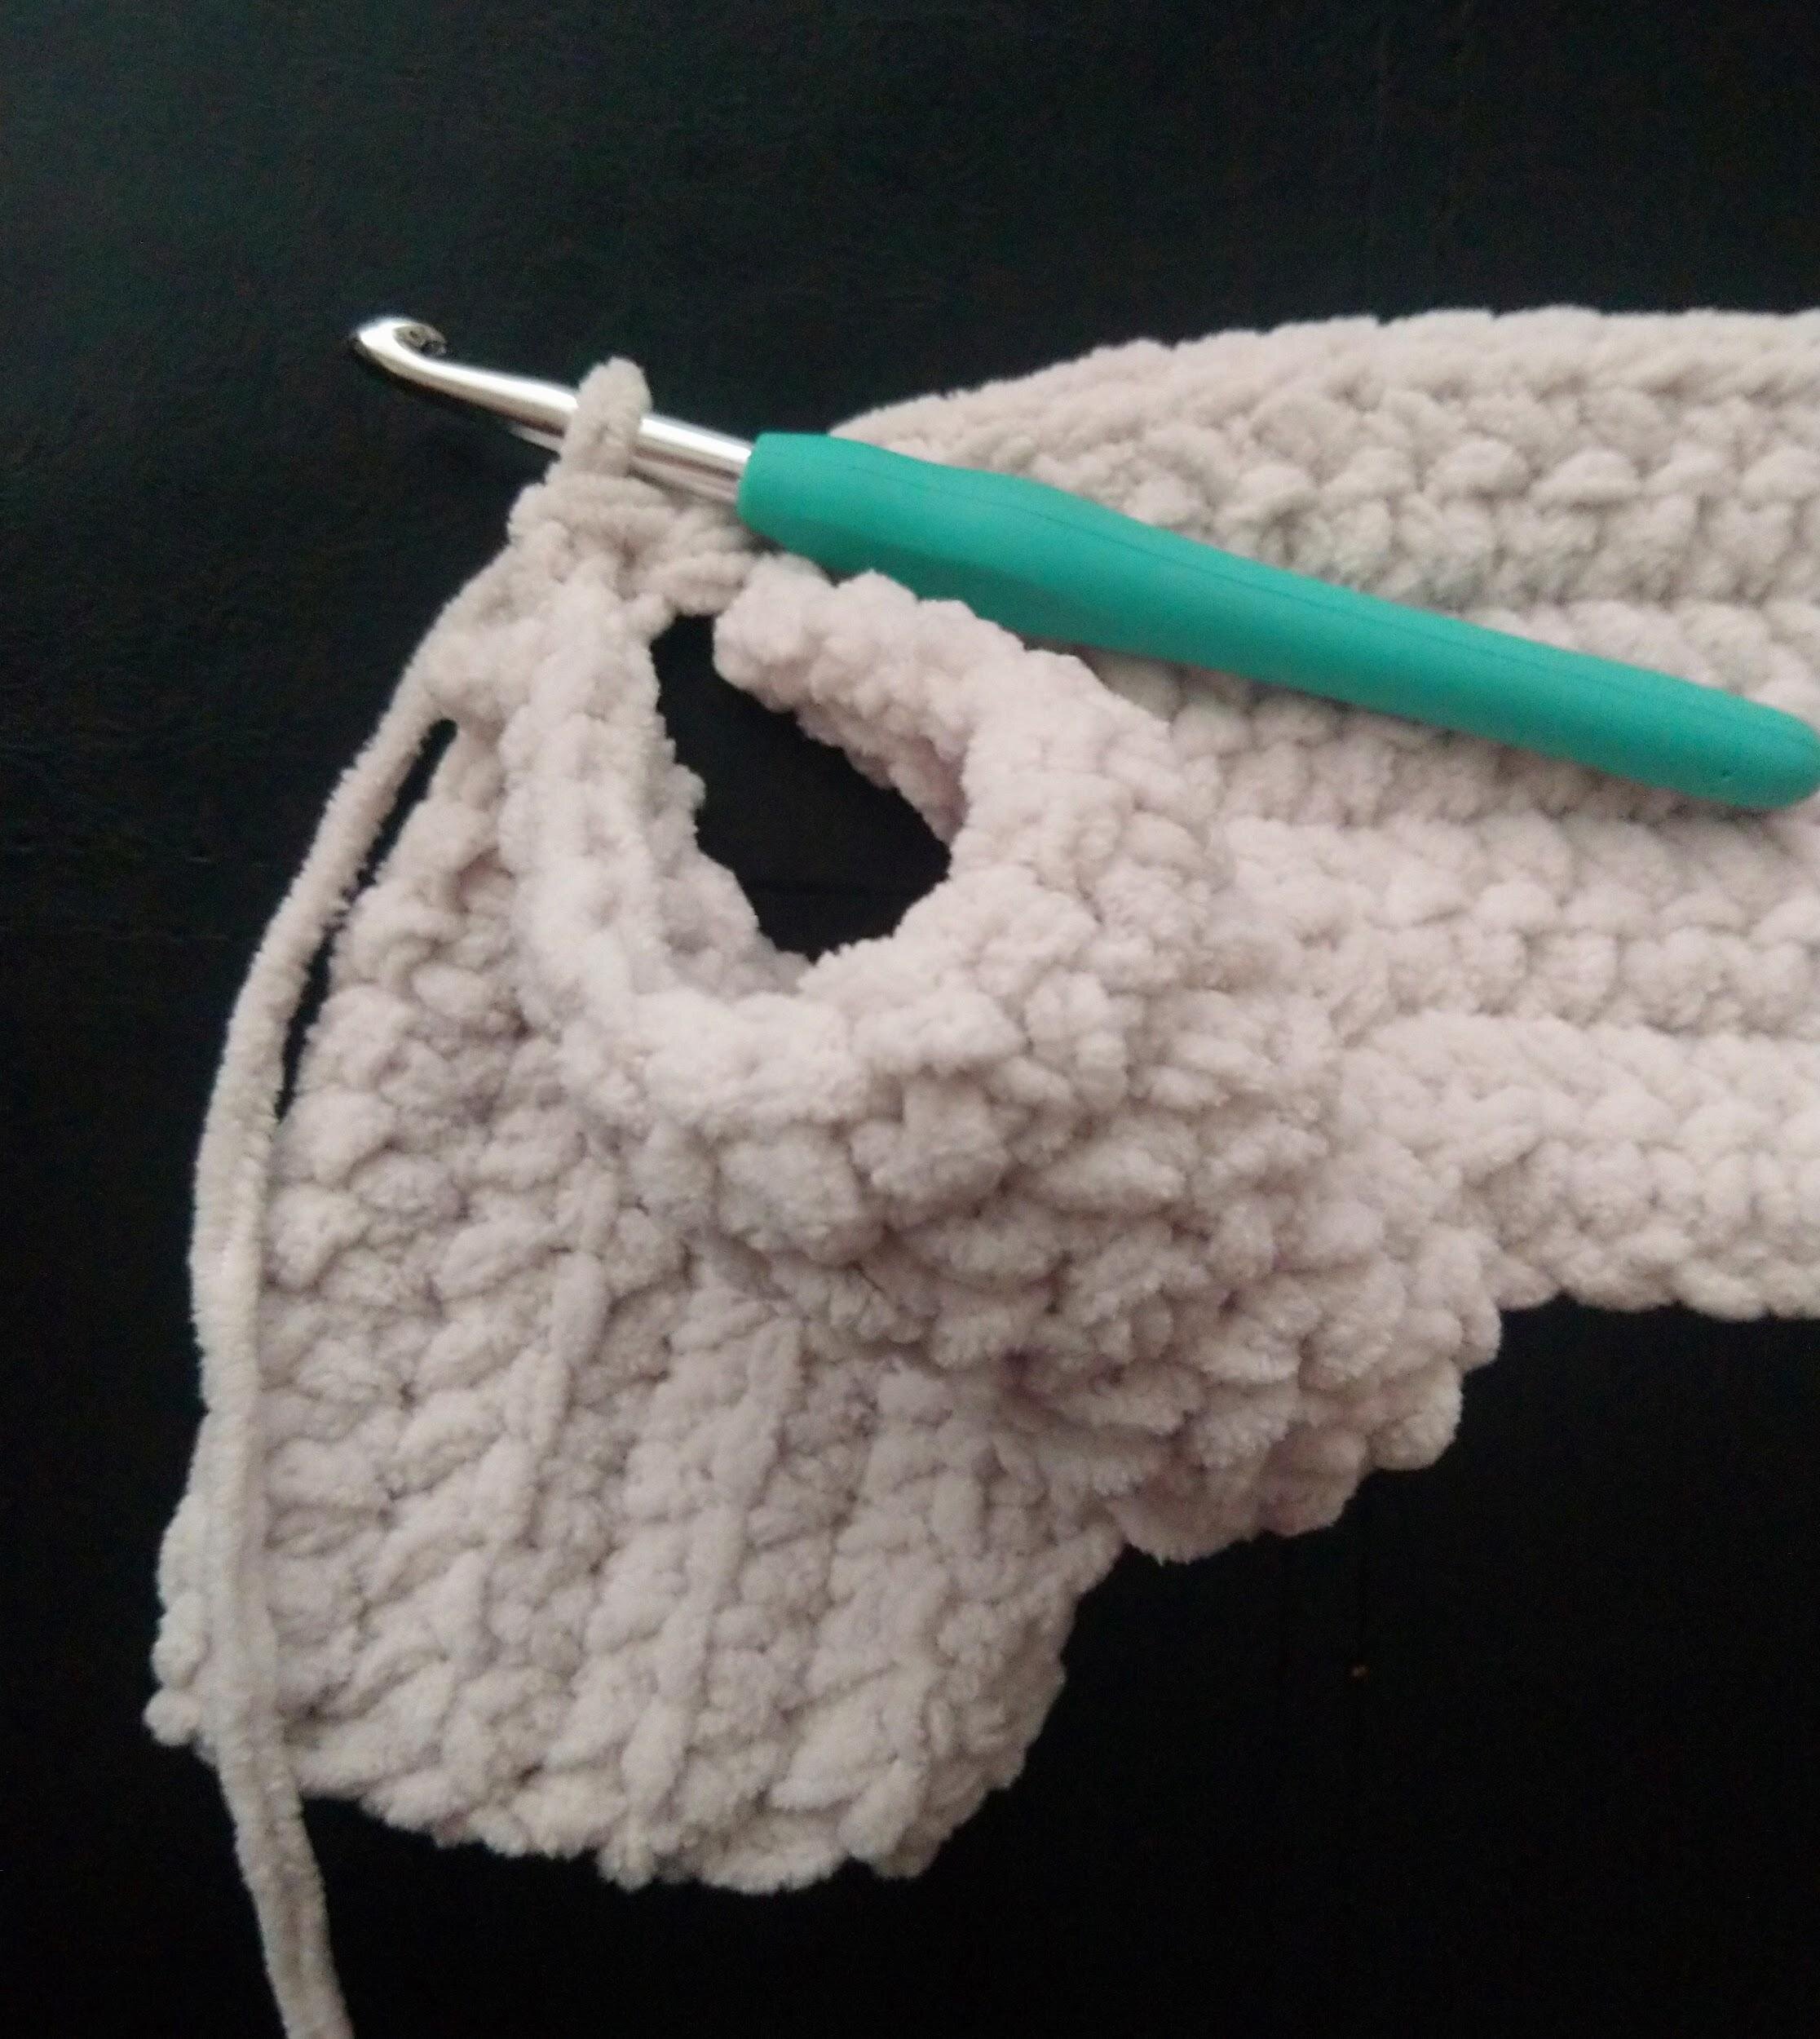
Skip 14 stitches for the second sleeve
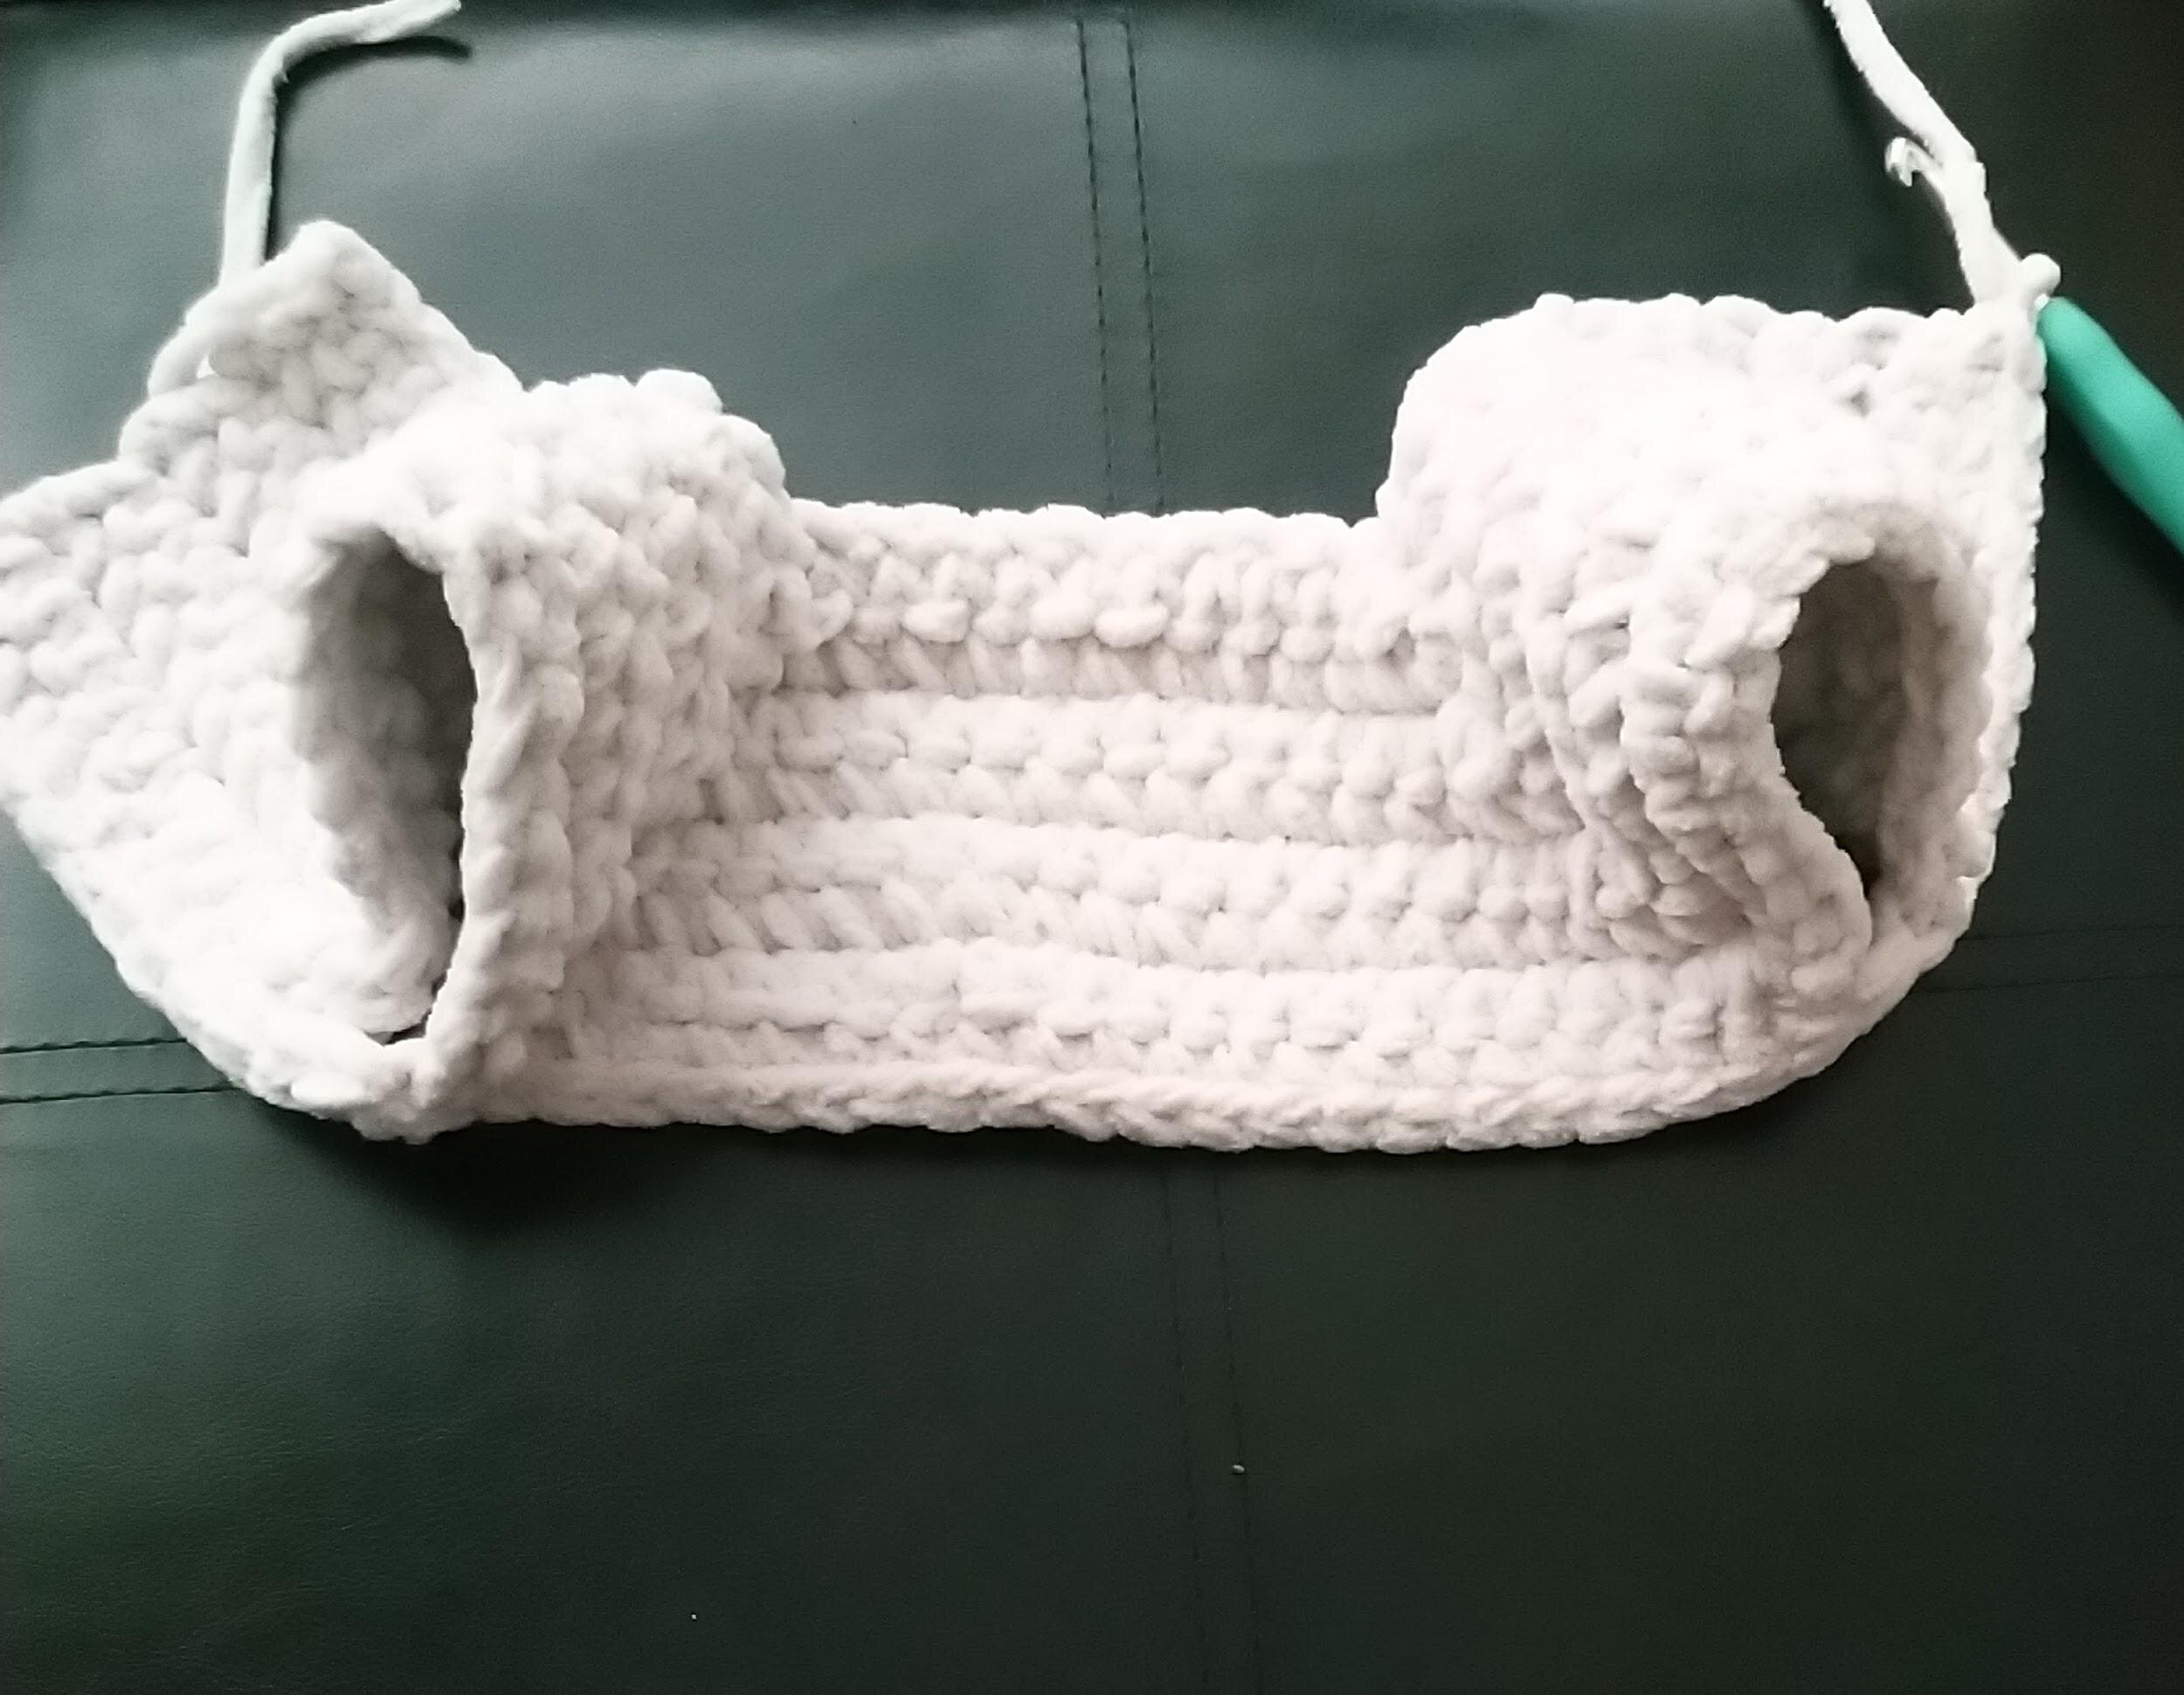
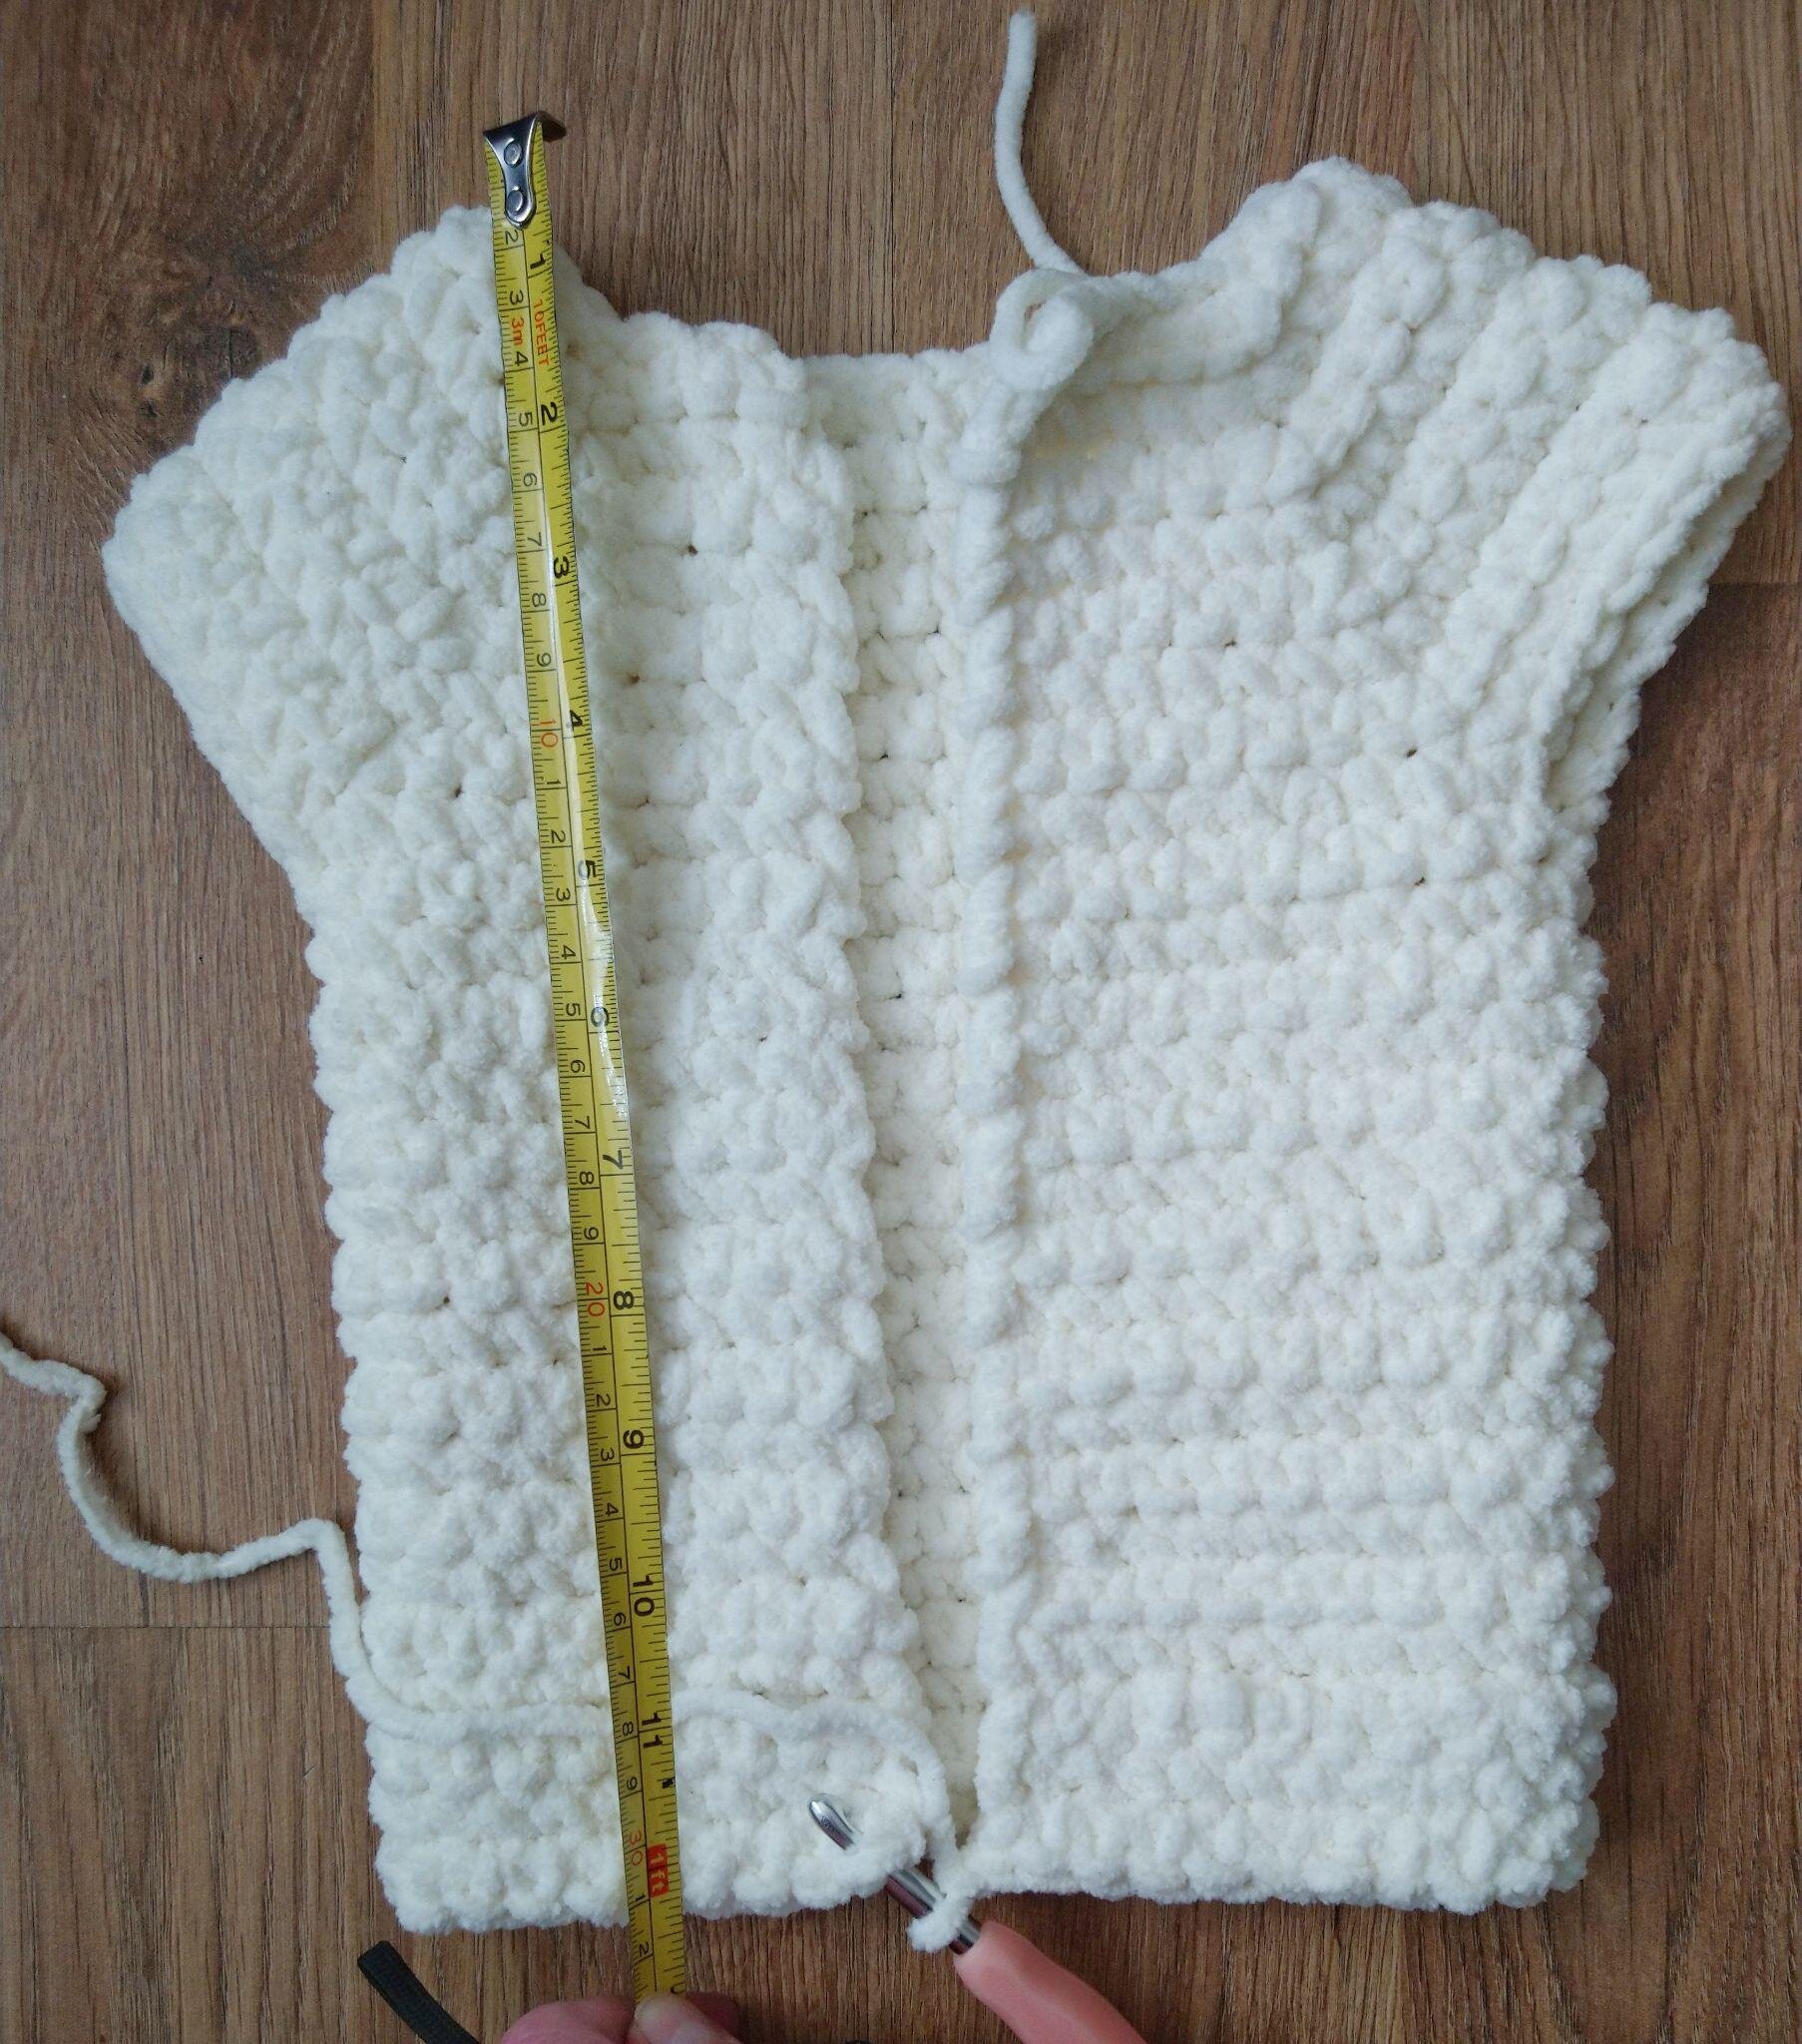
Measure the length
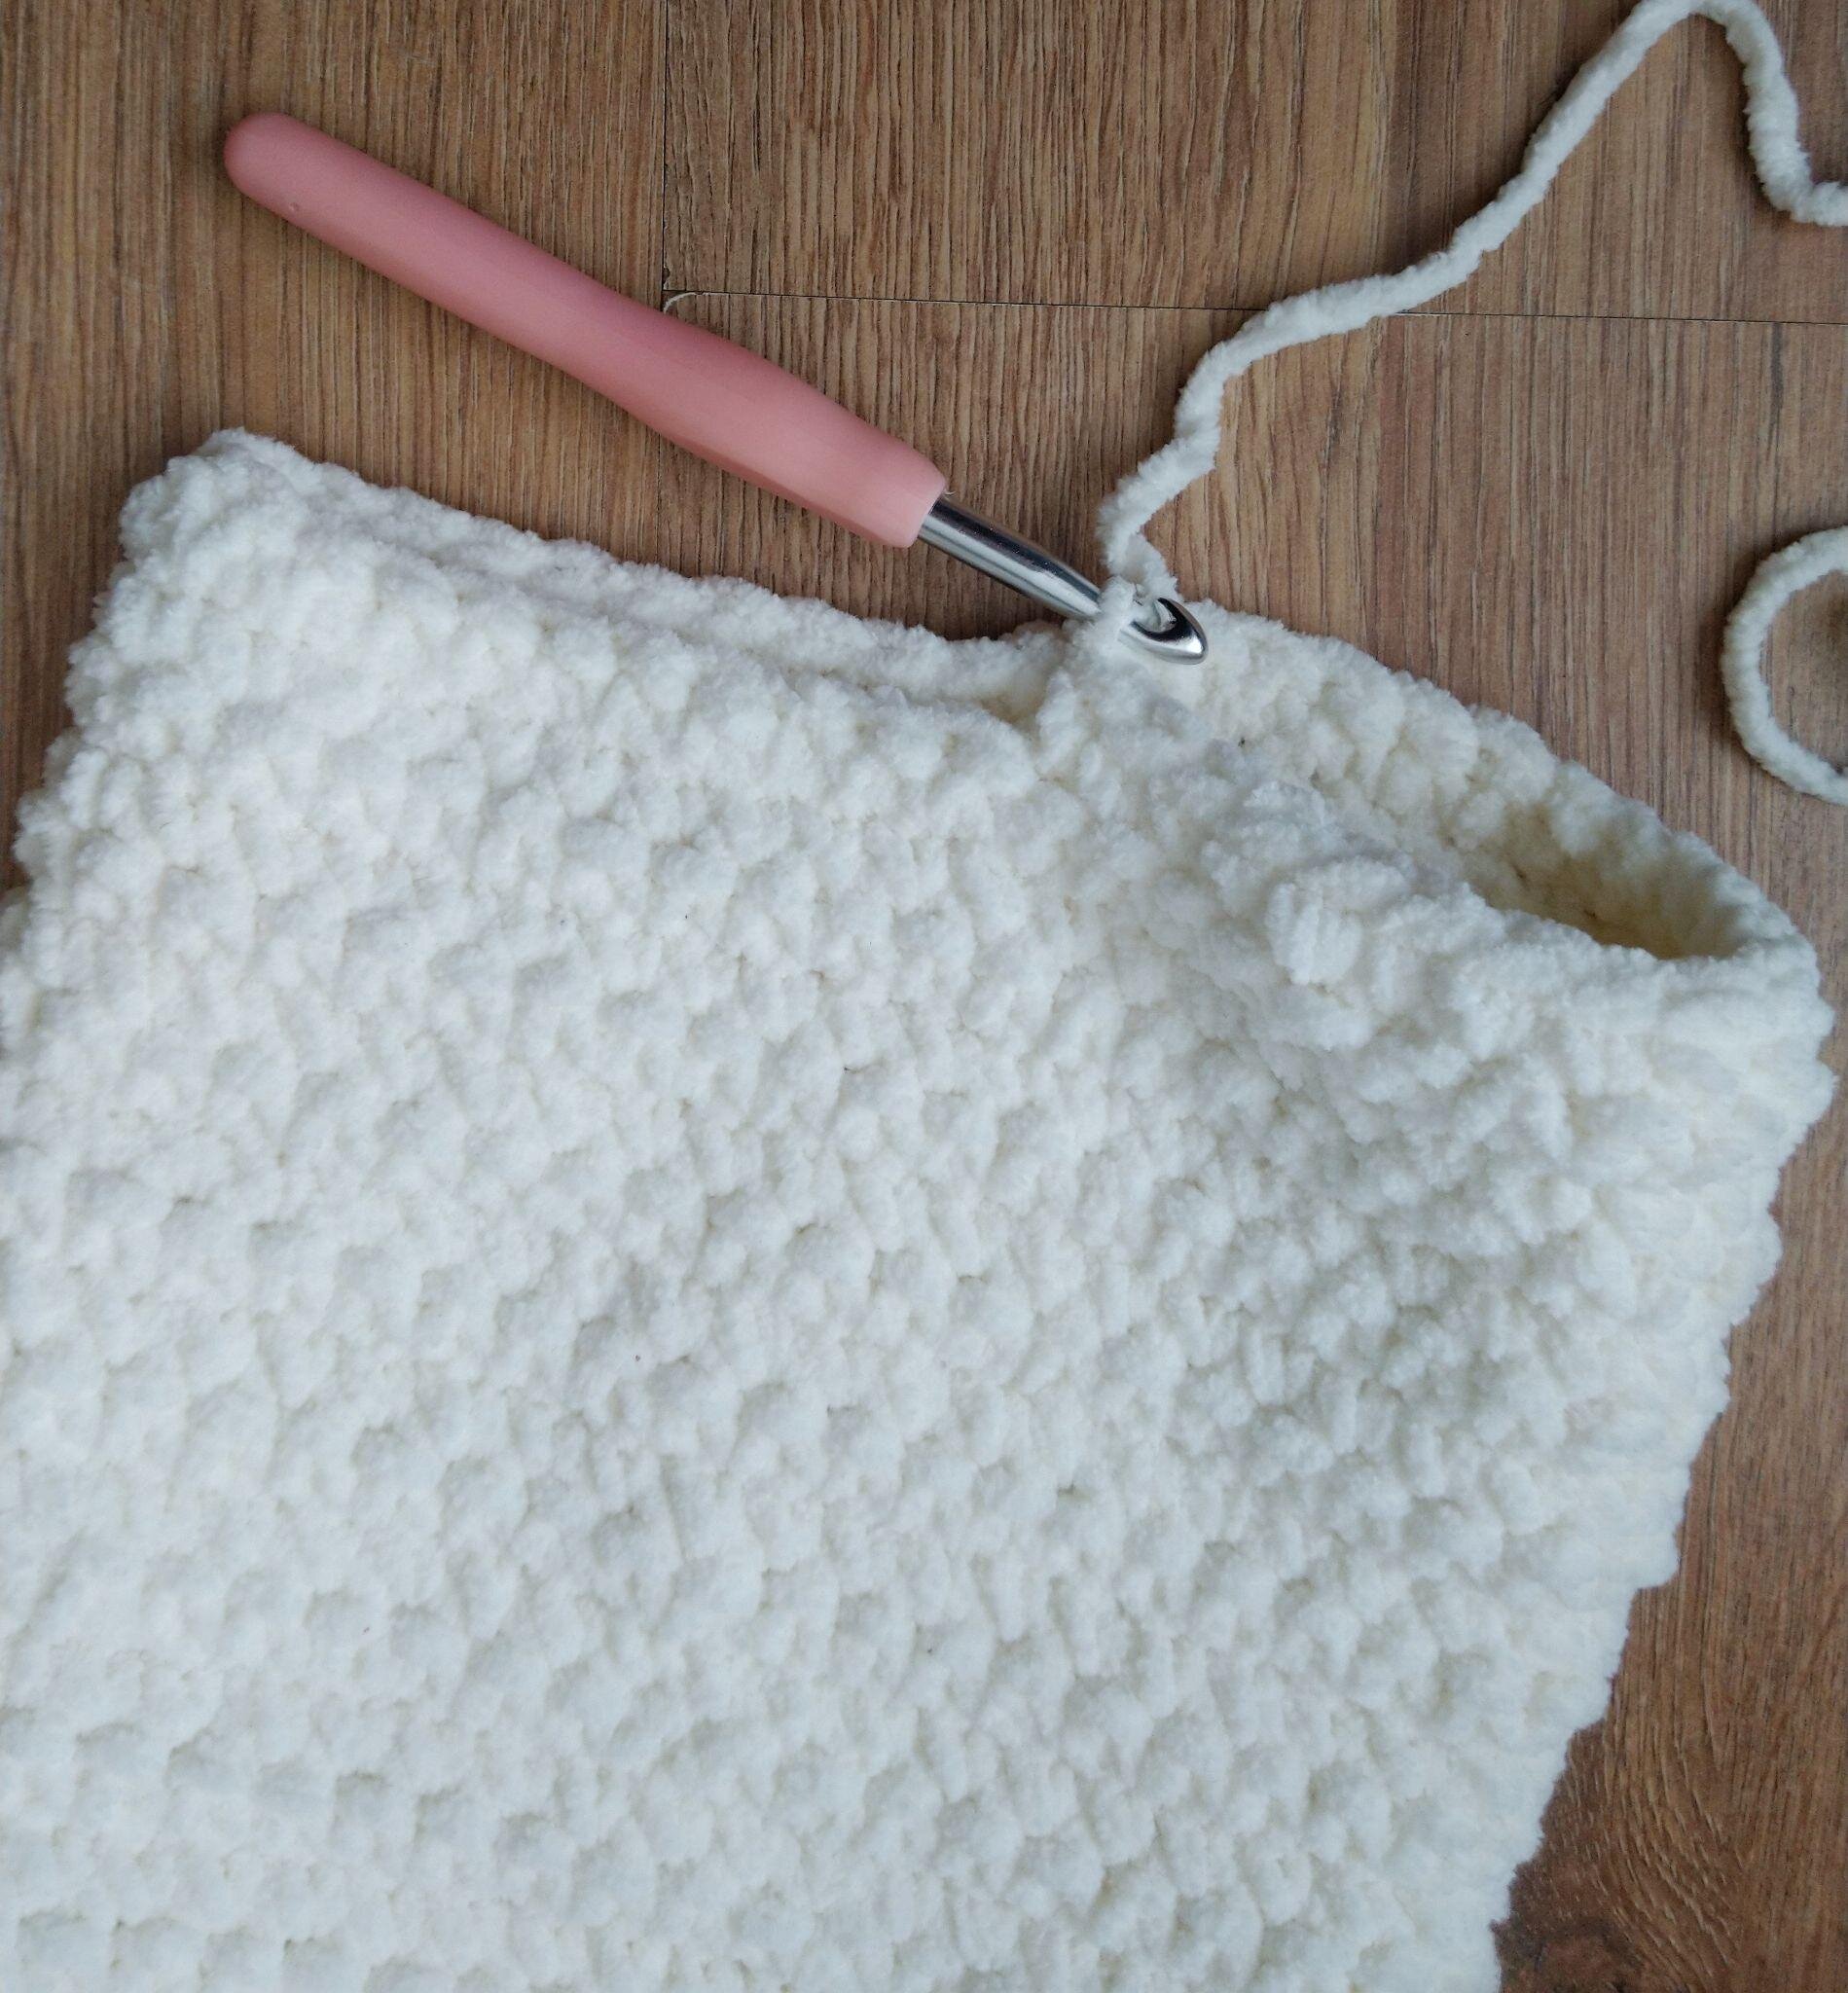
Starting first leg
Legs
With 8mm hook
Row 1: Ch1, sc in same and next 18, slst to first, leaving the rest unworked. (19) Turn
Row 2: ch1, sc in same and next 18, slst to first. (19) Turn
Repeat row 2 until the leg measures 3.5 inches.
Leg Cuff
Change to 7mm hook
Row 1: ch1, hdc in same, dec, hdc to end, slst to first. (18)
Row 2-3: Ch1, *fphdc, bphdc* repeat to end, slst to first. (18)
Fasten off.
Second leg
Using 8mm hook
With the back facing, join yarn, ch1, sc in the same and next 18, slst to first. (19) Turn
Then repeat from row 2 of the first leg.
Sew the small gap between the legs.
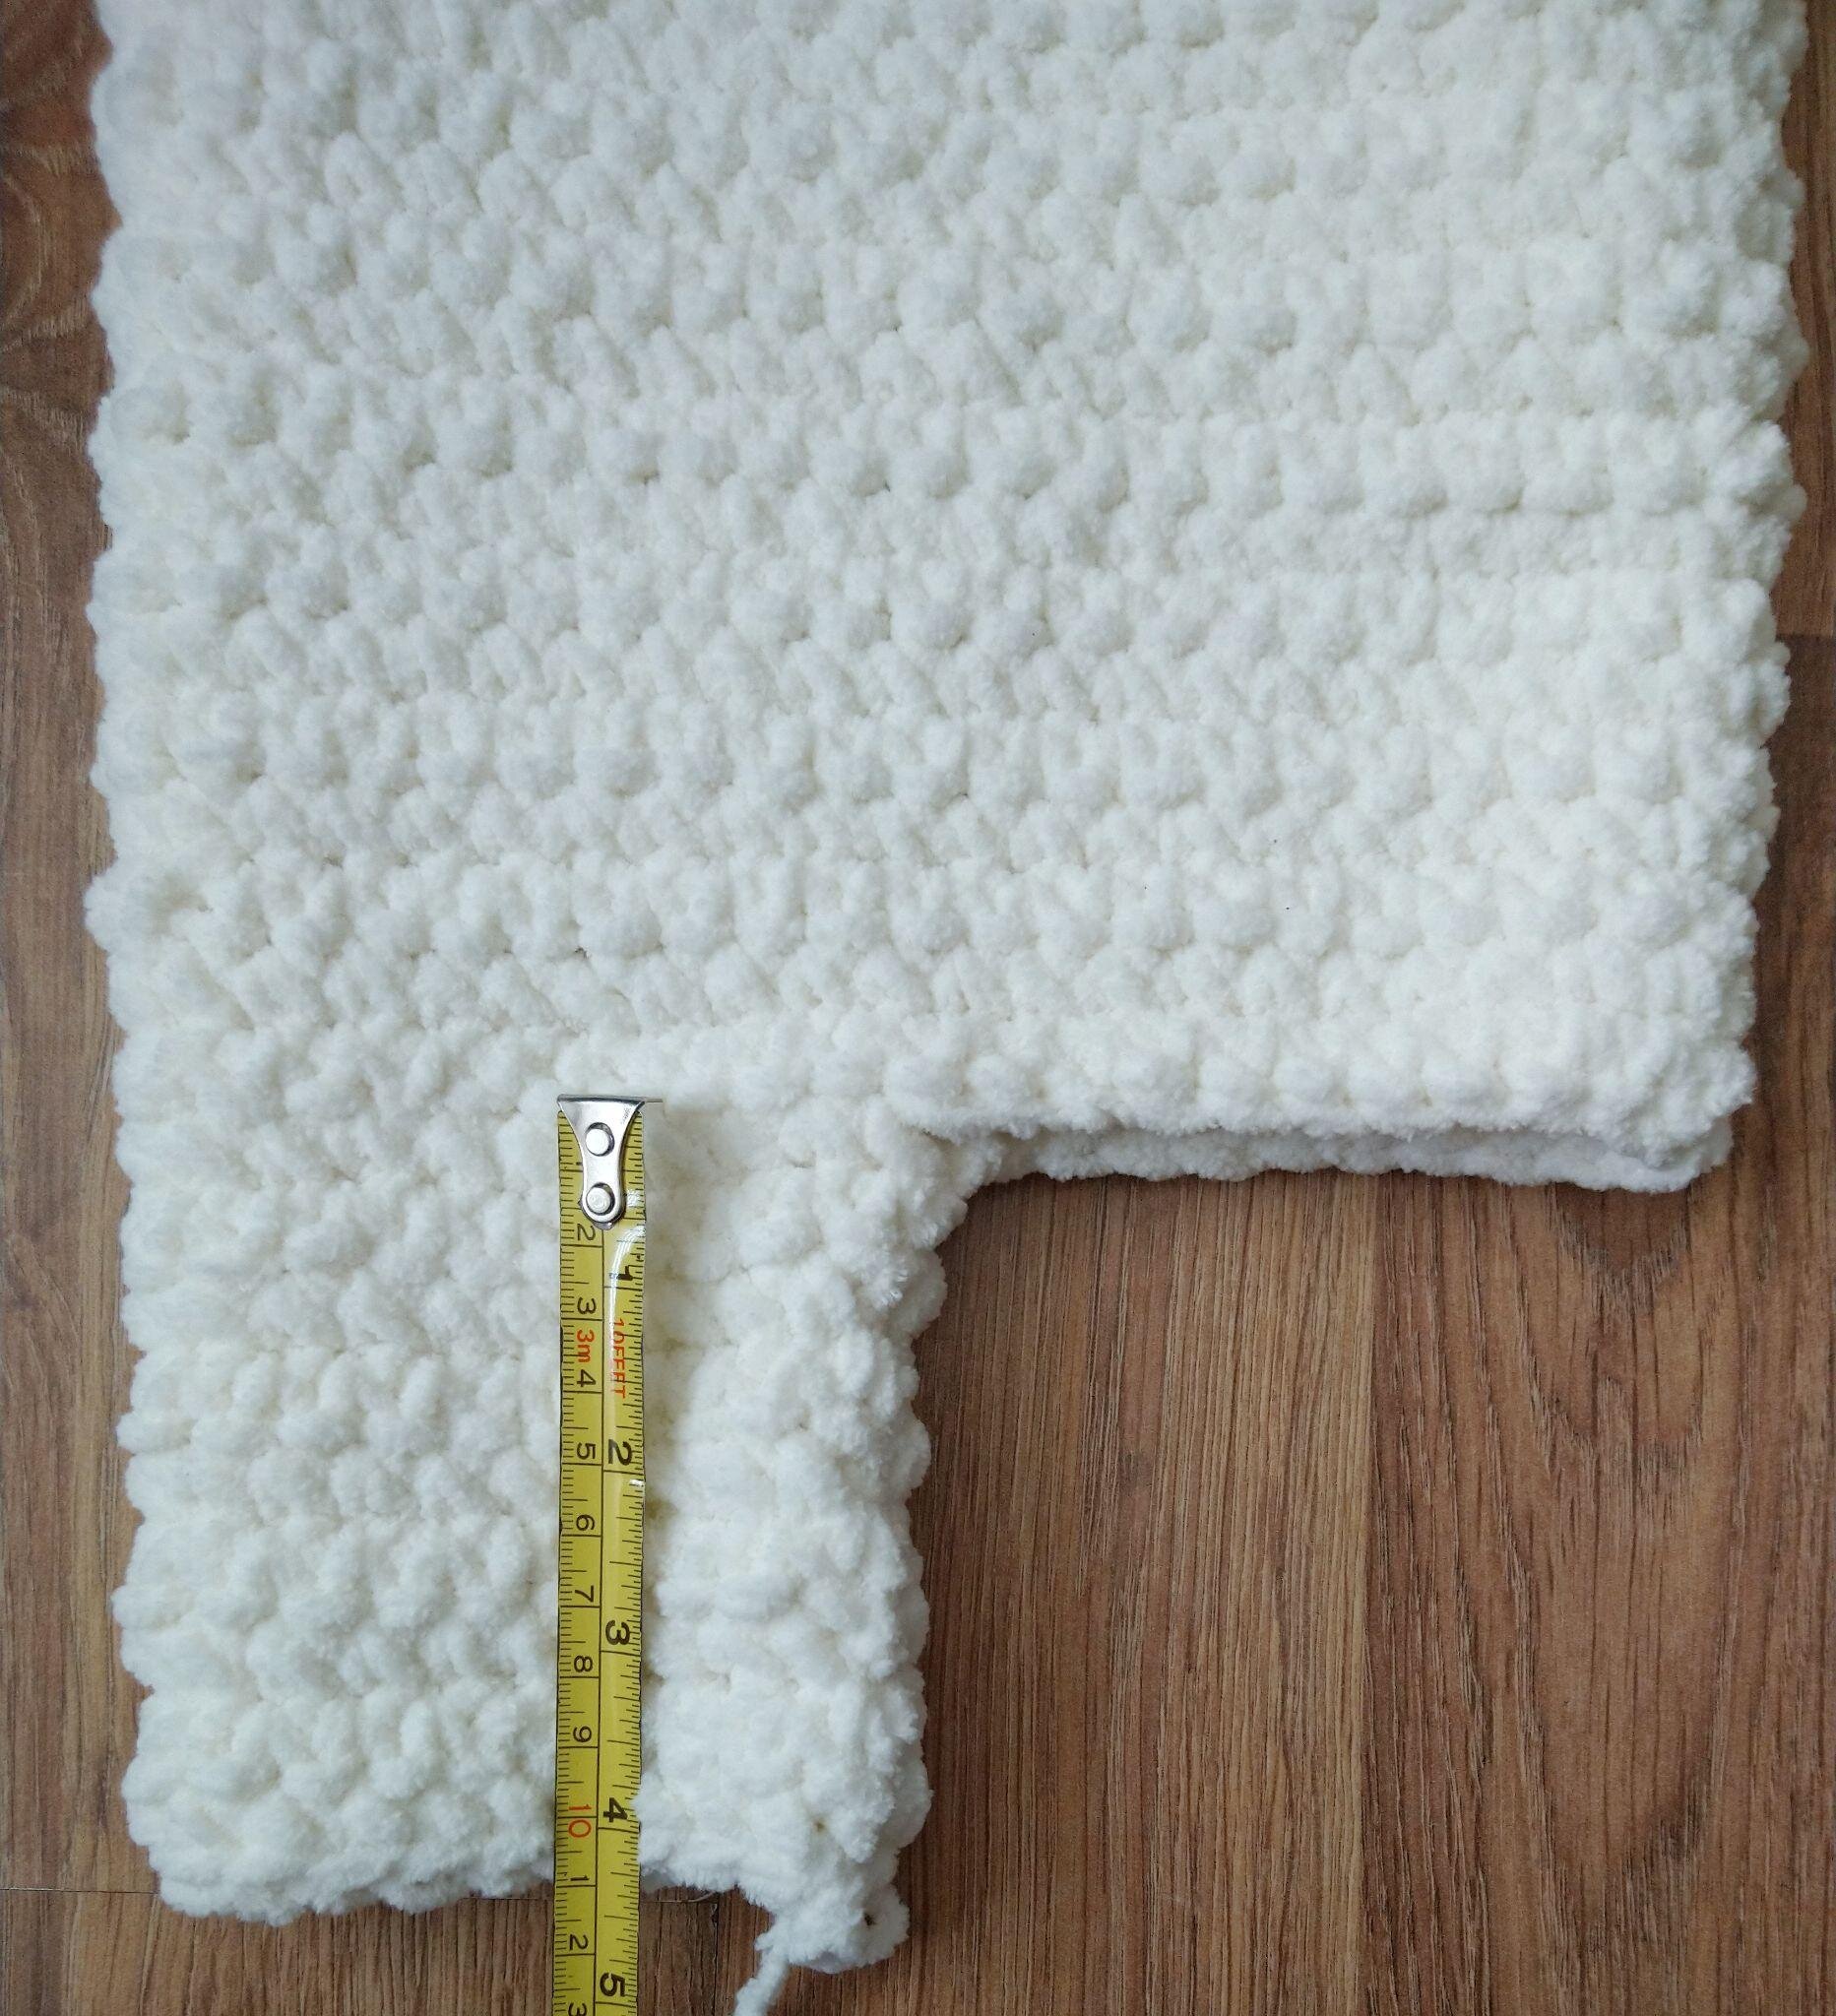
Measure the leg
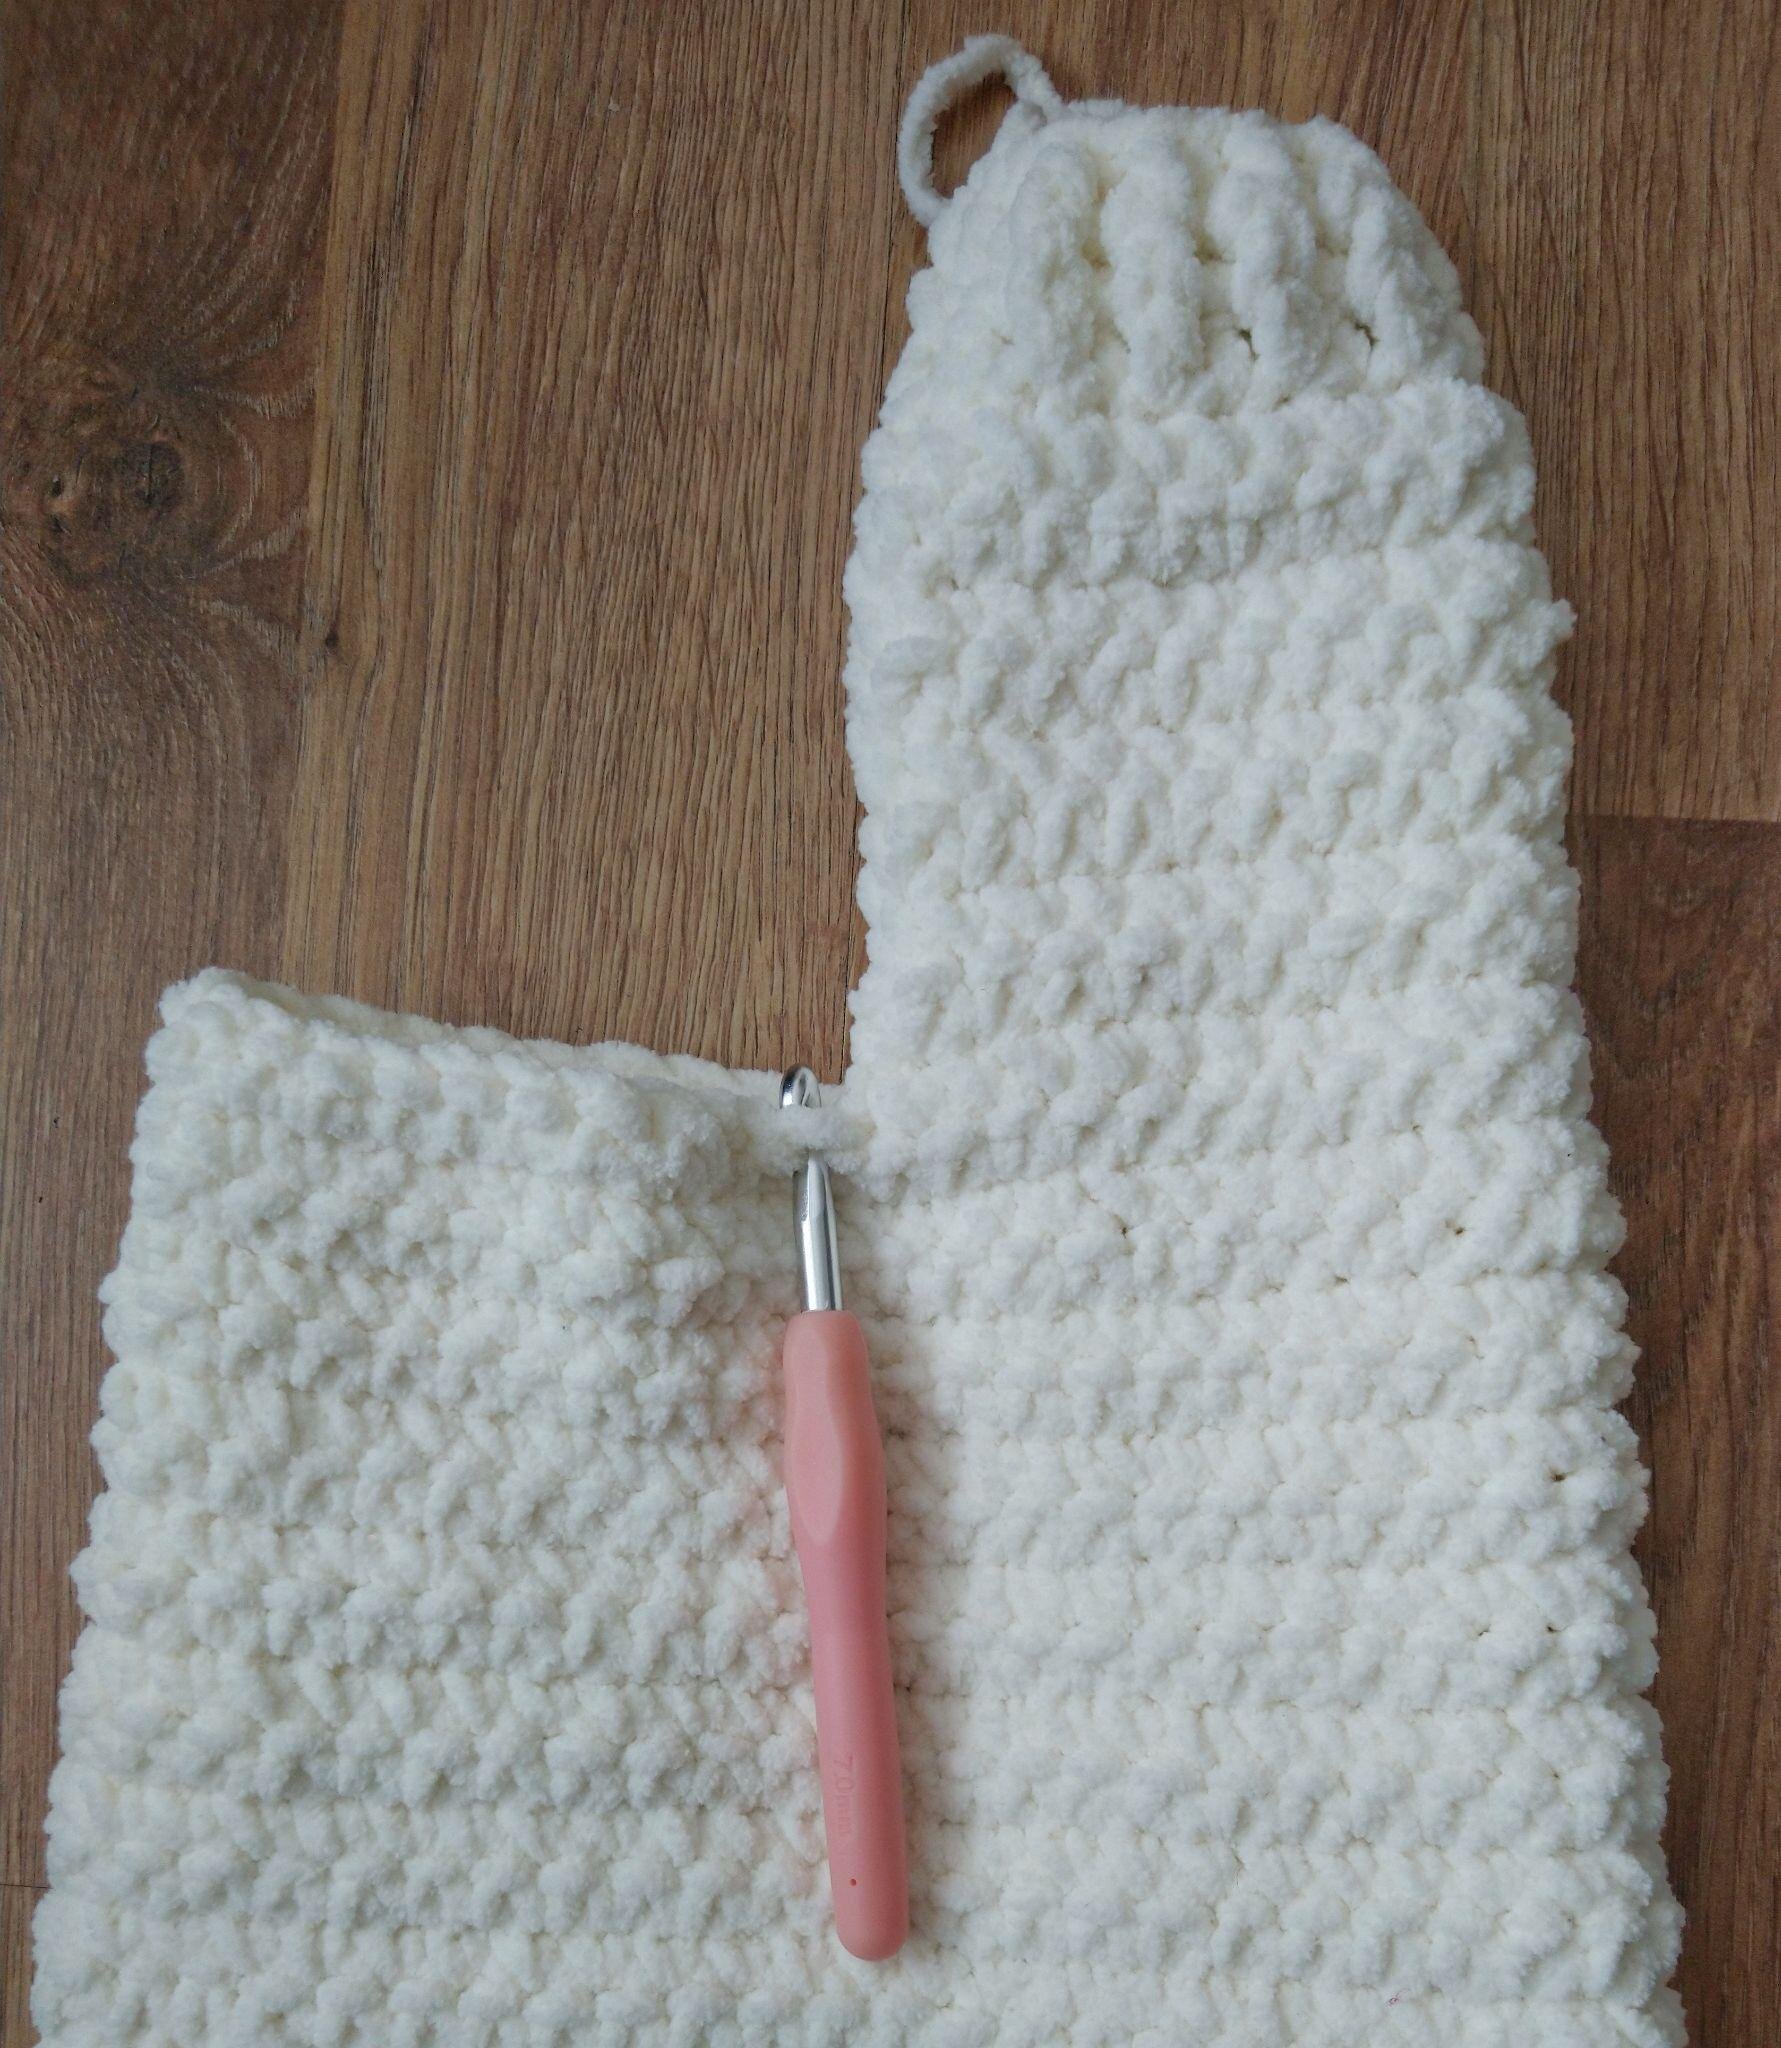
Starting the second leg
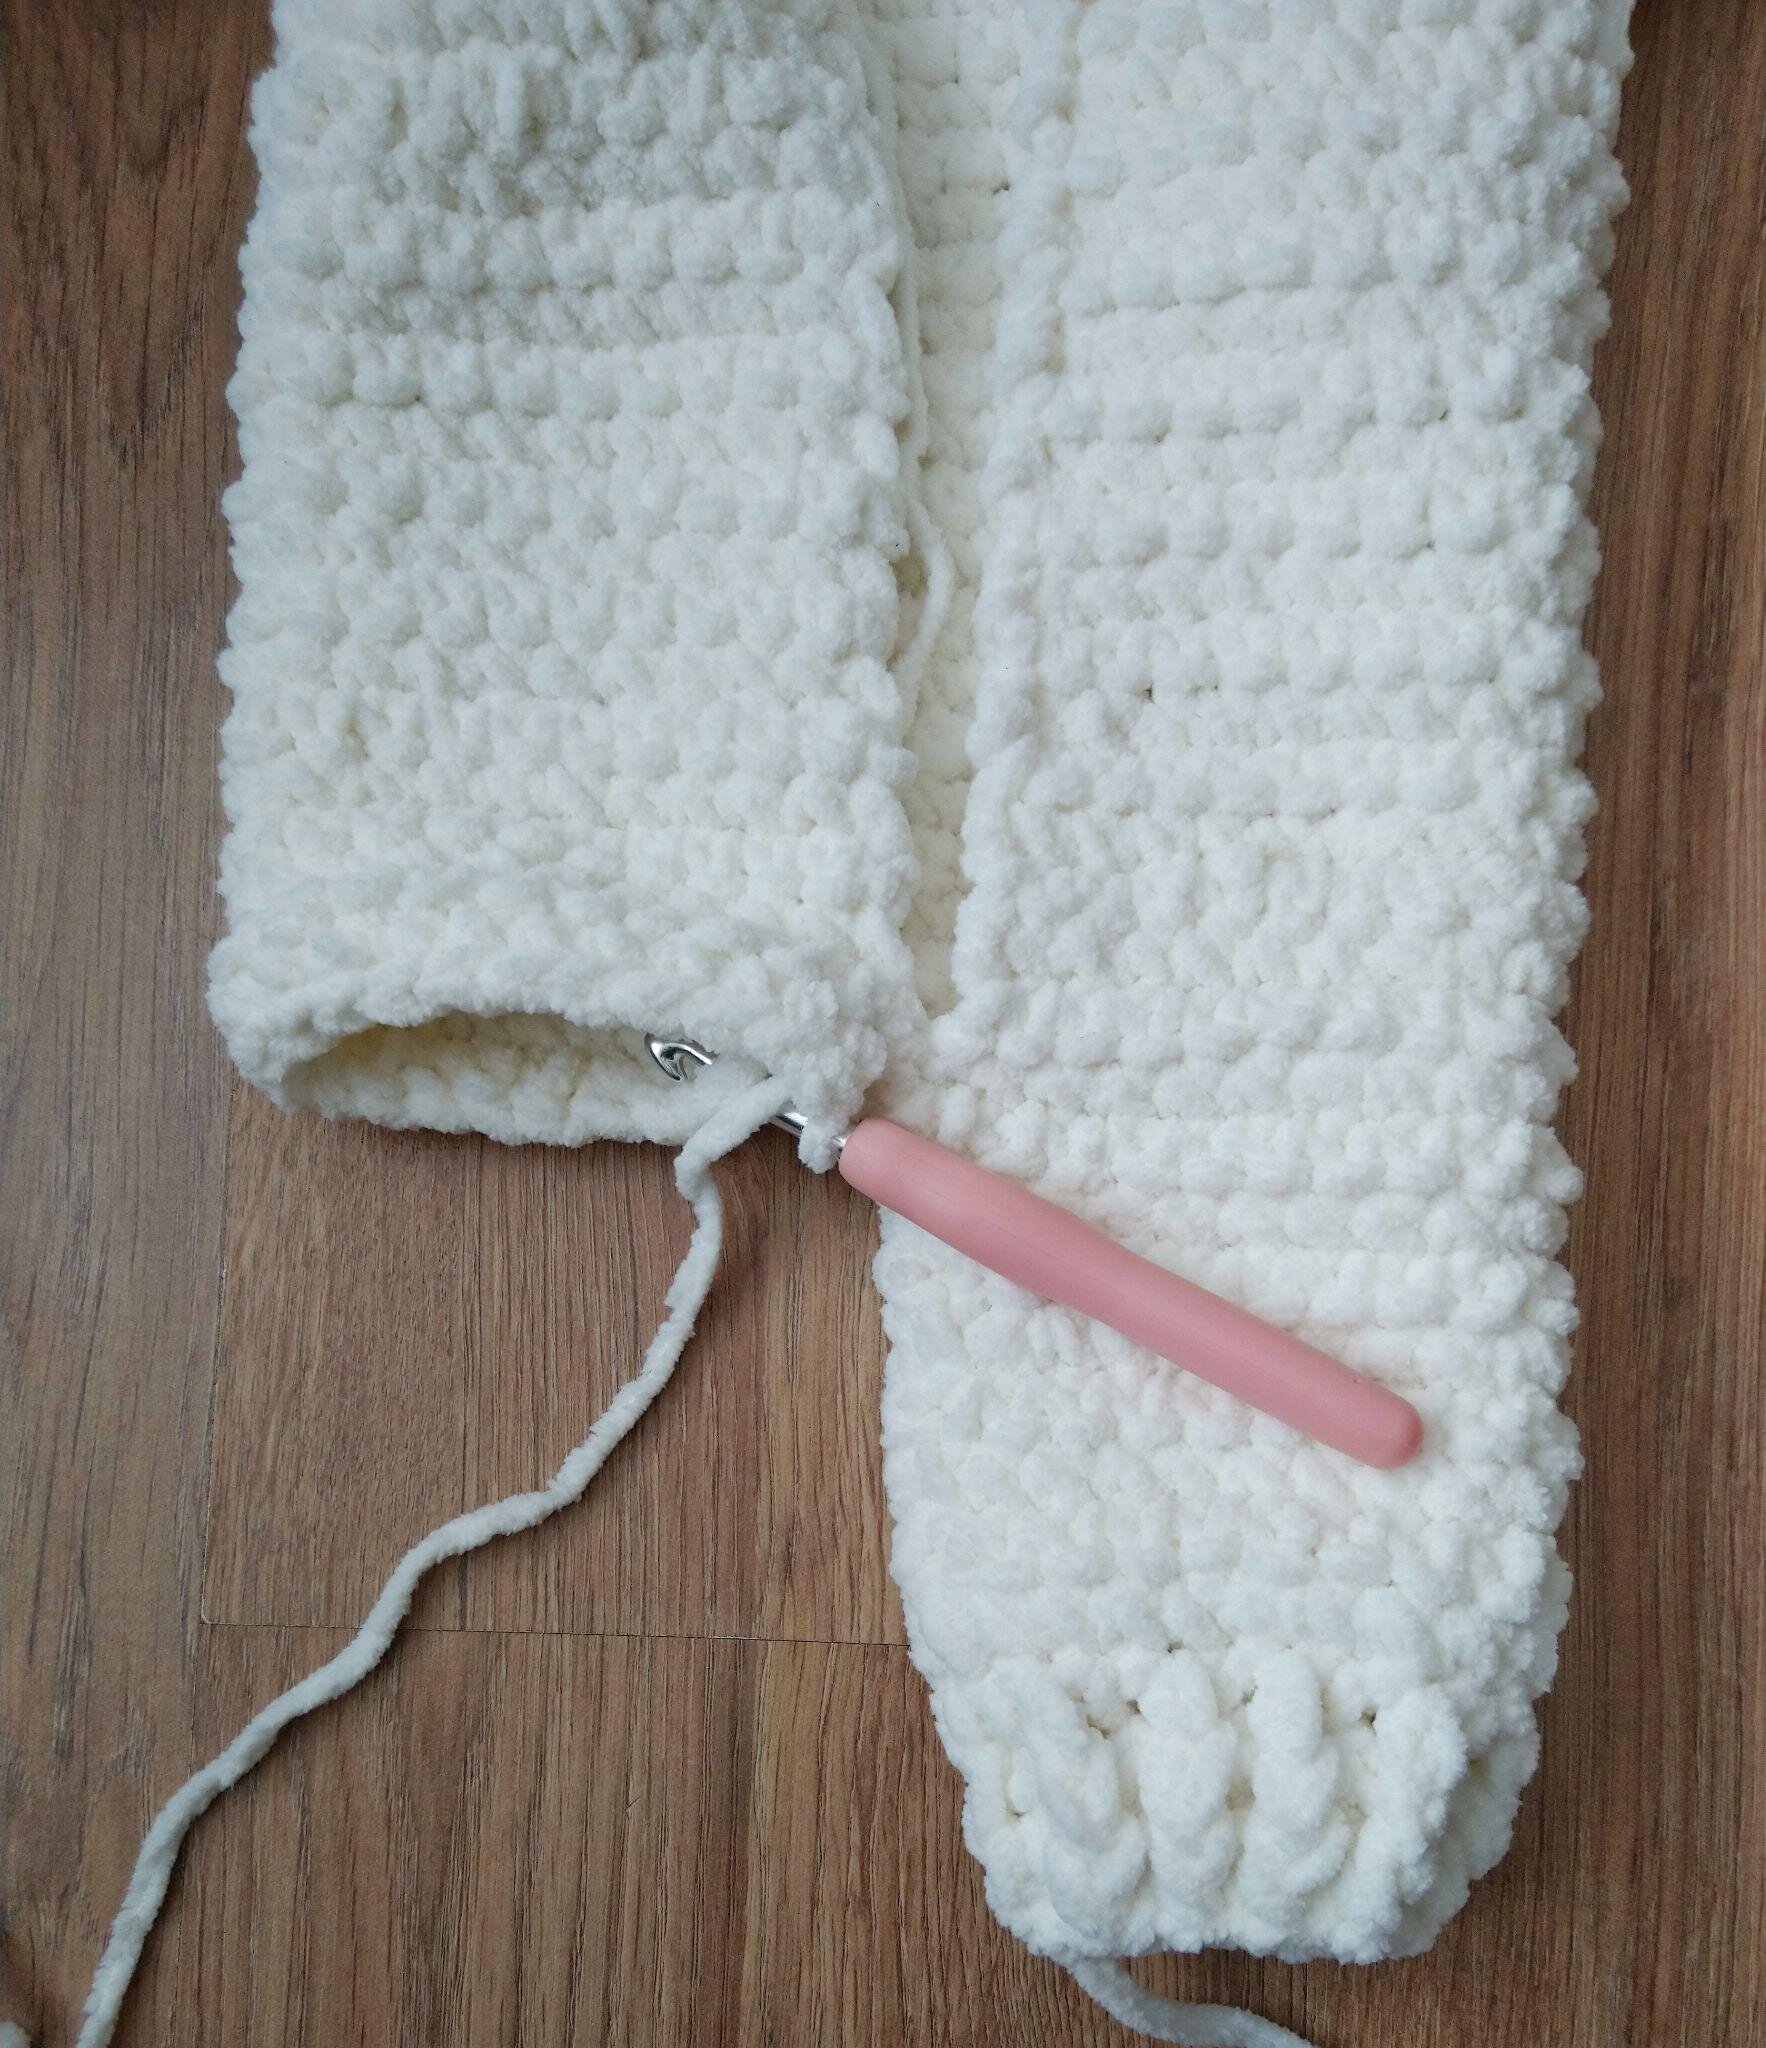
Sleeves
Under the arm of sleeve you will need to make extra stitches to get the required amount, this also helps to prevent a gap under the arm.
With 8mm hook
Row 1: join yarn under arm, ch1, 1 sc in base of ch1, 1 sc in each of next 16, slst to first. (17) Turn
Row 2-4: ch1, sc in same, sc all, slst to first. (17) Turn
Row 5: ch1, dec, sc to end, slst to first. (16) Turn
Row 6: ch1, sc to end, slst to first. (16) Turn
Repeat row 6 until the sleeve measures 5.5 inches from the shoulder.
Sleeve Cuff
With 7mm hook
Row 1: ch1, hdc in same, hdc all, slst to first. (16)
Row 2-3: Ch1, *fphdc, bphdc* repeat to end, slst to first. (16)
Fasten off and repeat for the other sleeve.
Hood
With 8mm hook
With the right side facing, skip 3 stitches and join yarn at the top right of the neck into the forth stitch.
Row 1: ch1, sc in same, sc 23, leaving the last 3 un-worked. (24) Turn
Row 2: ch1, sc in same, sc to end. (24) Turn
Repeat row 2 until the hood measures 5.5 inches.
Fold the hood at the top and sew from the inside.
Ears
With 8mm hook
Row 1: 9 hdc in a magic circle, slst to first. (9)
Row 2: ch1, sc in same and each stitch around, slst to first.
Fasten off with a long end for sewing to the hood.
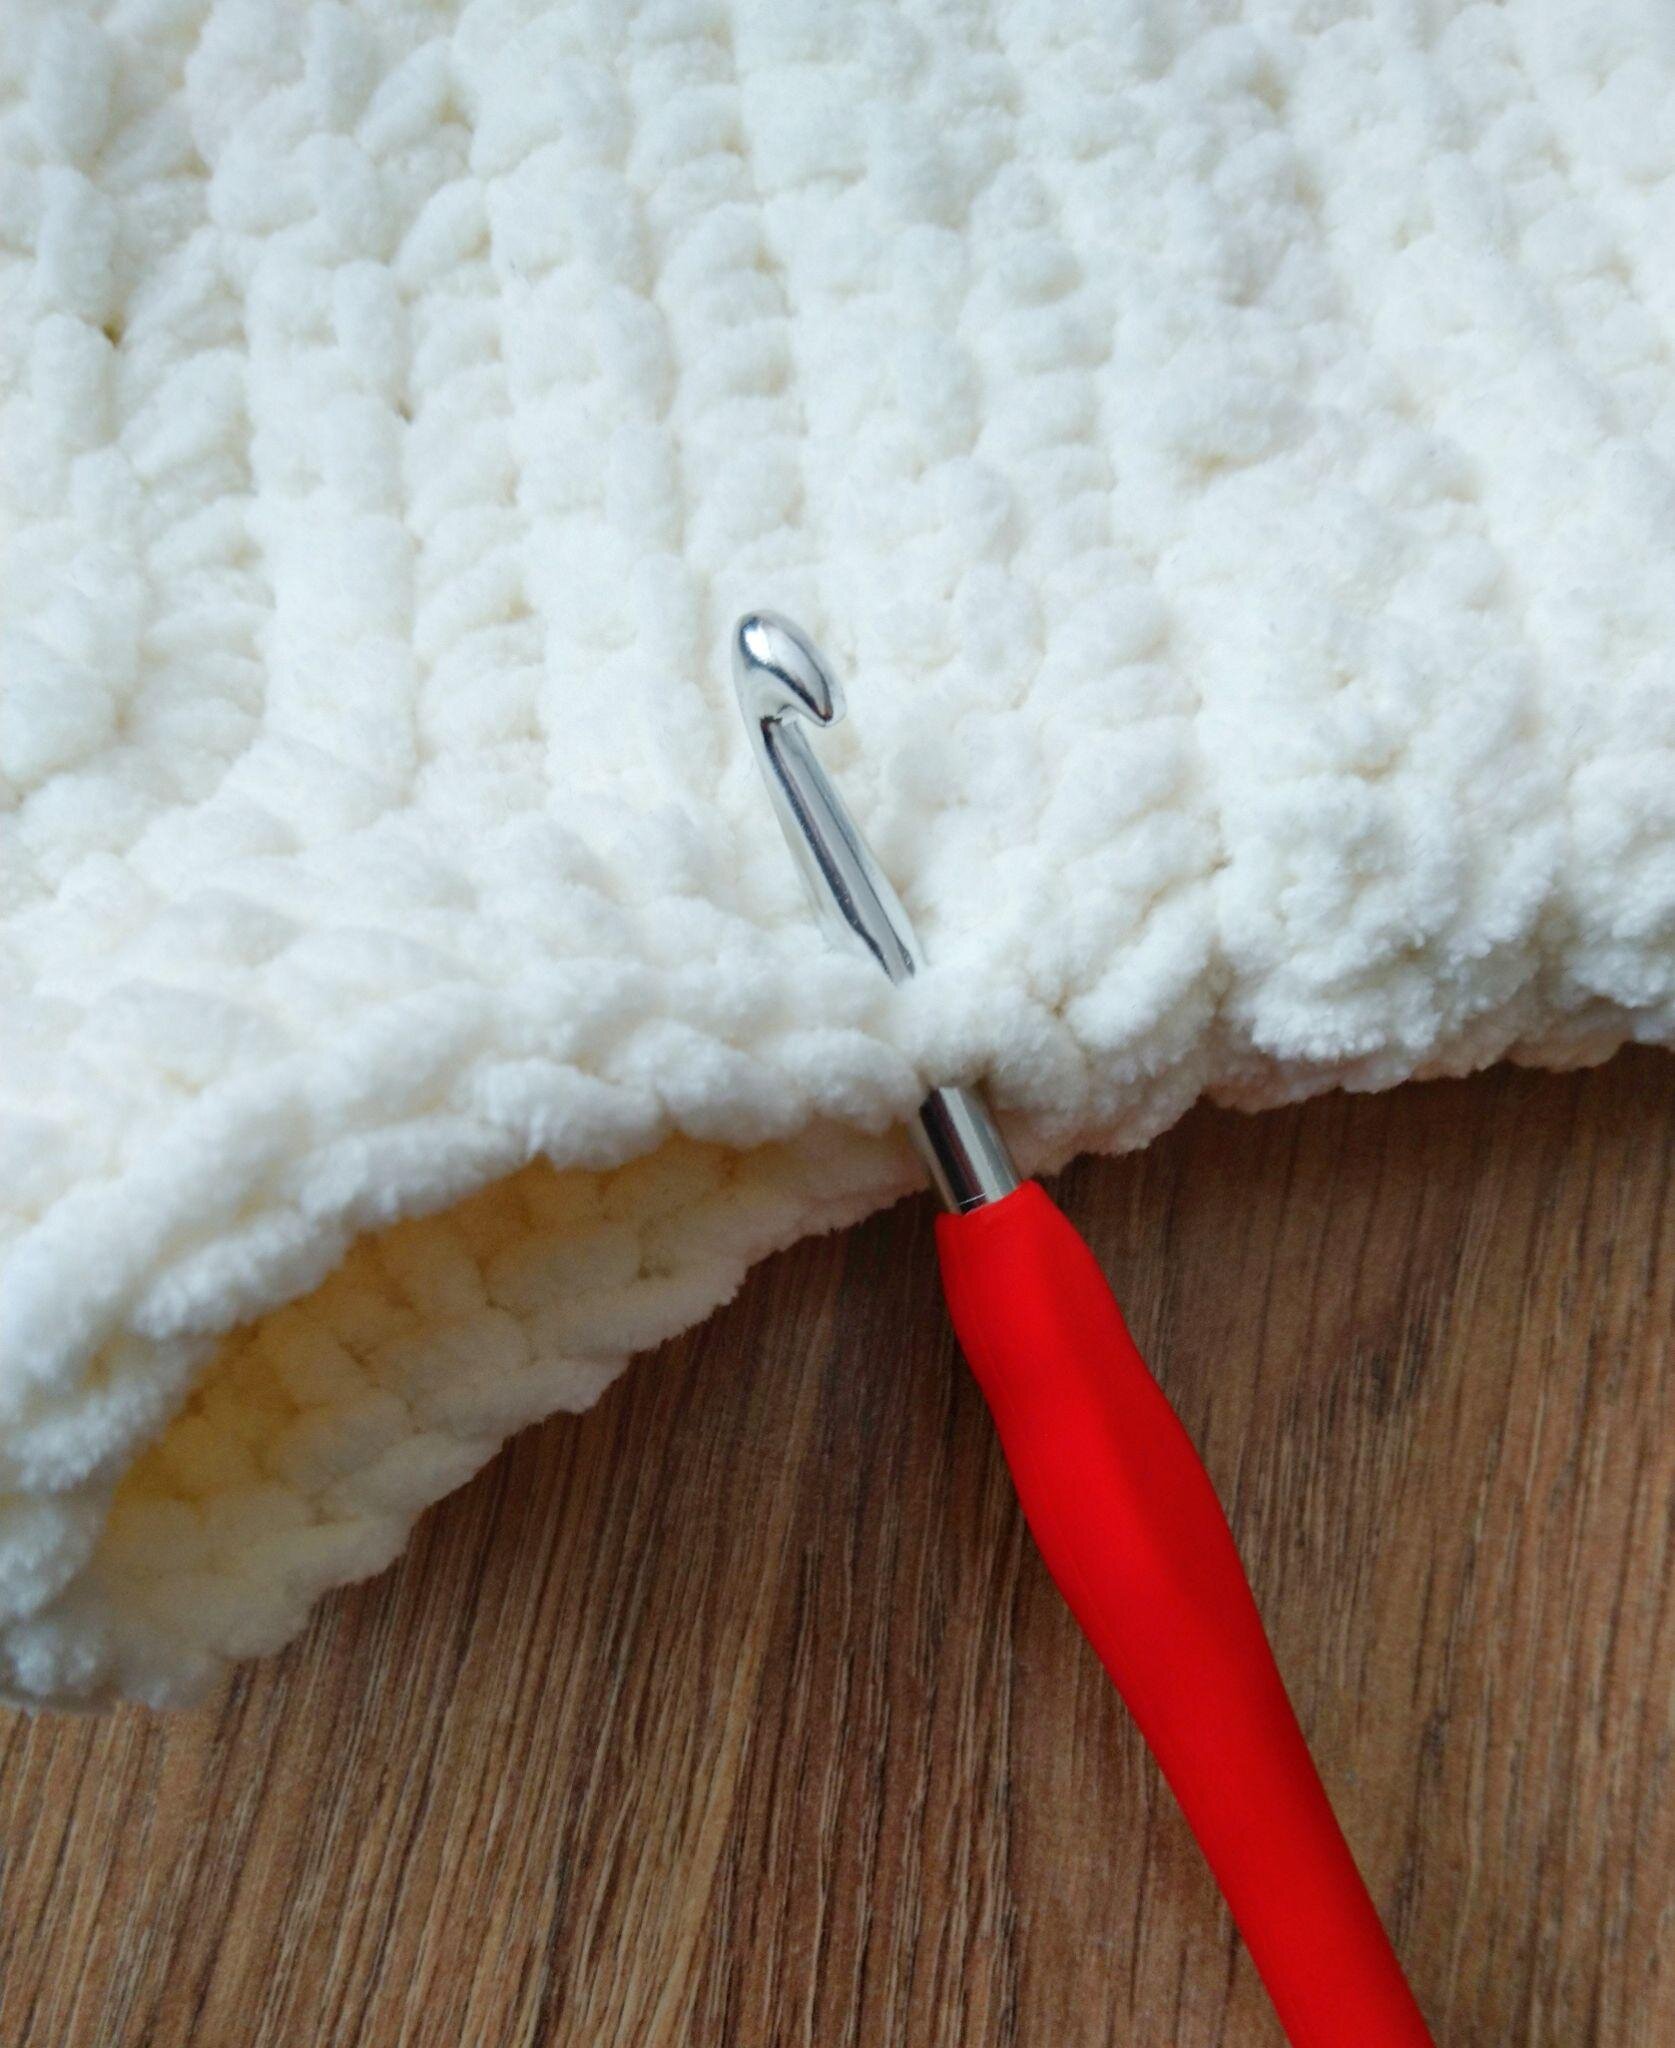
Starting the sleeve
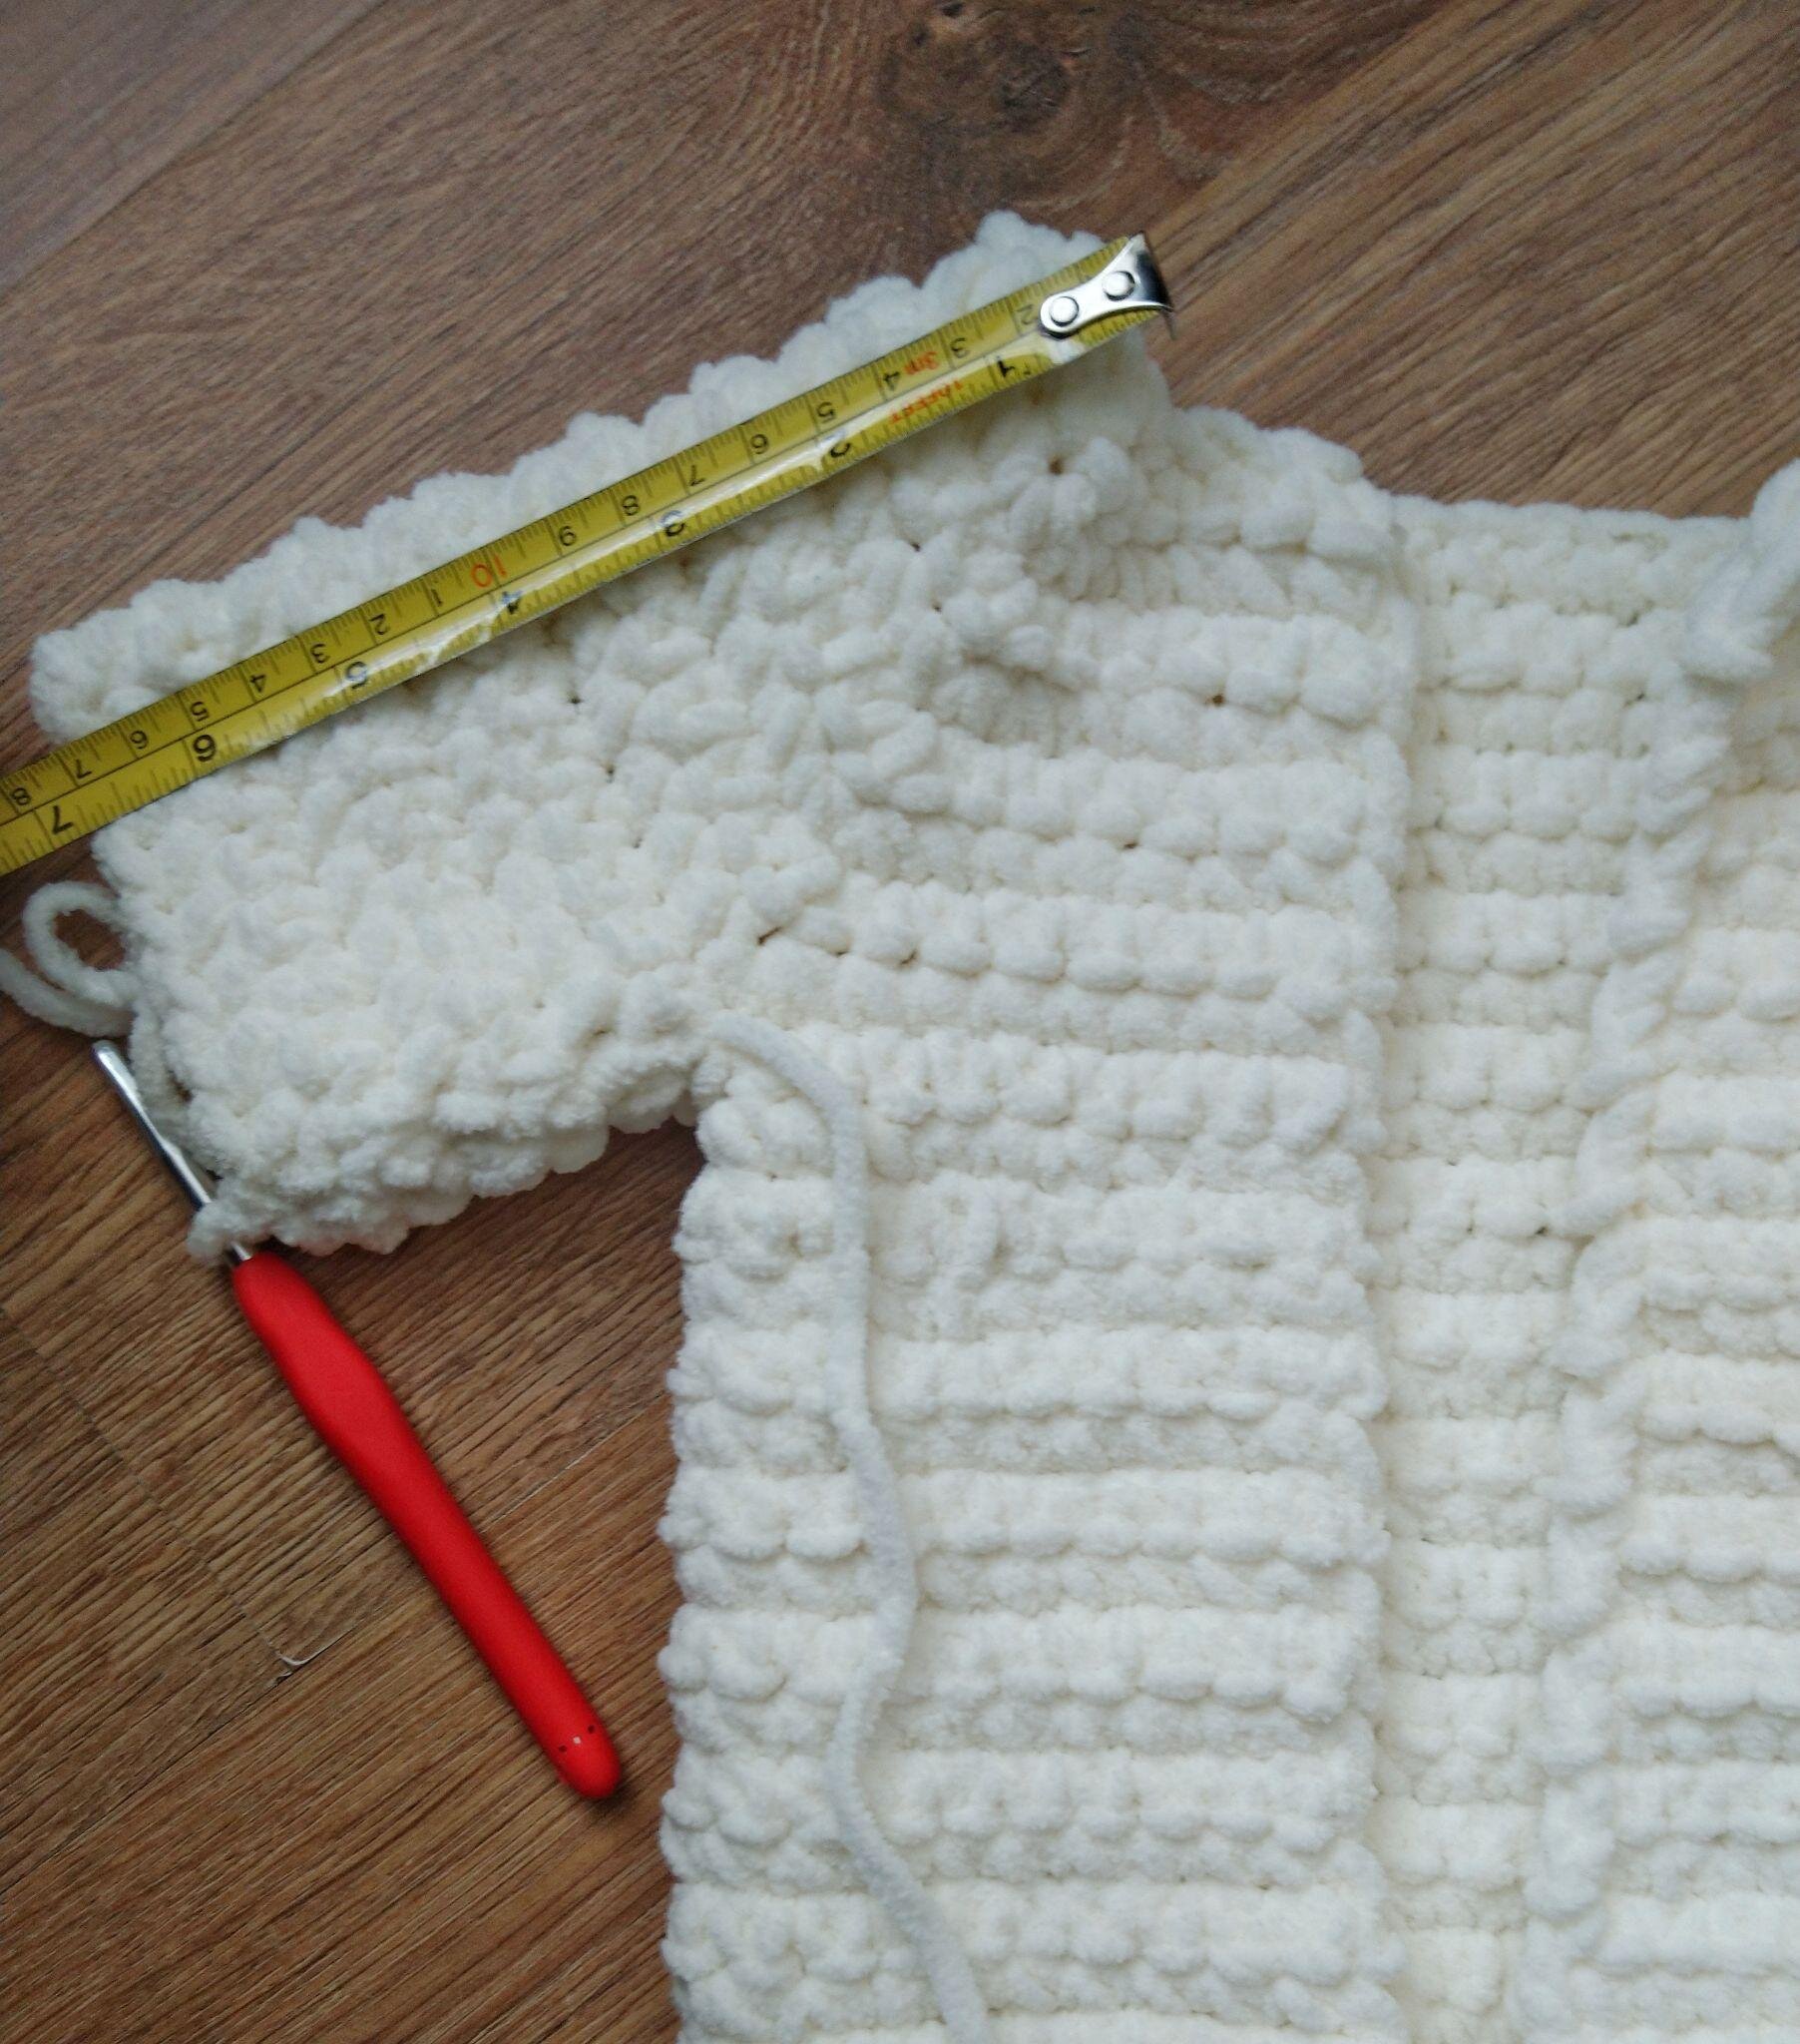
Measure the sleeves
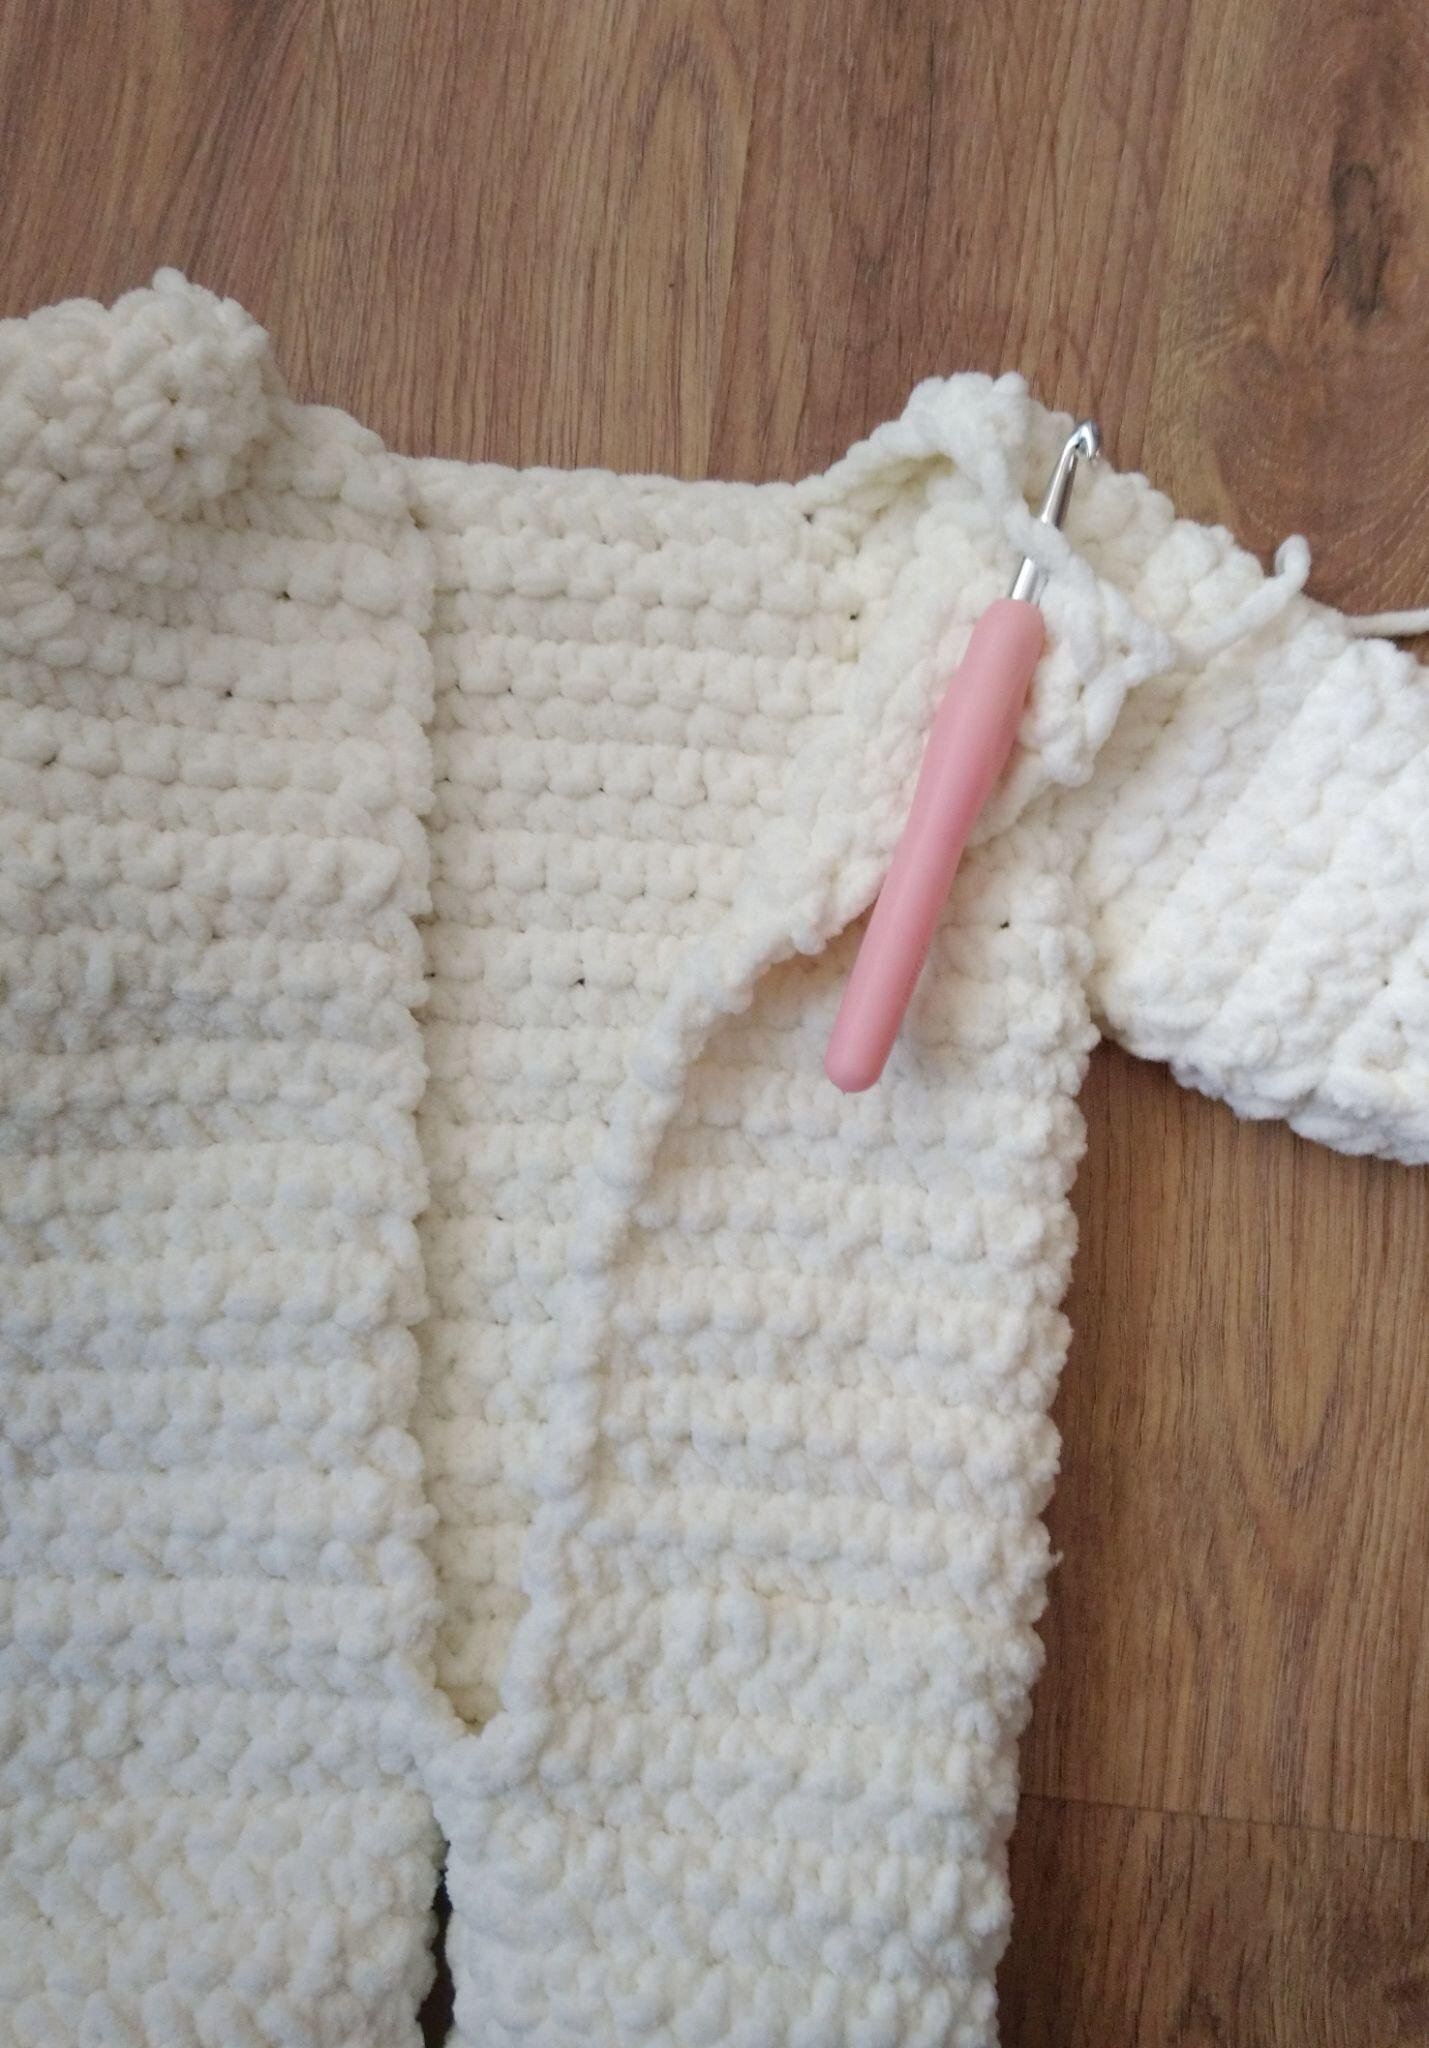
Starting the hood
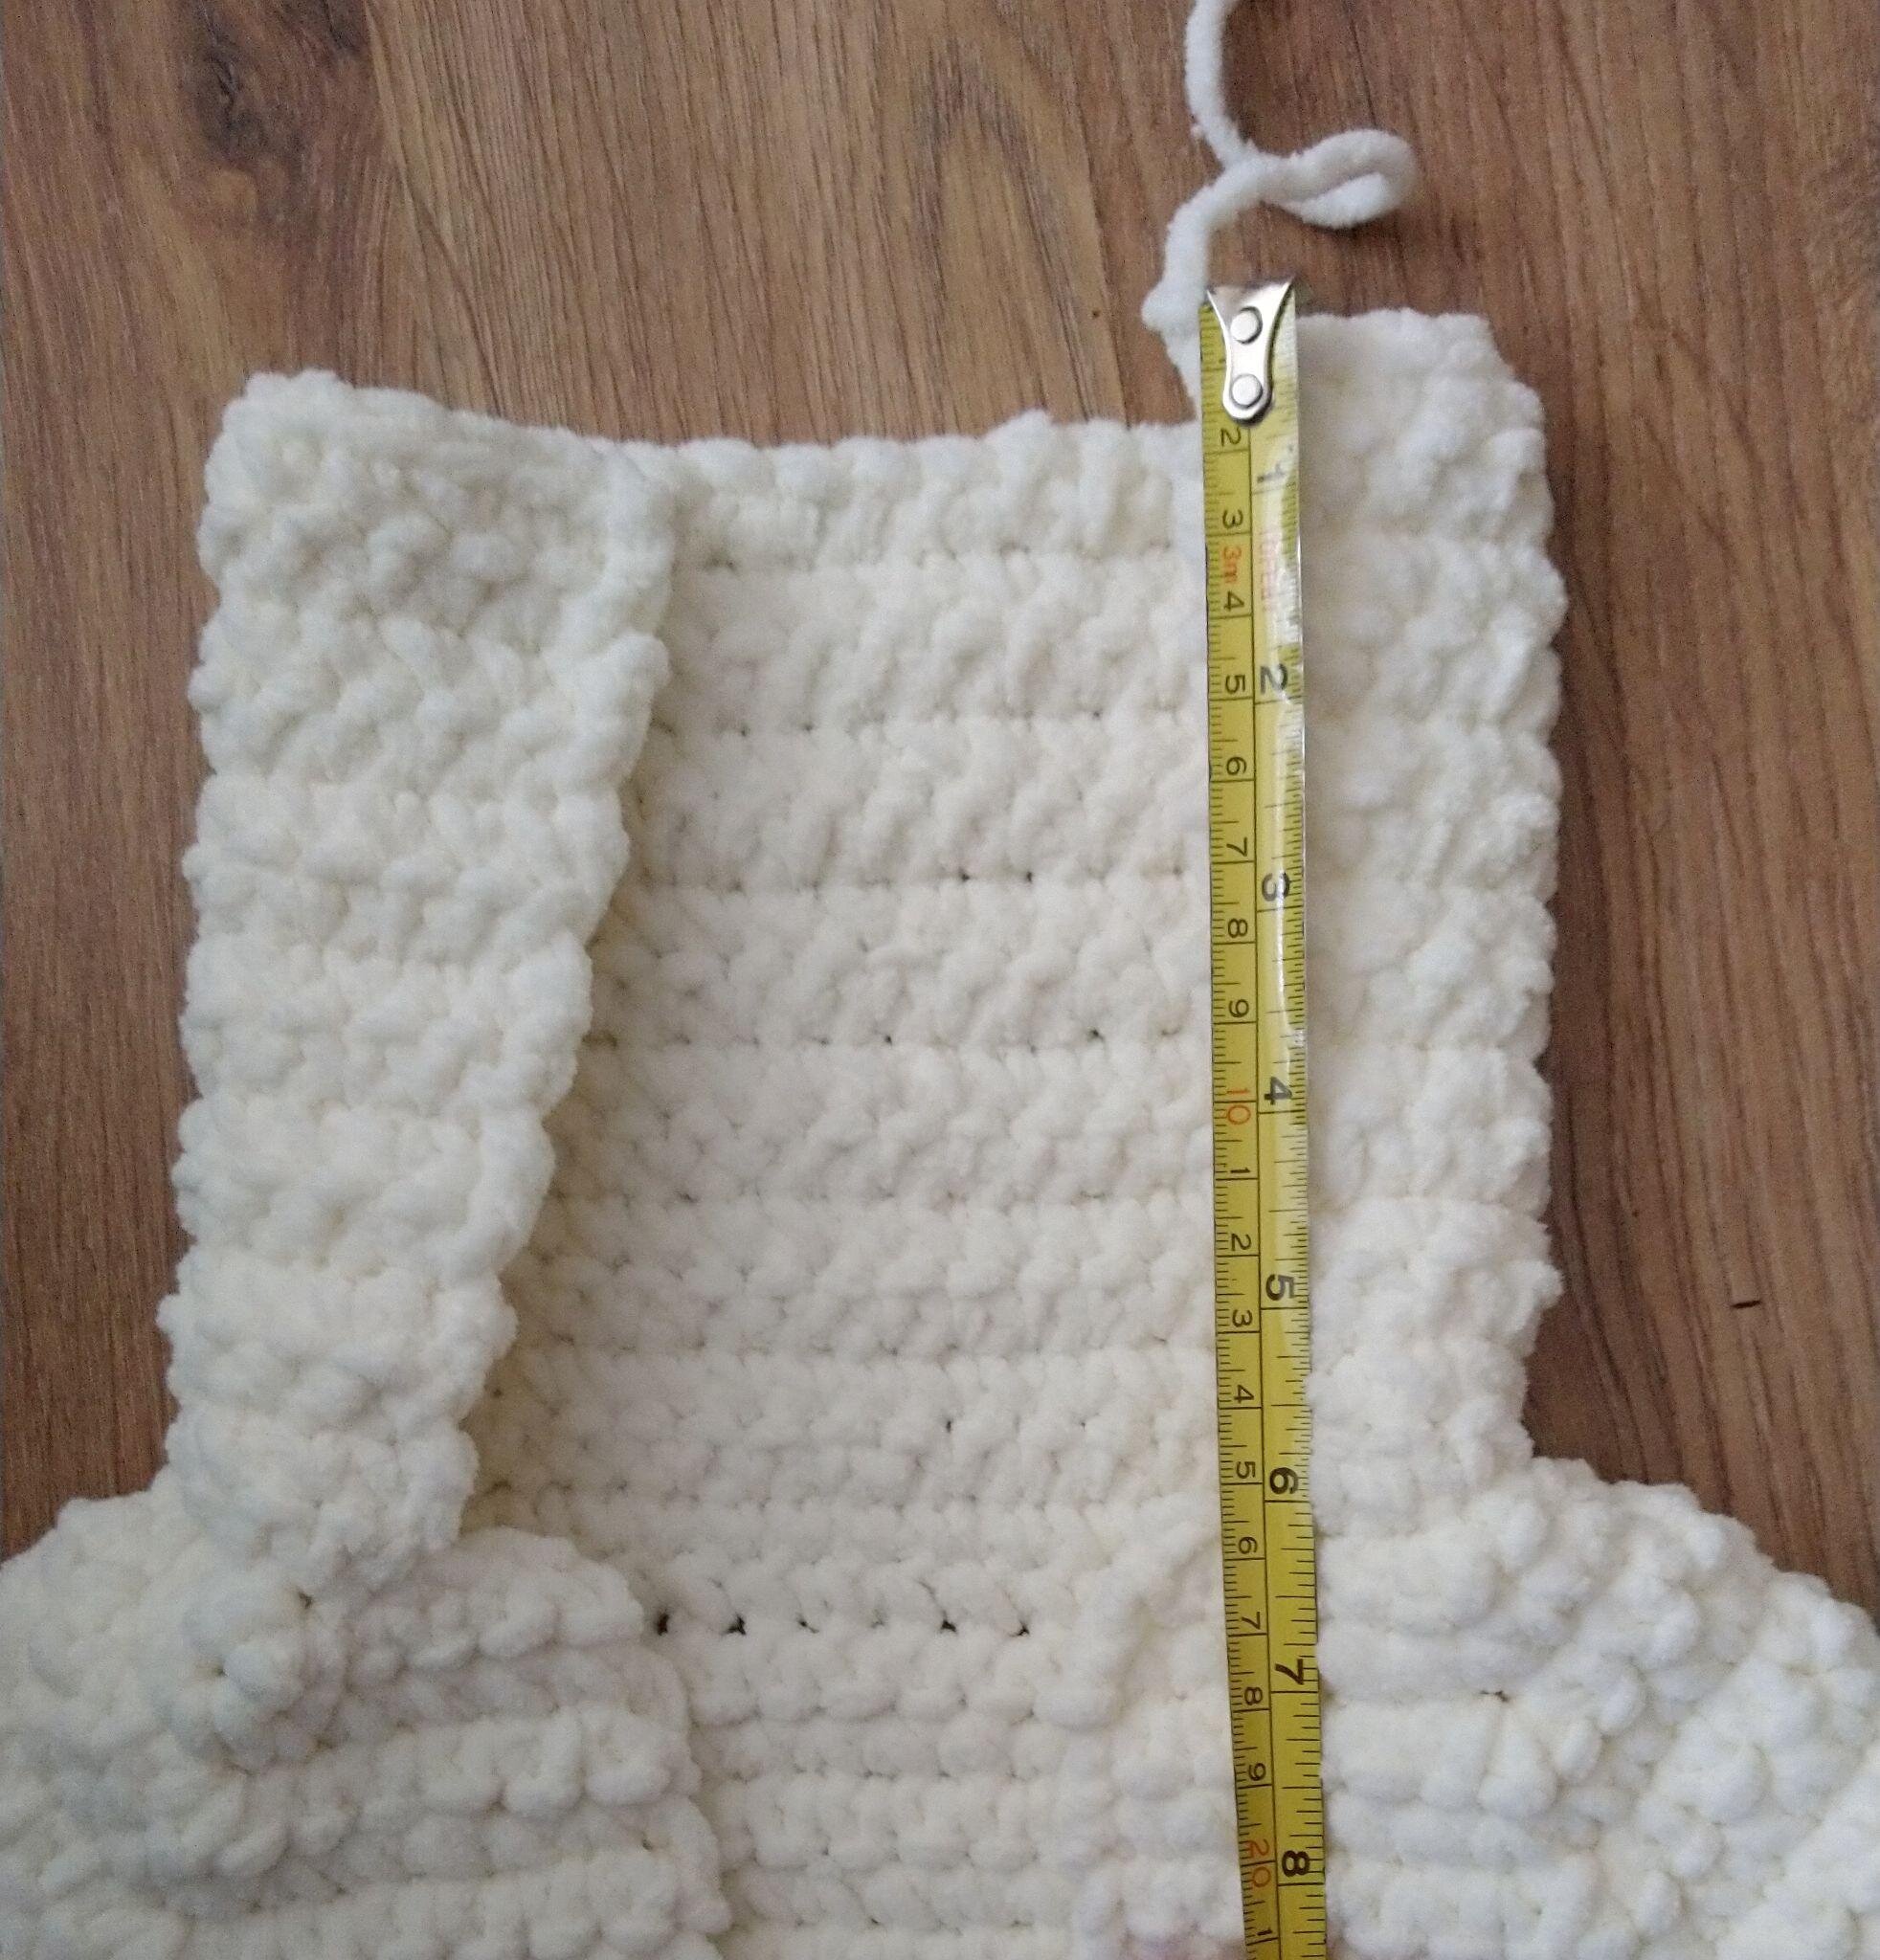
Measure the hood
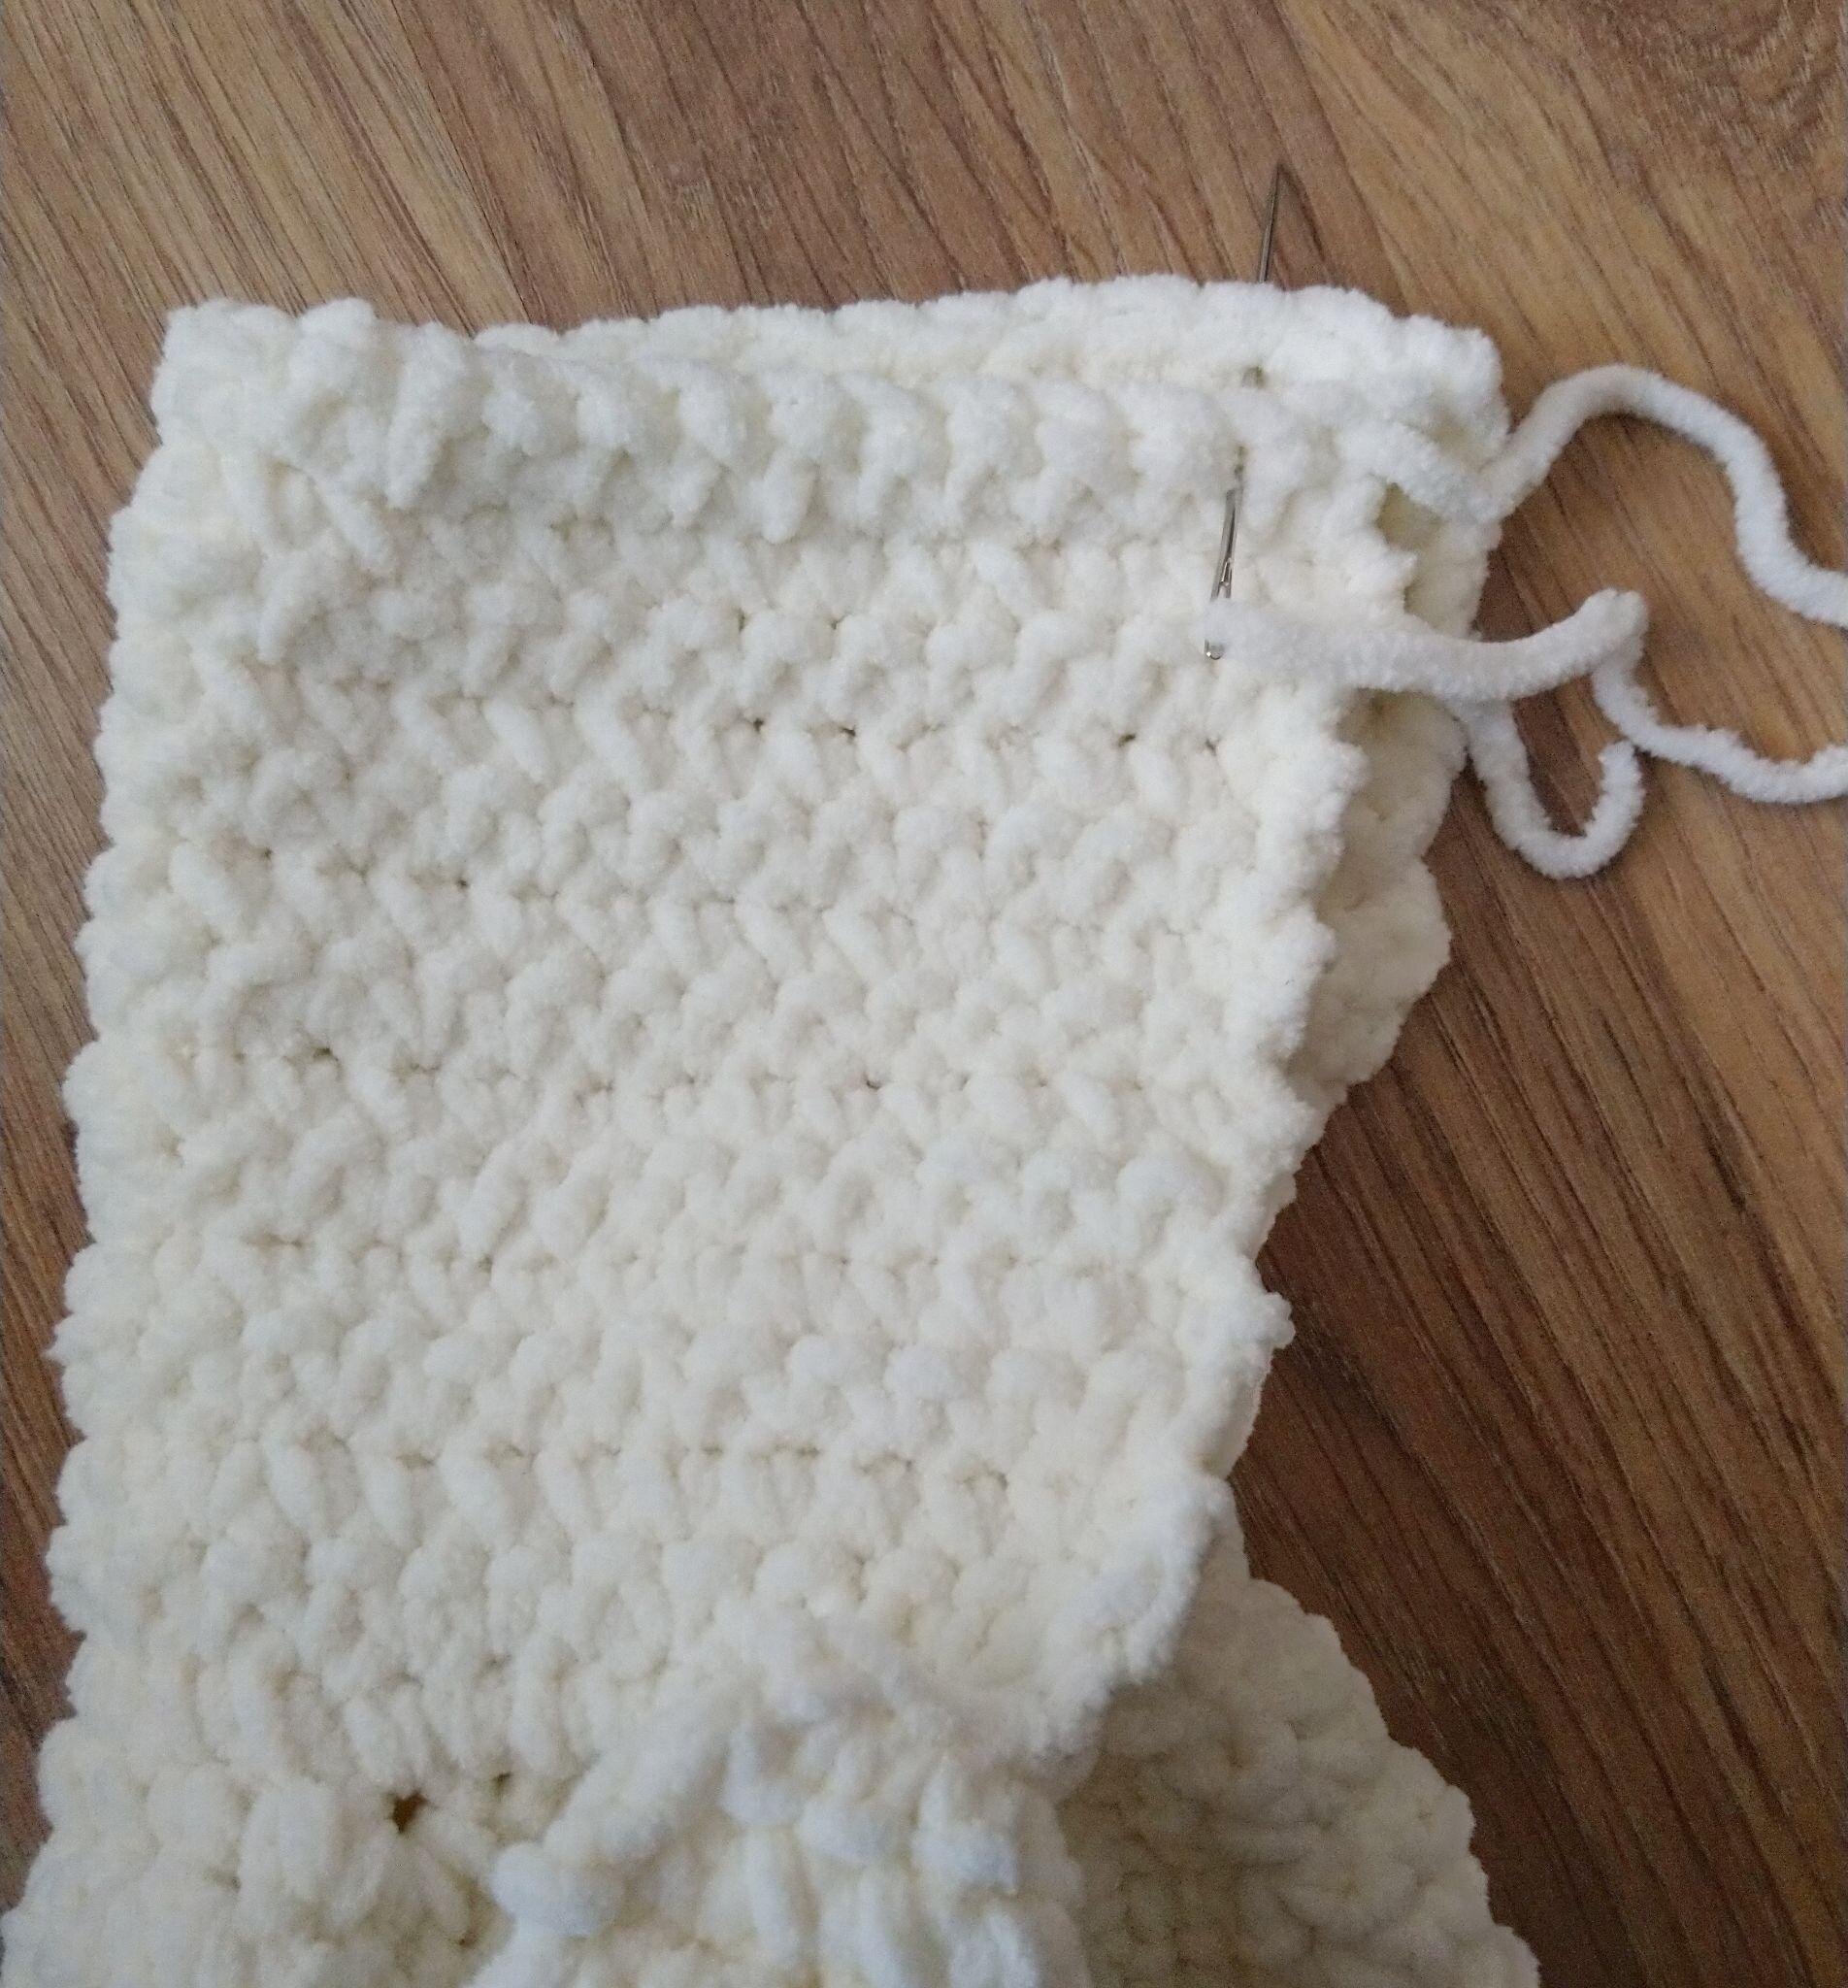
Sew the hood
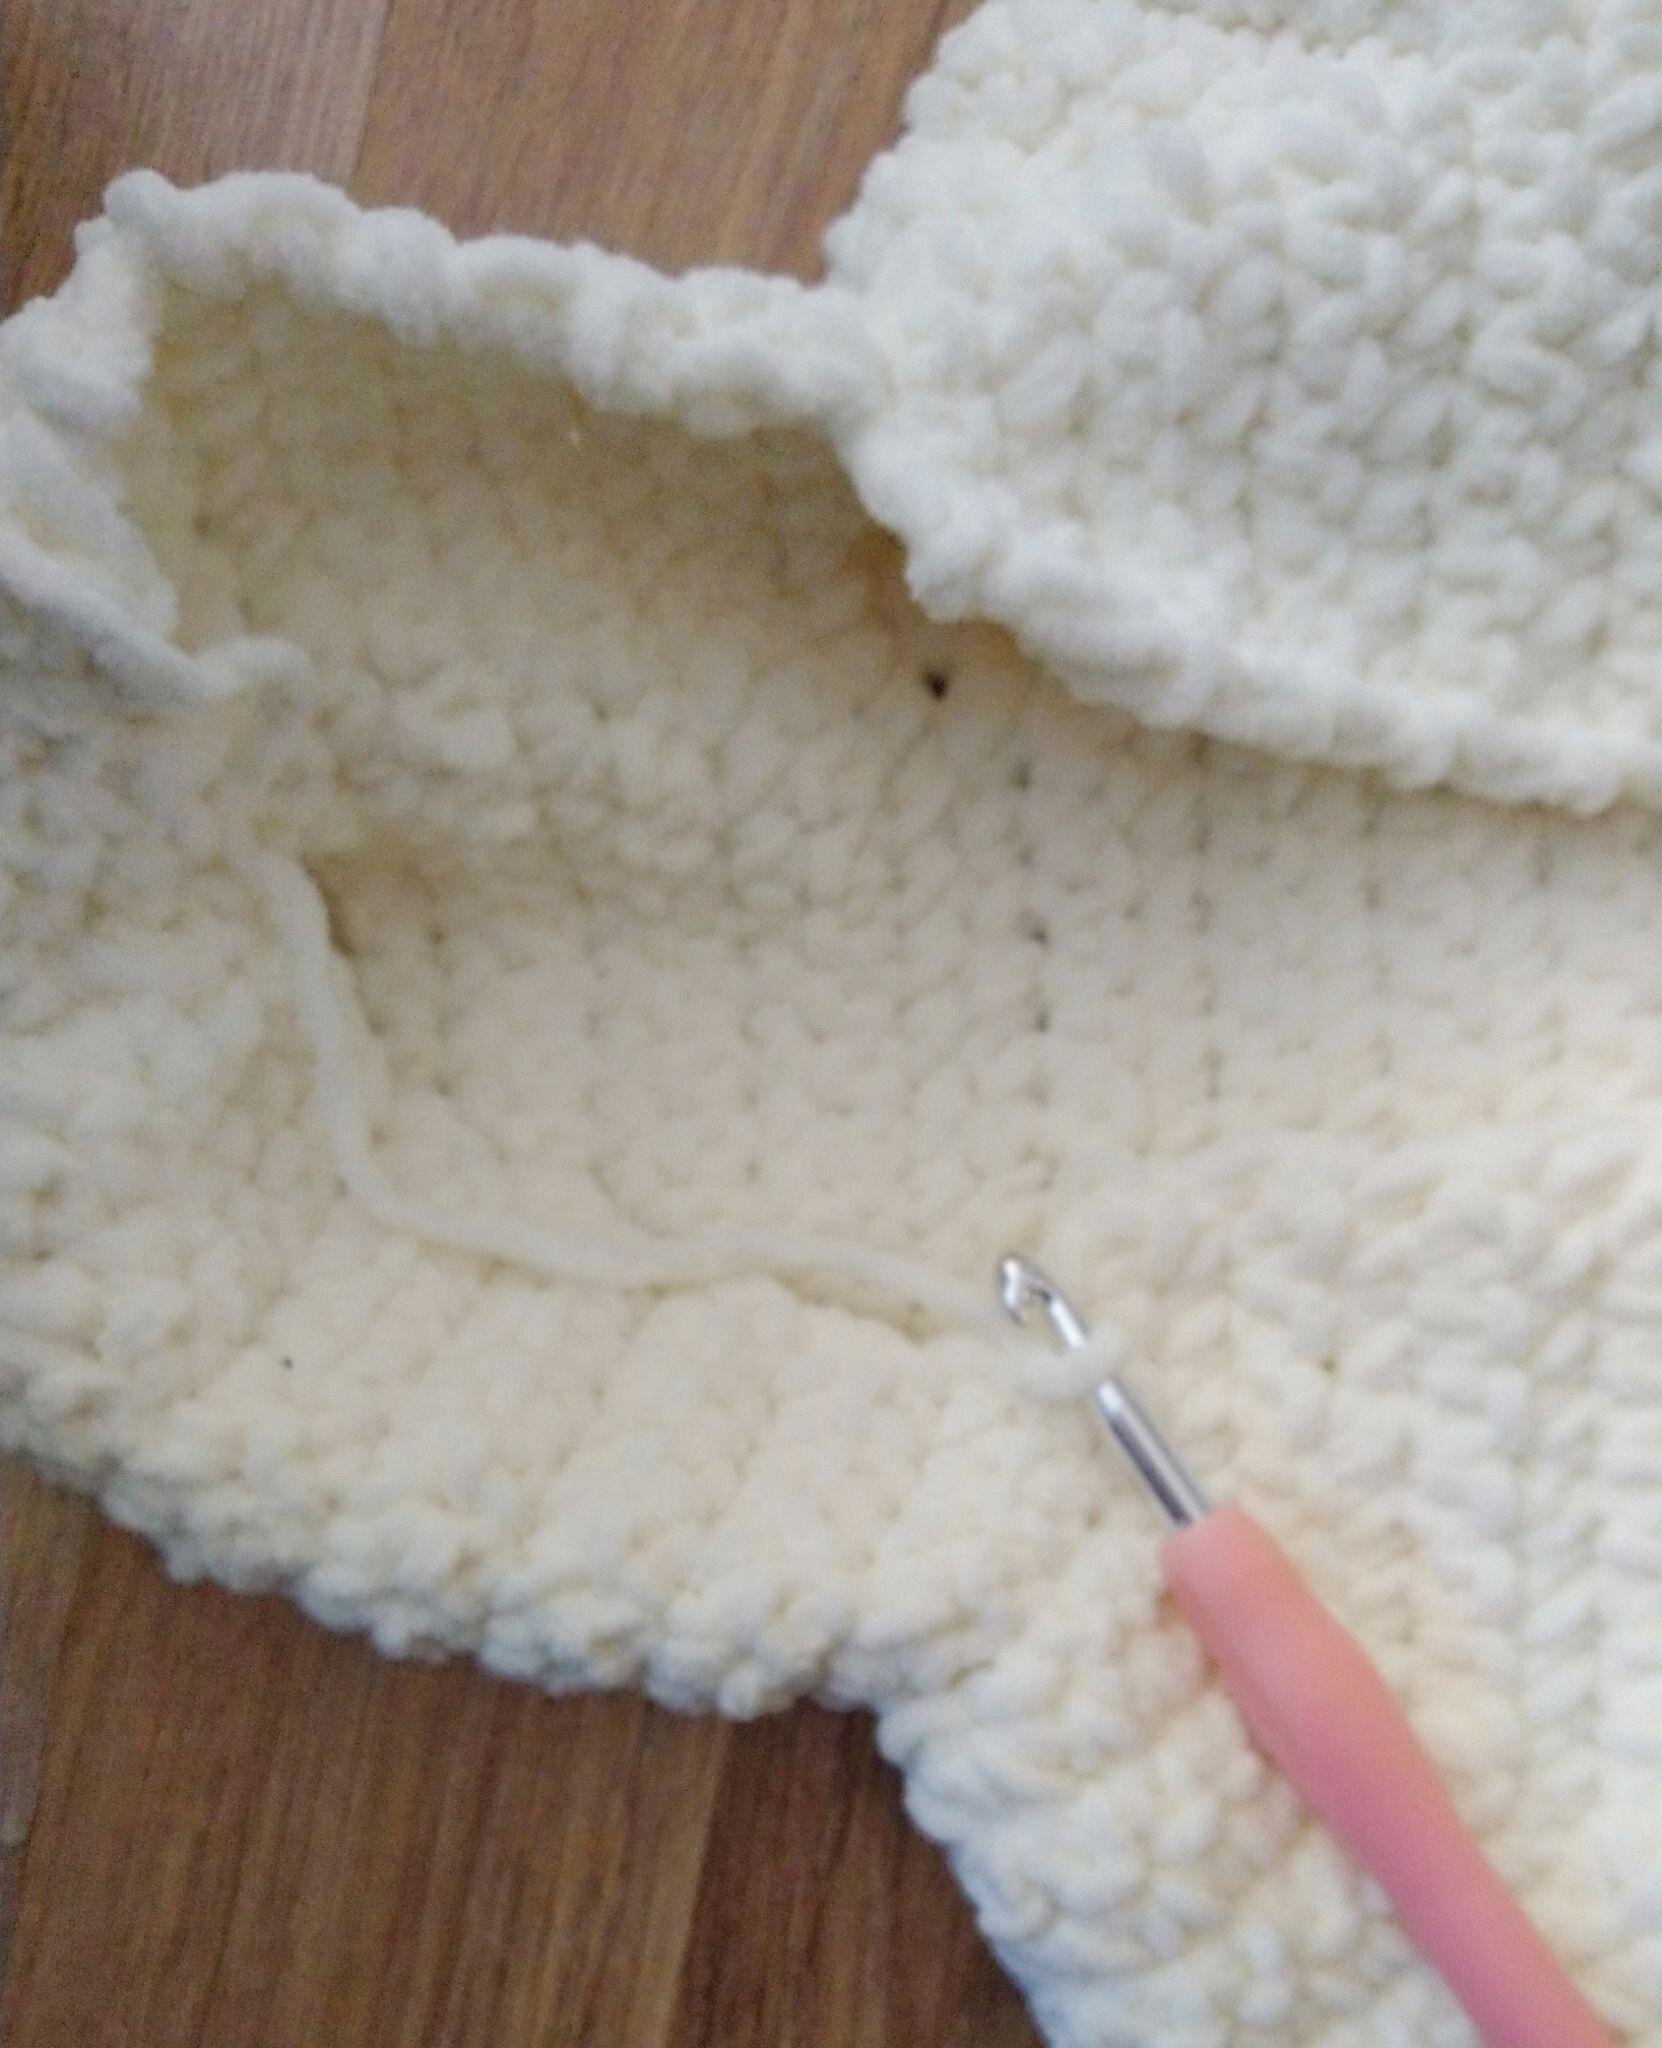
Starting the hood edging
Hood edging
Row 1: Join yarn and sc around the front of the hood, slst two stitches into the unused stitches of the collar. Turn
Row 2: ch1, sc in the same, sc around to the other side and slst two stitches into the collar. Turn
Row 3: ch1, sc in same, sc back to the other side, slst, fasten off and sew in the ends, then sew the ears in place.
Buttonband
With the front facing, join yarn at the bottom of opening
Rnd 1: ch1, sc in the same, sc up to the top. Turn
Rnd 2: ch1, sc in the same, sc back down to bottom. Turn
Rnd 3: ch1, sc in the same, sc back up to top.
Fasten off.
Buttonhole band
Join yarn at the top right
Rnd 1: ch1, sc in the same, sc down to the bottom. Turn
Mark out where you want the buttonholes, with stitch markers or scrap yarn.
Rnd 2: ch1, sc in the same, sc back up to the top but ch1 and skip 1 to make the buttonholes. Turn
Rnd 3: ch1, sc in the same, sc back down to the bottom, sc in the ch1 spaces, to finish buttonholes.
Fasten off, sew the buttonhole flap down, sew buttons at the other side to match the button holes.
I hope you enjoyed making my pattern!
I would love to see your makes feel free to share @babycrochetdesigns Instagram, Pinterest and Facebook.
*COPYRIGHT 2021 This pattern is made for personal use only. You may not copy, share or sell this pattern, you may make and sell items made from my patterns but please credit me @BabyCrochetDesigns as the designer many thanks*
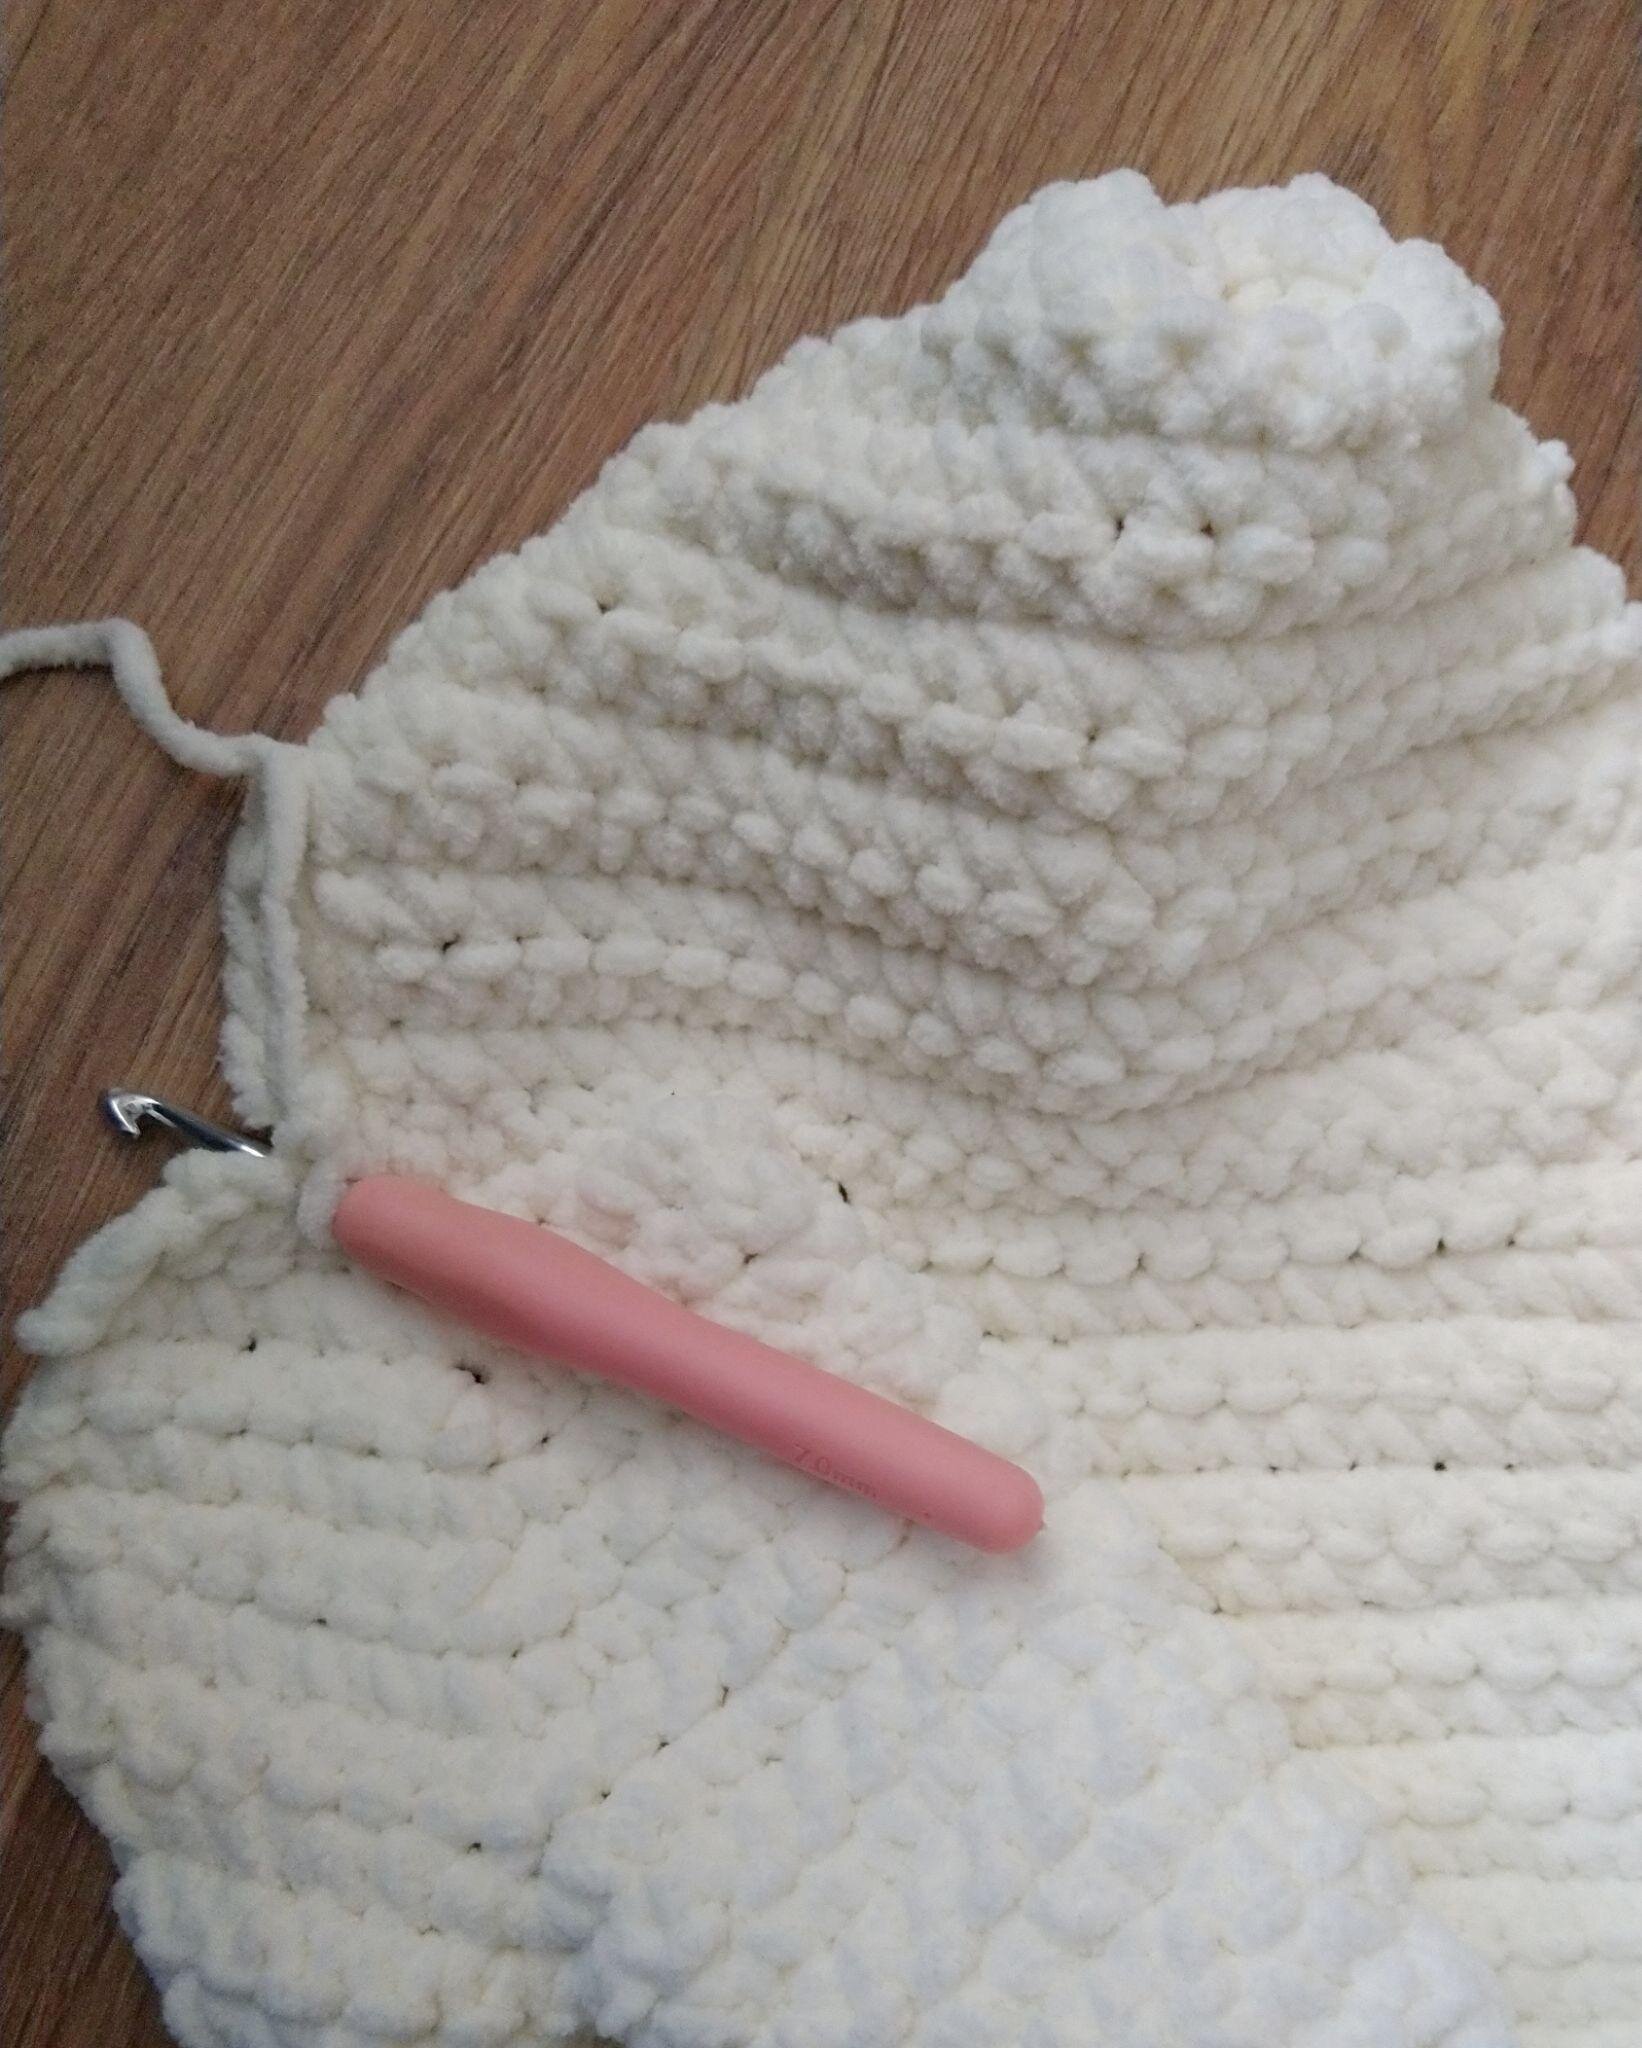
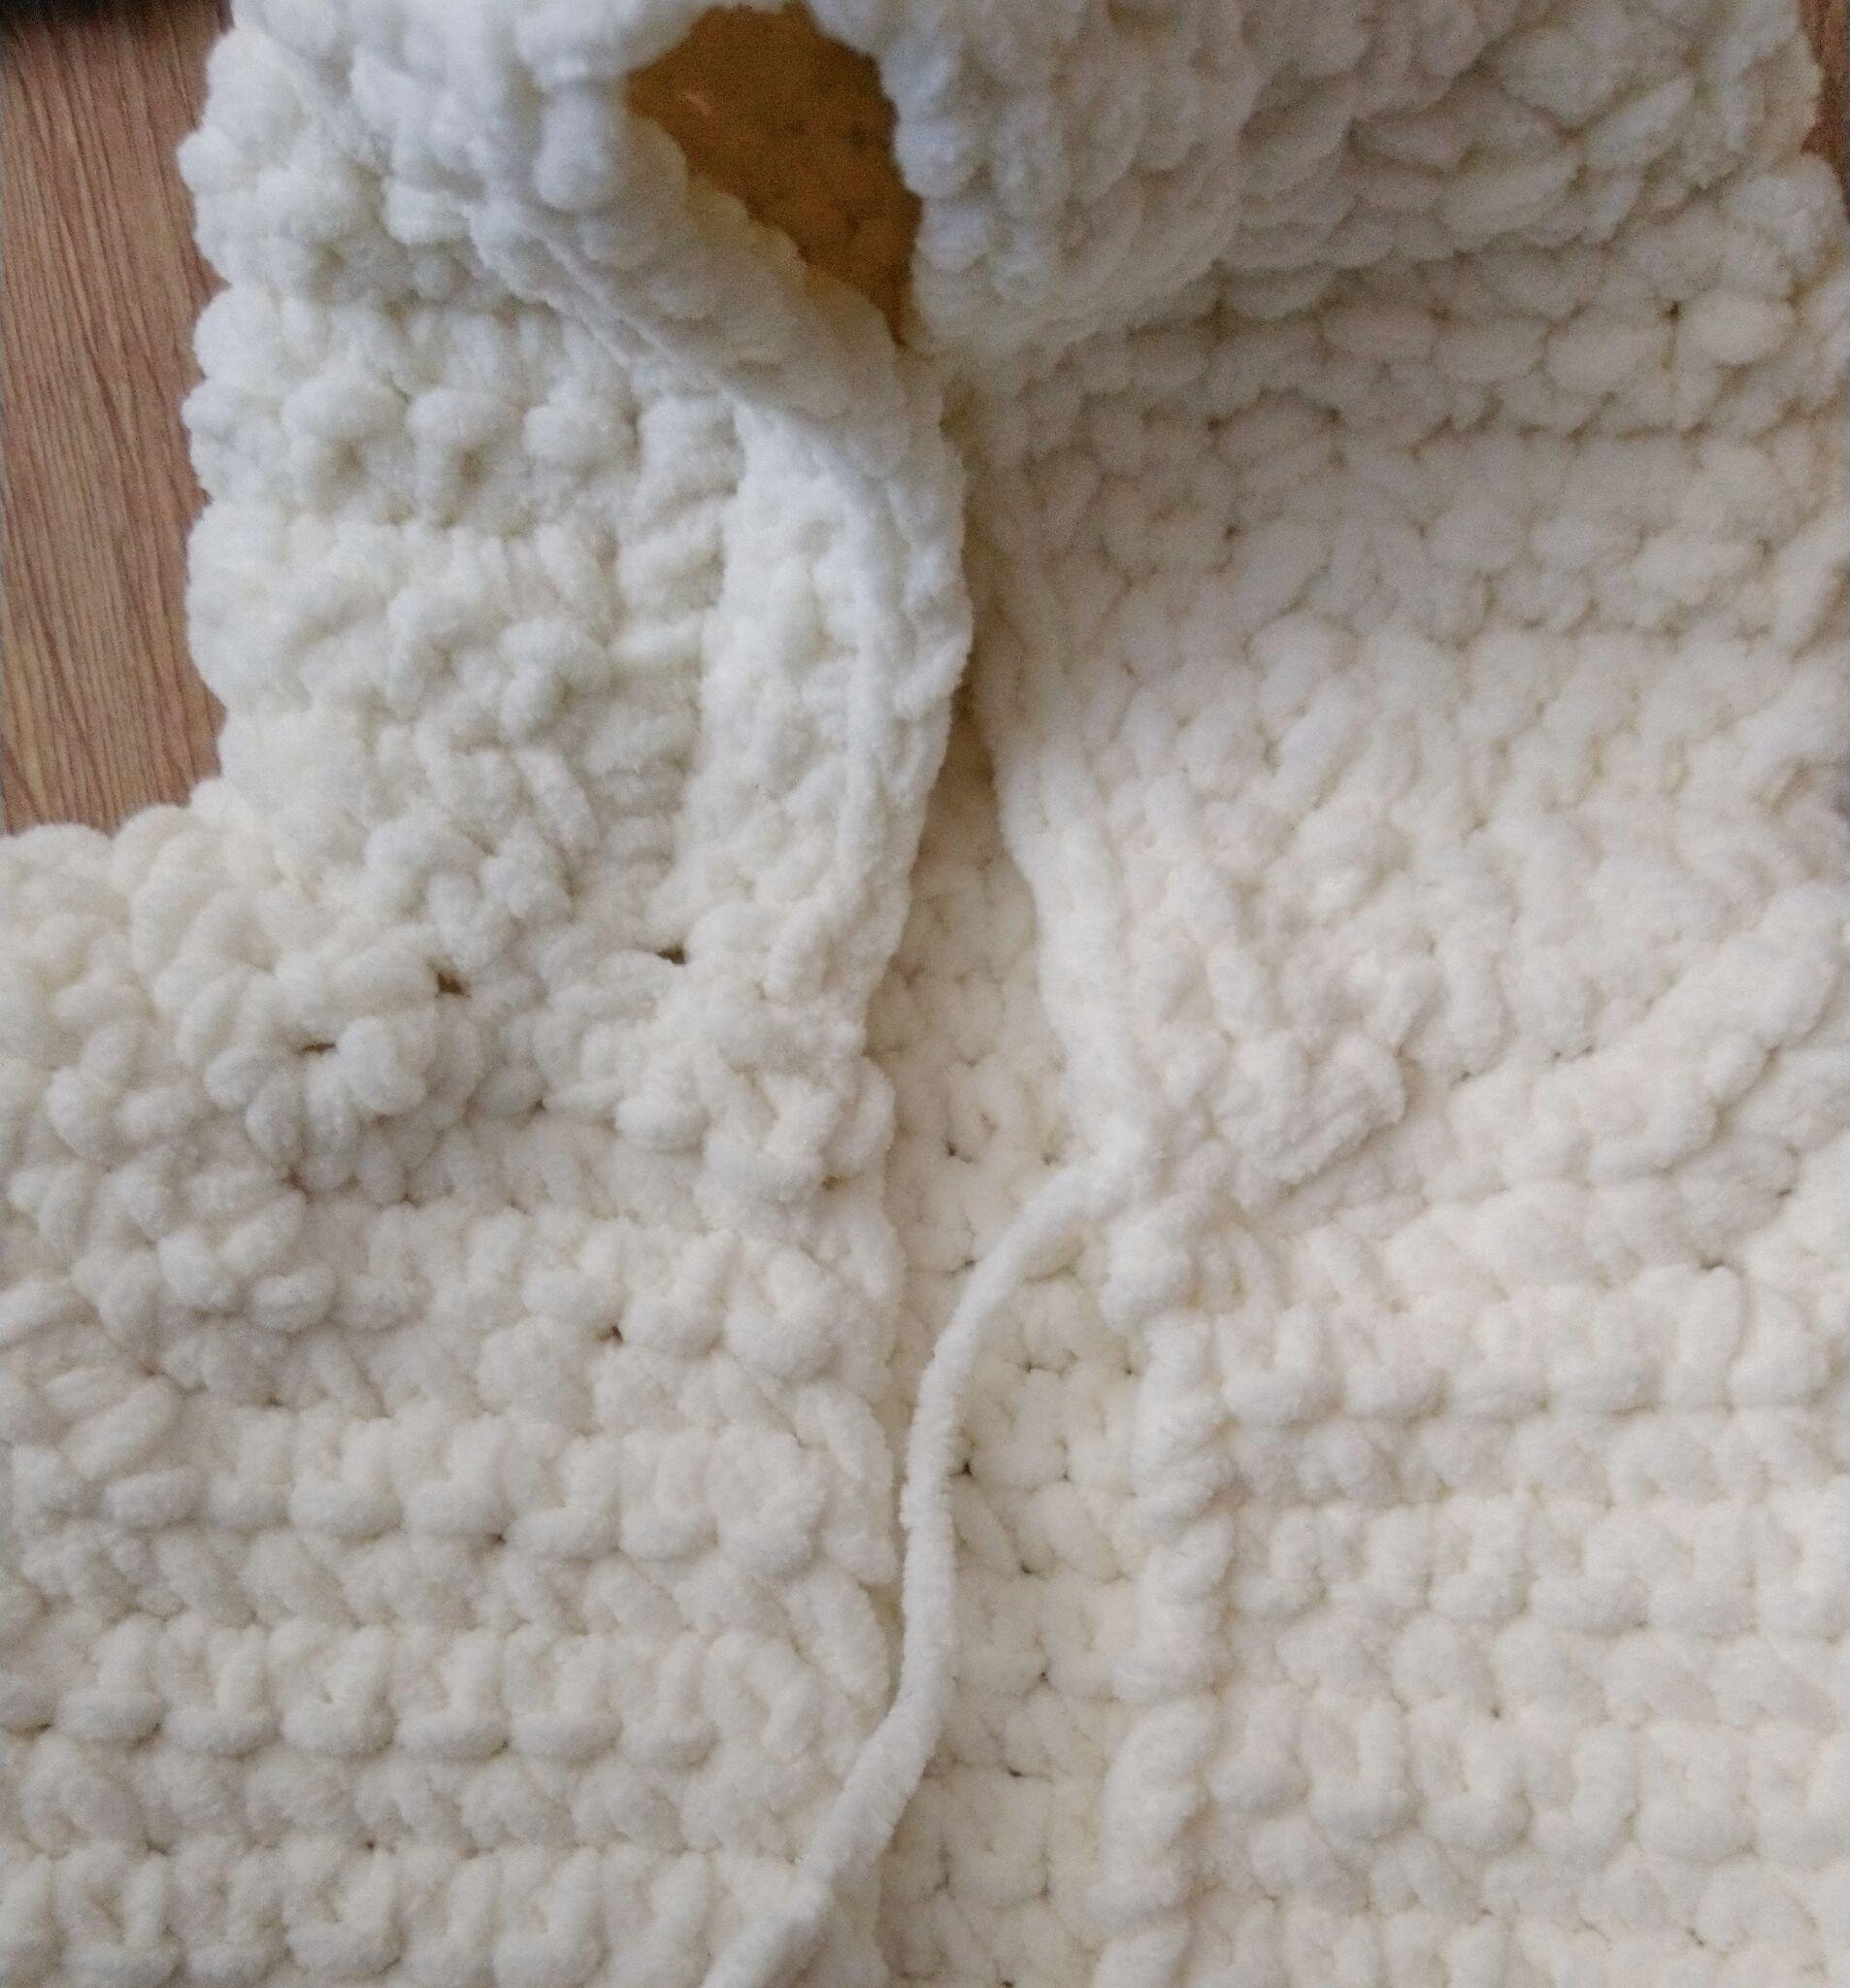
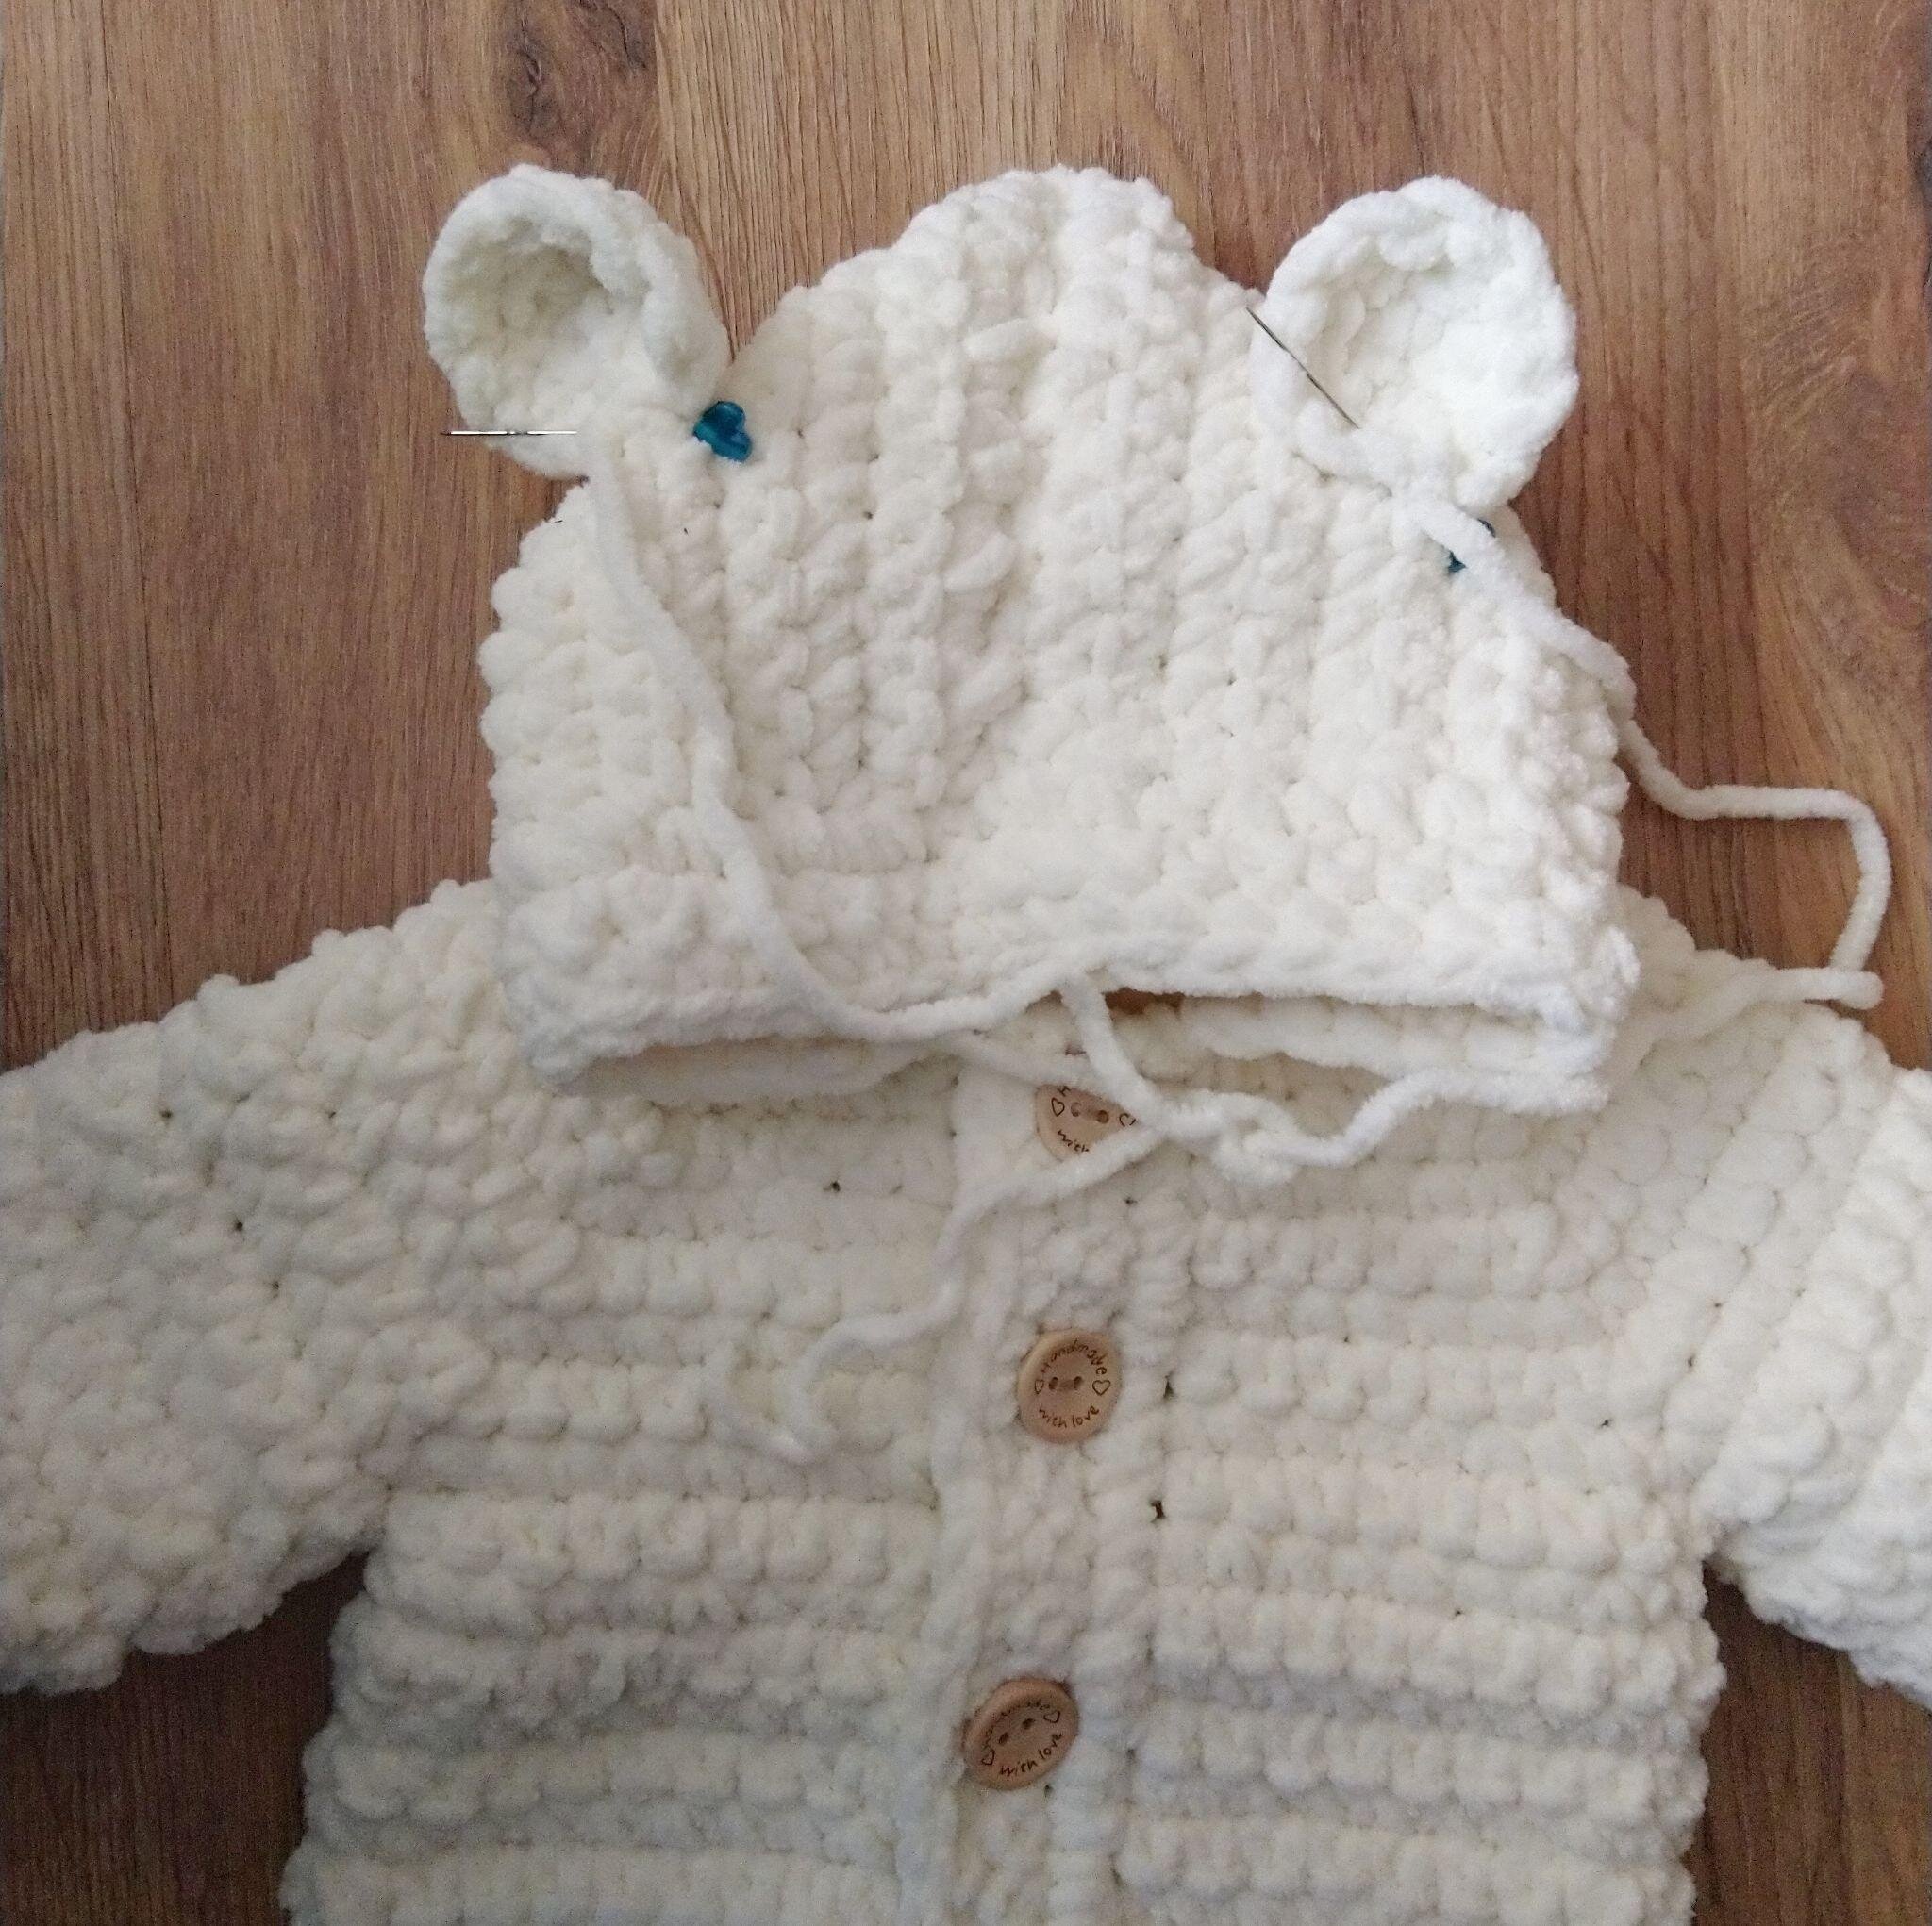
Sew the ears
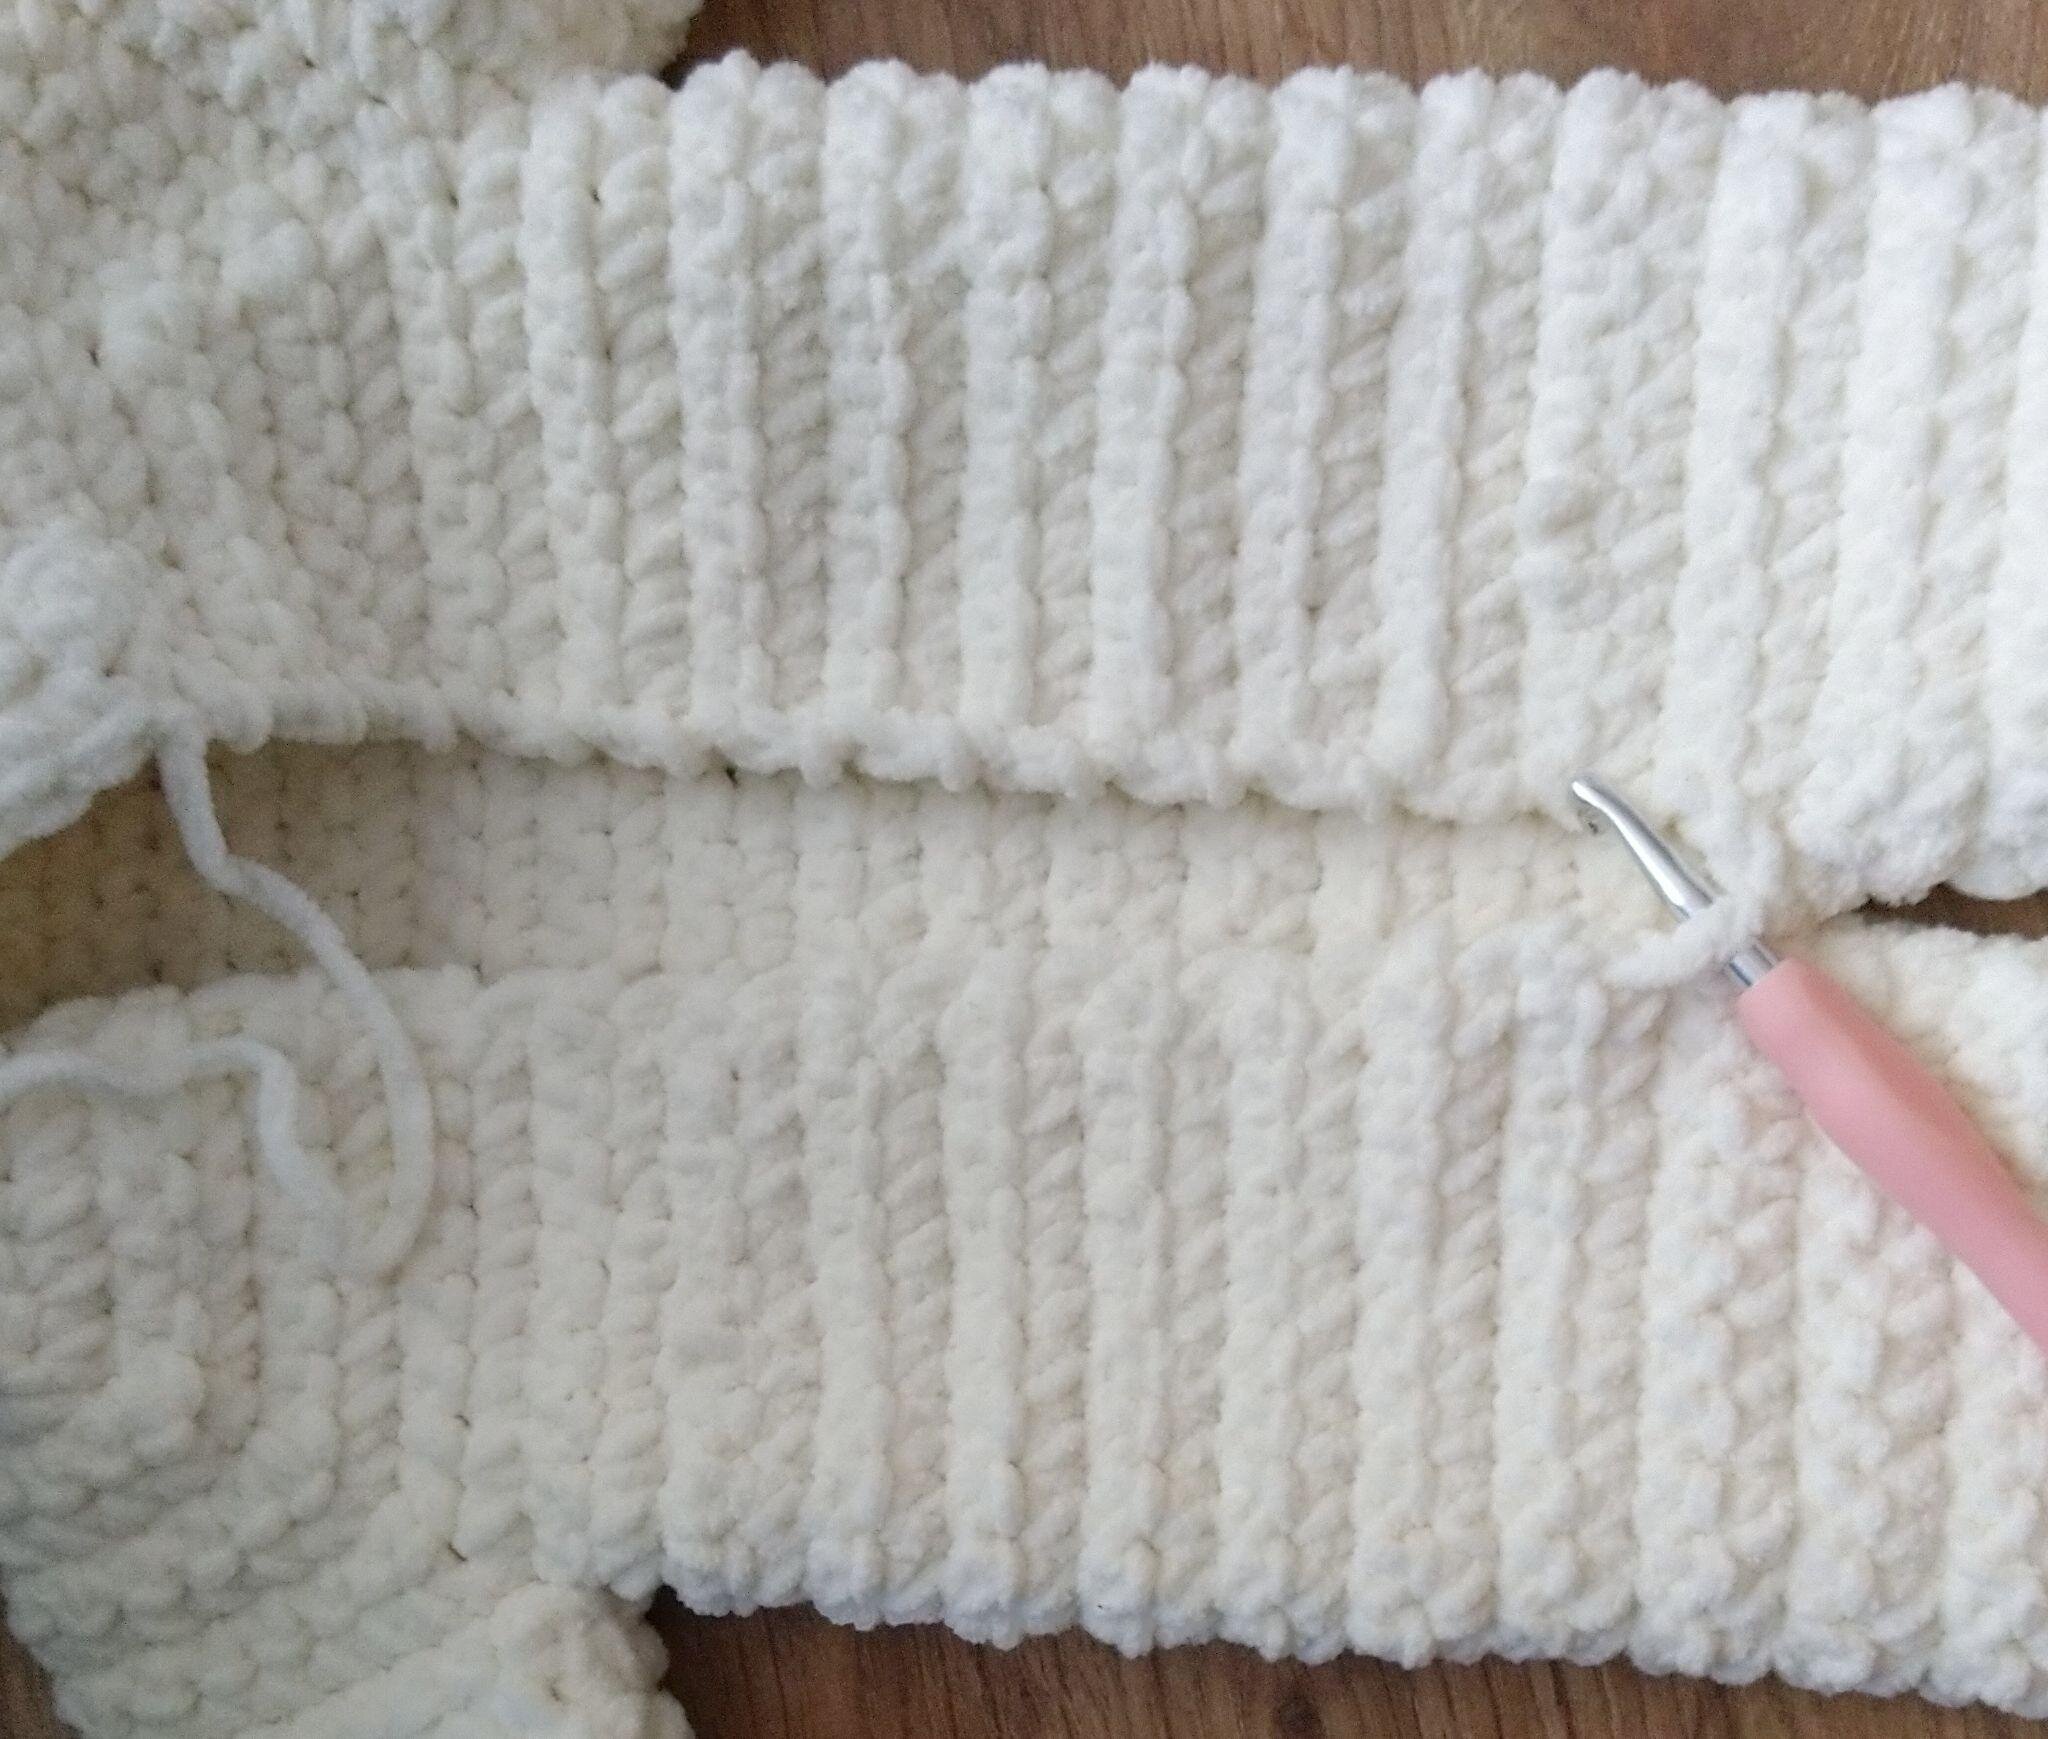
Starting the button band
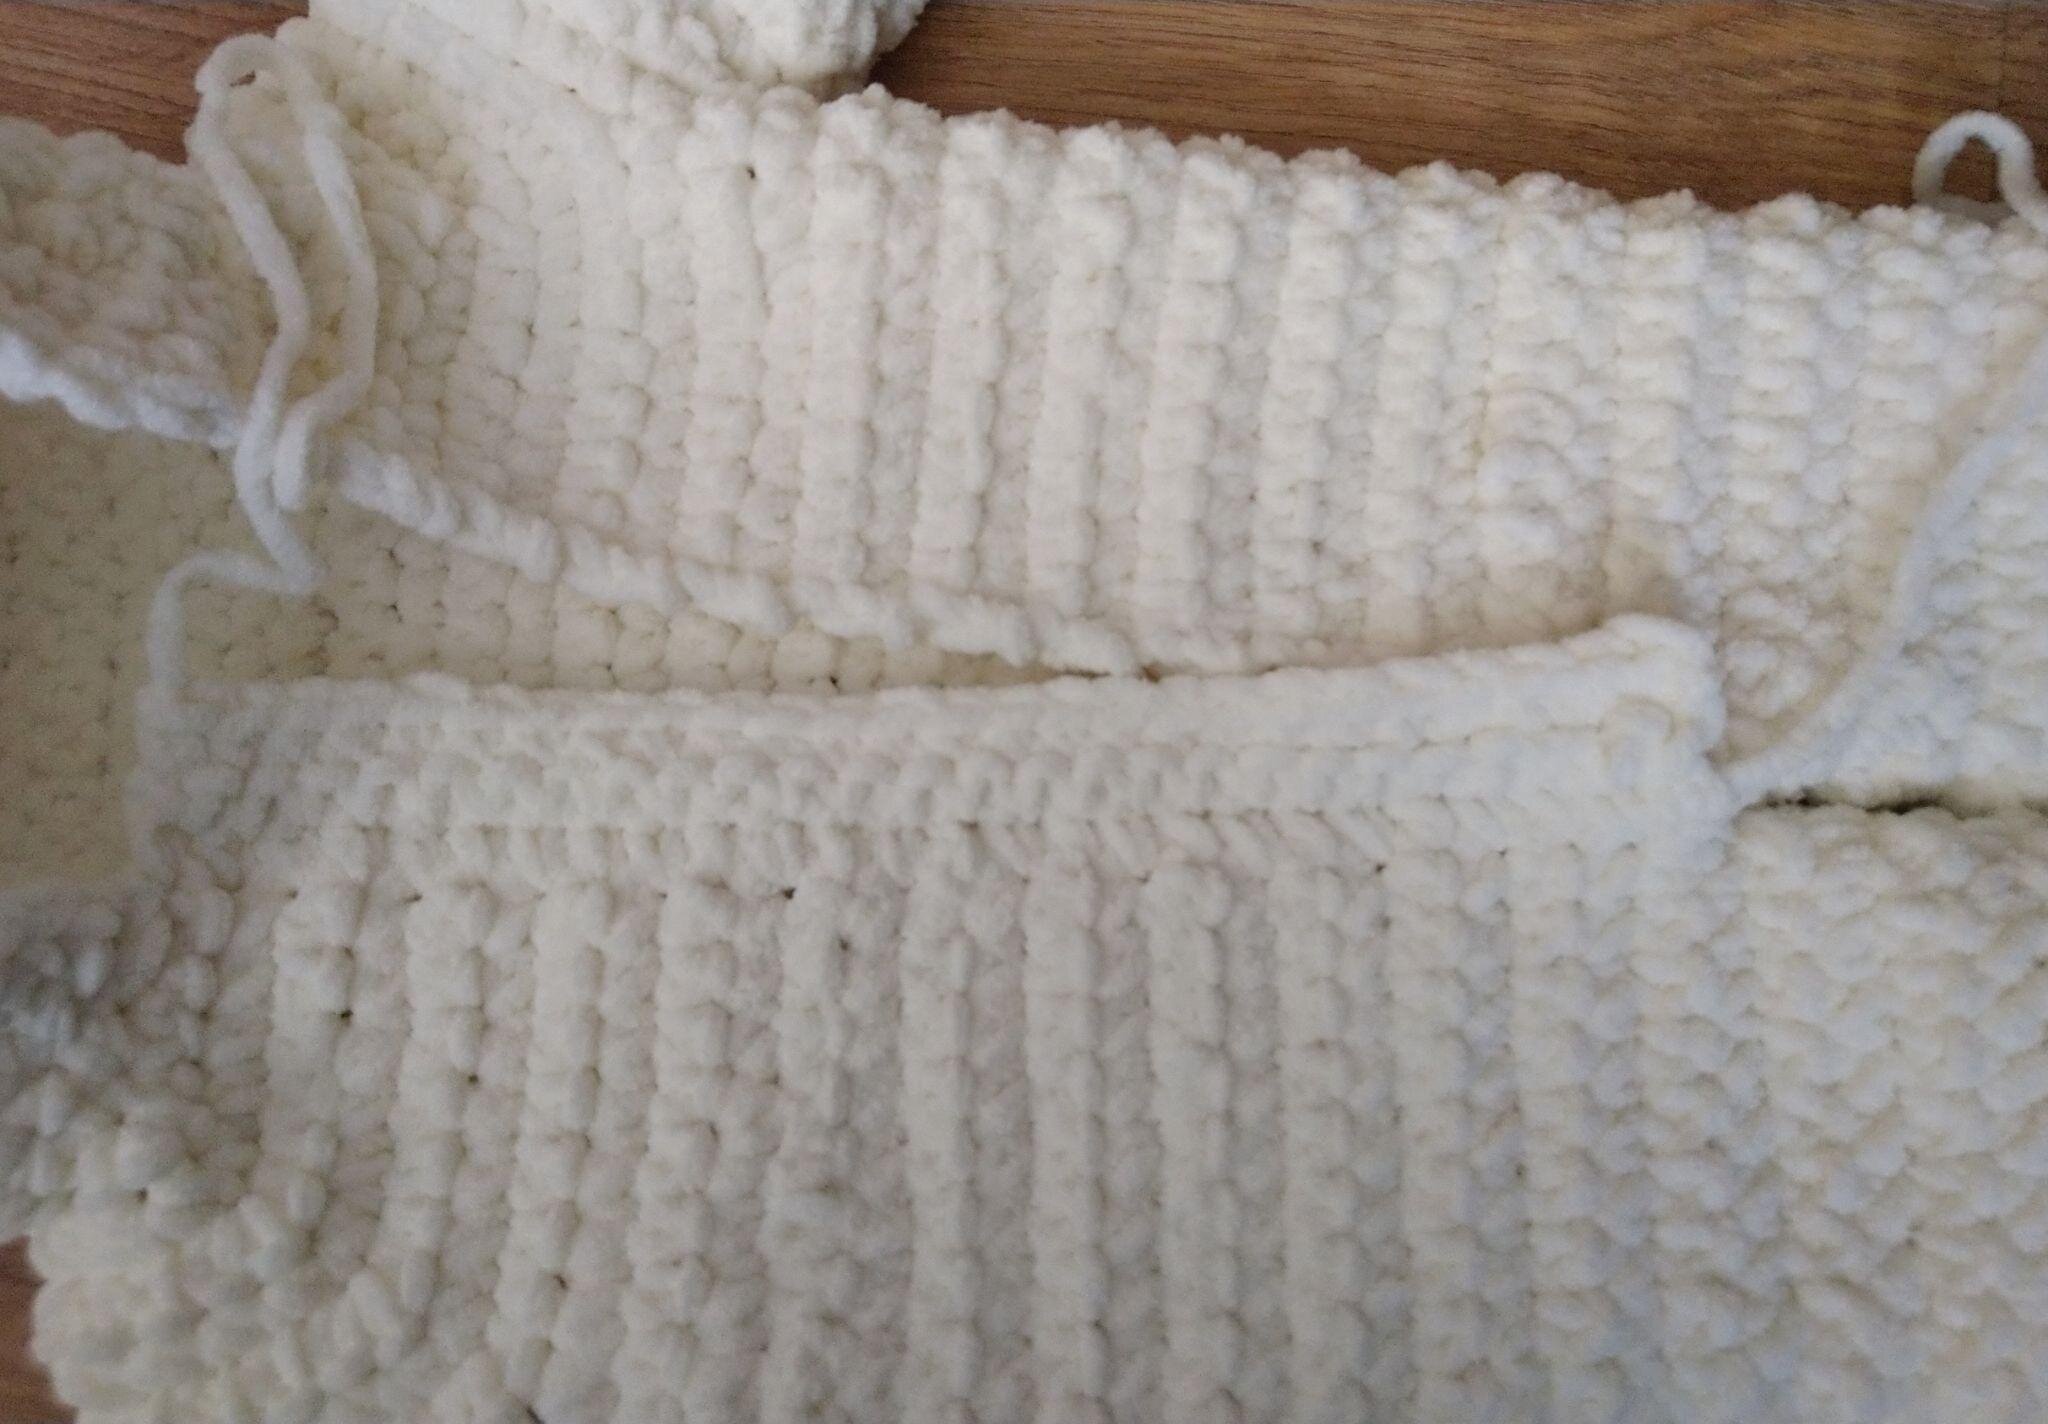
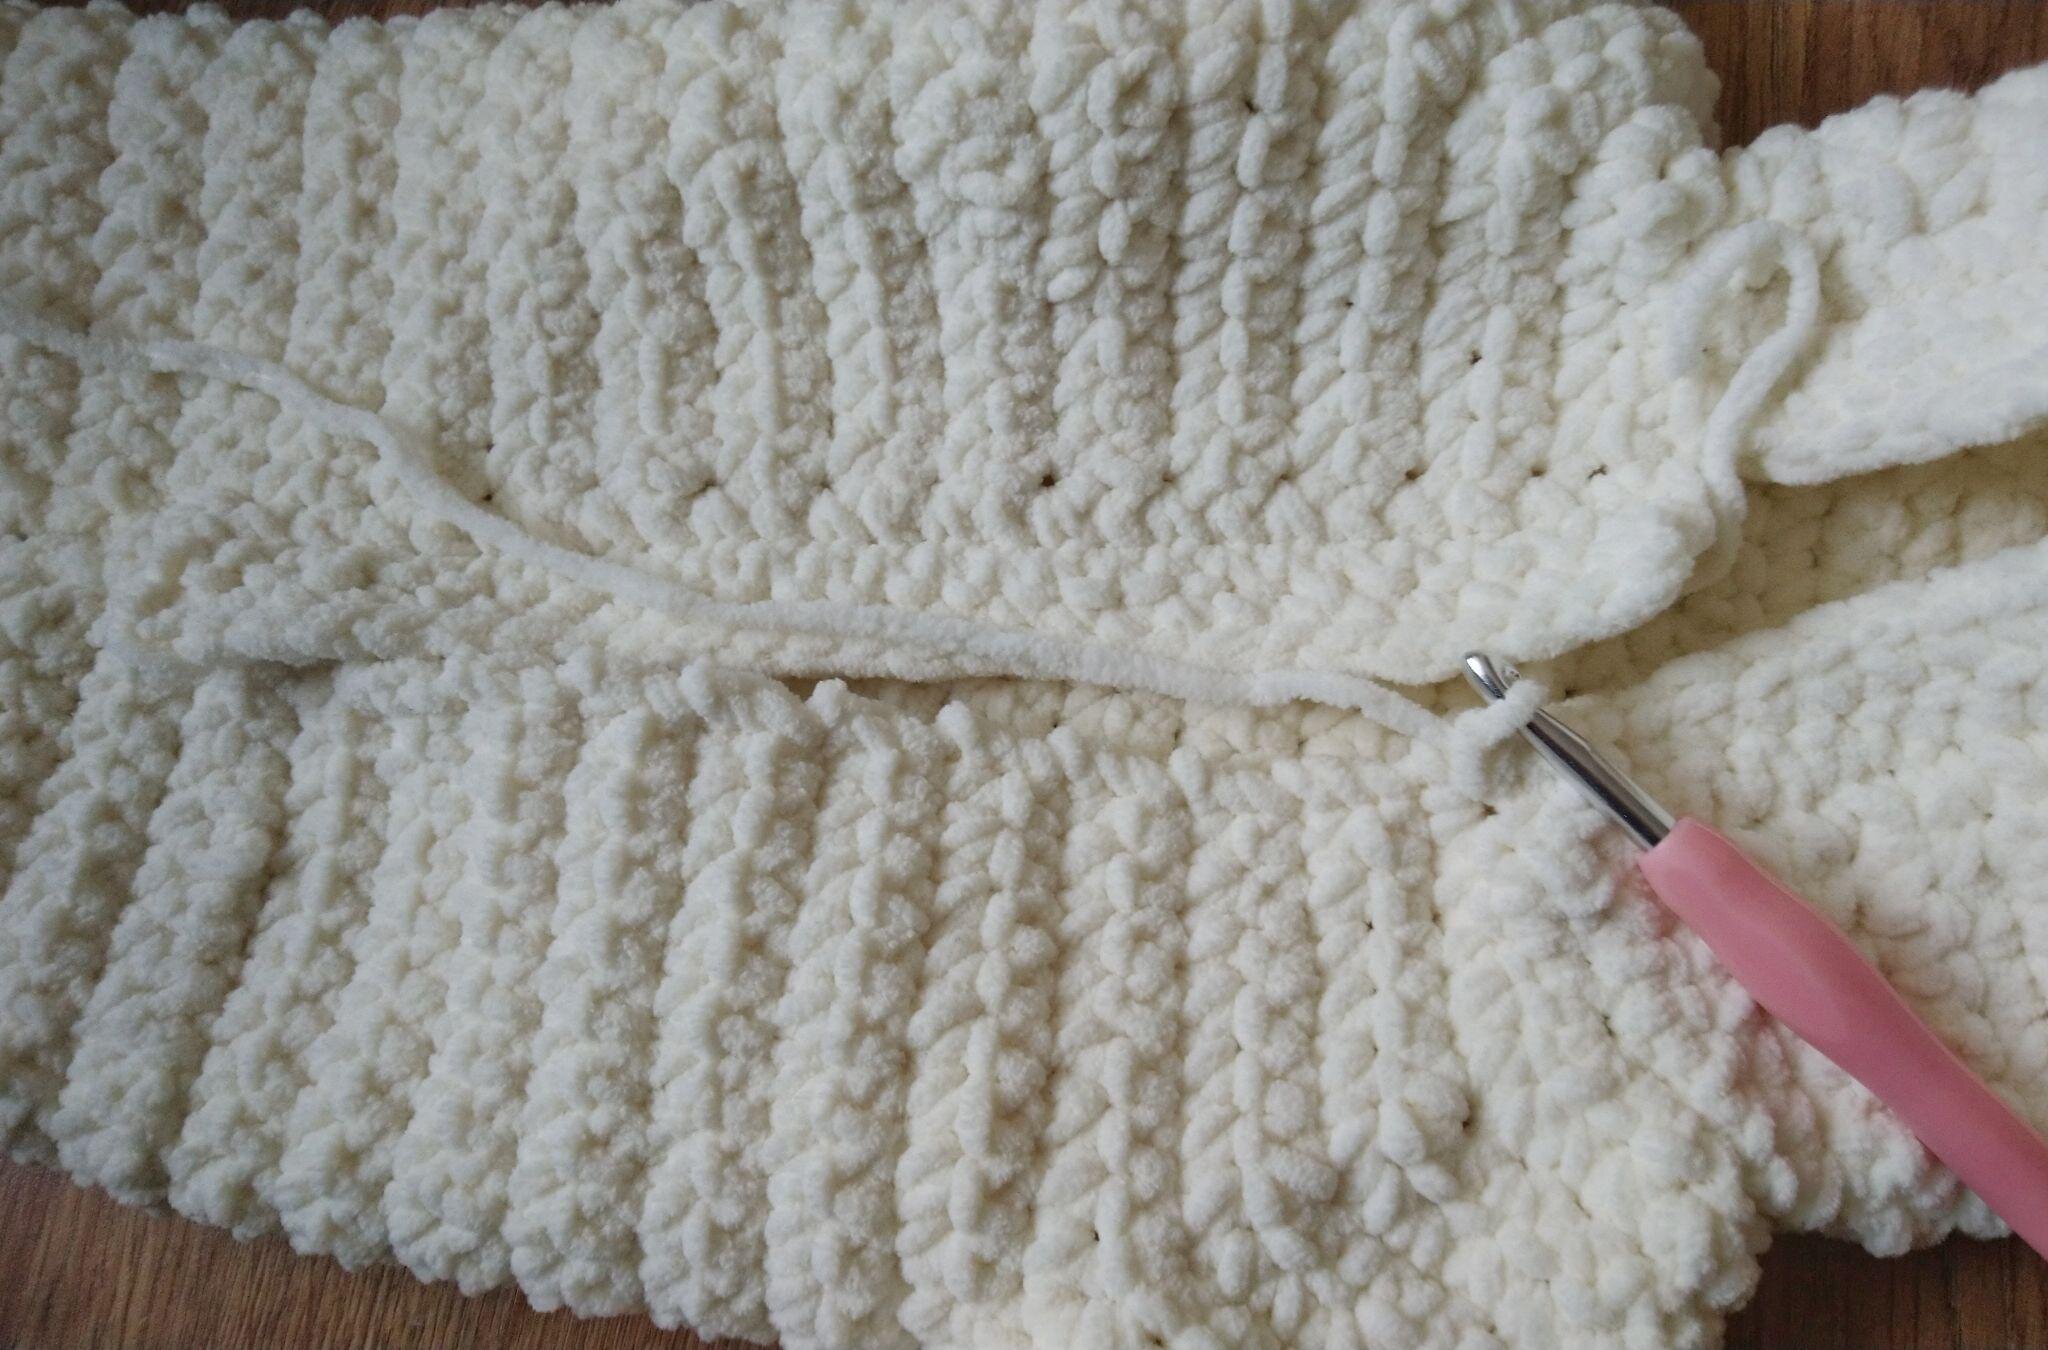
Starting the button hole band
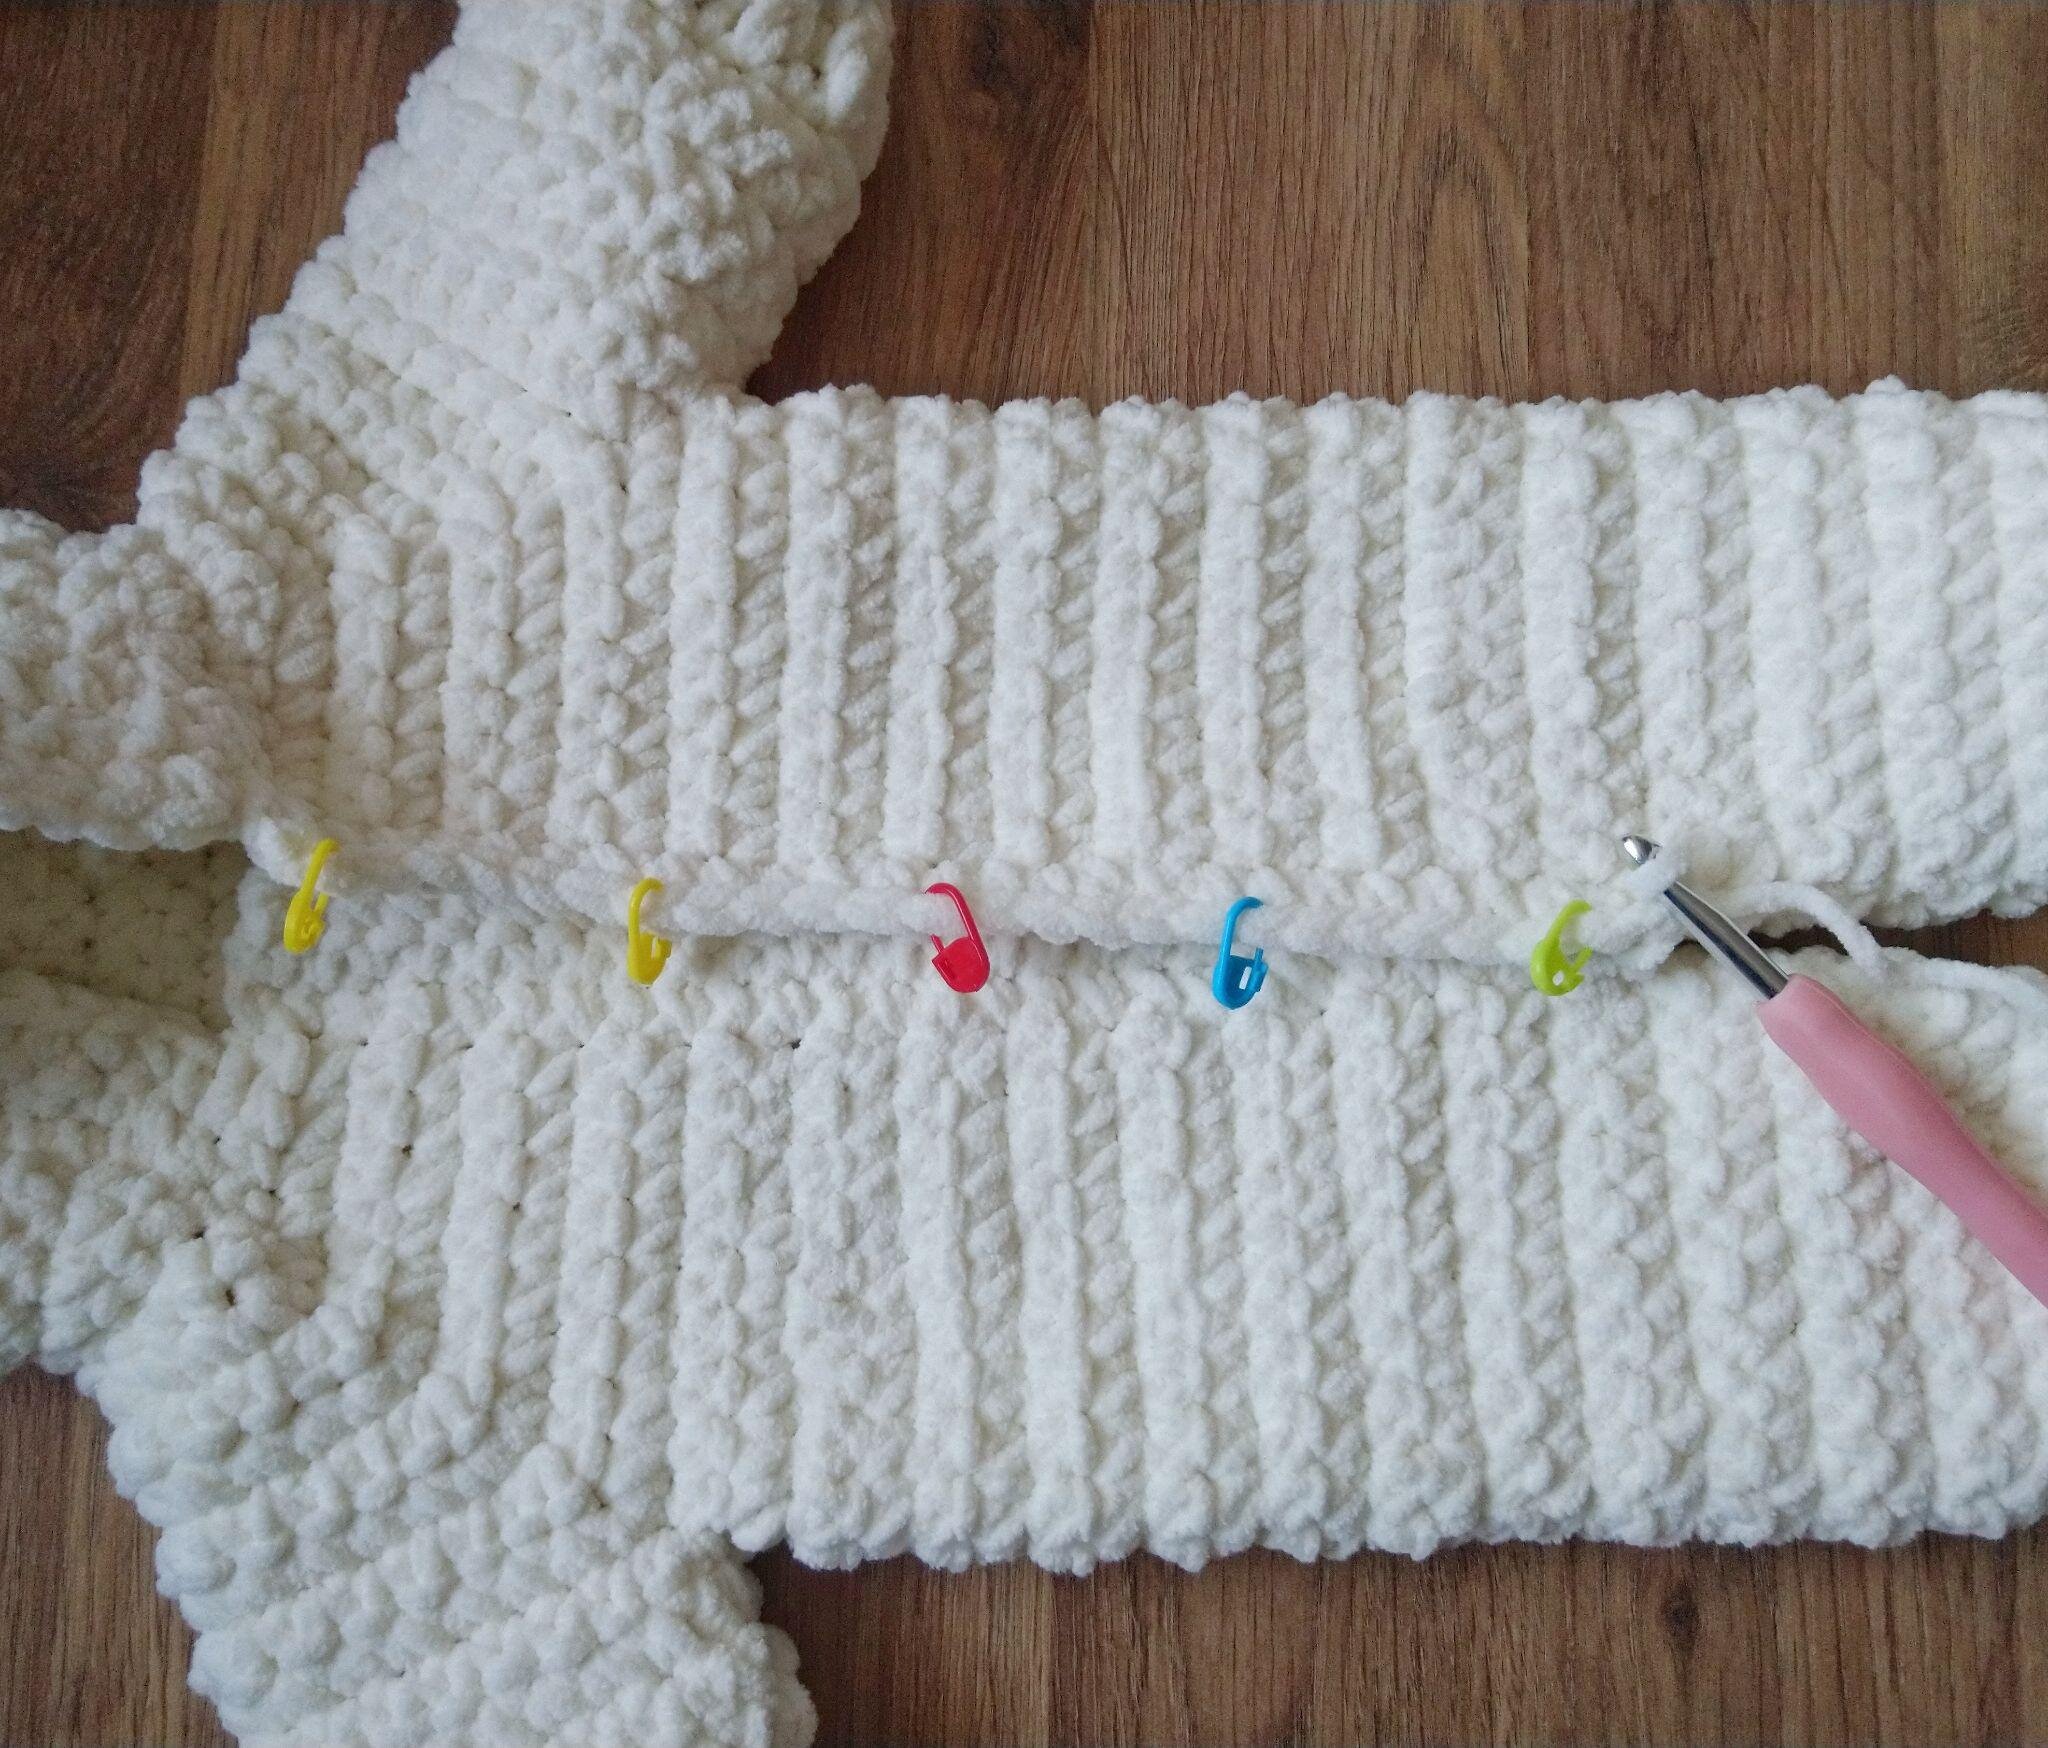
Mark out where you want the button holes
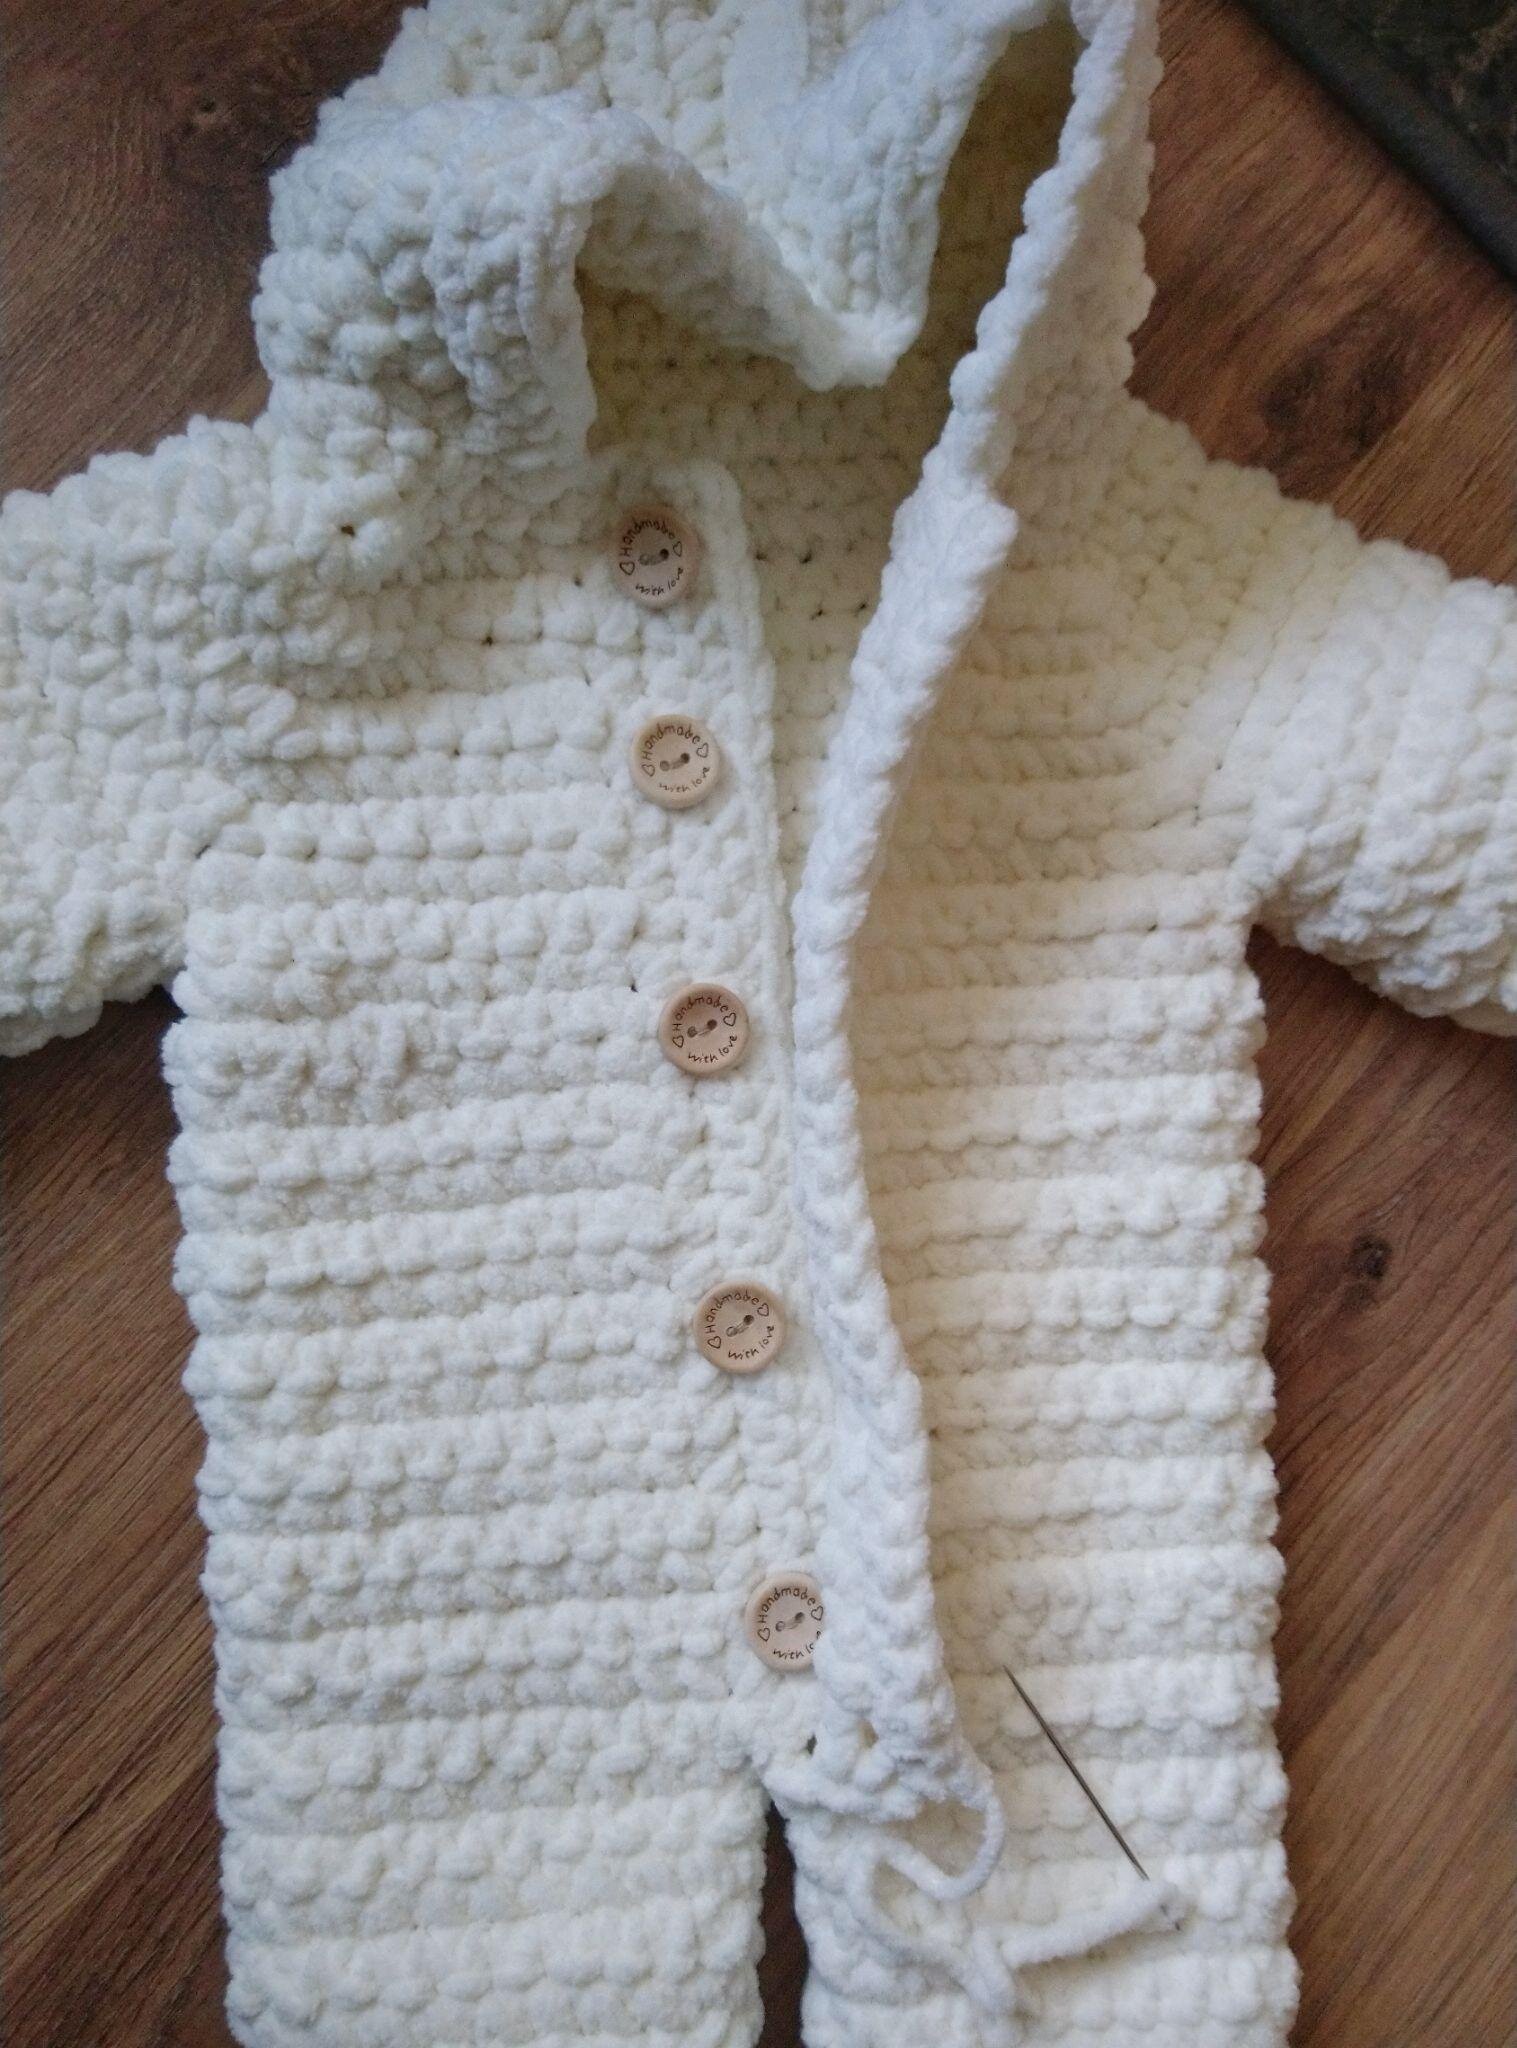
Sew the buttons to match holes
