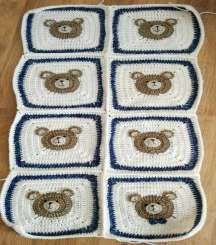
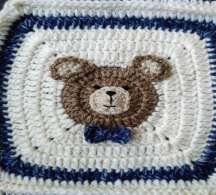
Teddy Bear Tiles Blanket
This cute blanket can be made as big or small as you like. I did three by four squares but you can make more or less depending how big you want the blanket.
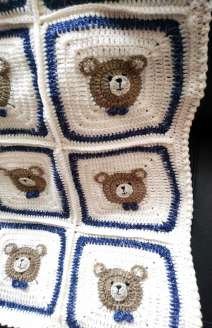
Each square will measure 9” x 9” if made with aran yarn and a 4.5 hook.
If made with the same materials and the method I used, the finished blanket will measure 37 x 28 inches.
Materials
300g cream aran/worsted
150g navy blue aran/worsted
100g brown aran/worsted
30g light brown/beige aran/worsted
Black embroidery thread
3 and 4.5mm crochet hook I use this set from Amazon*
Written in English US terms with abbreviations for UK
sc=single crochet (double crochet in UK terms)
dc=double crochet (treble crochet UK Terms)
hdc=half double crochet (half treble crochet UK Terms)
dec=decrease sc (sc 2 stitches together) (double crochet 2 stitches together UK Terms)
inc=increase (2sc in next stitch) (2dc in next stitch UK)
slst= slip stitch
**Ch3 counts as dc**
**Ch2 counts as hdc*
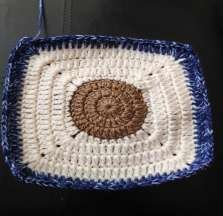
Square
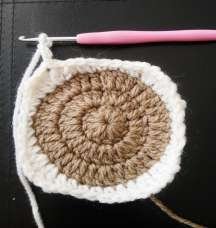
Starting with brown and 4.5mm
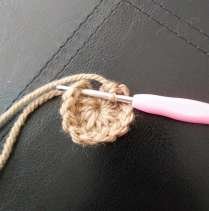
Round 1: ch4, slst to first to form a loop, ch3, 11 dc in loop, slst into top of ch3. (12)
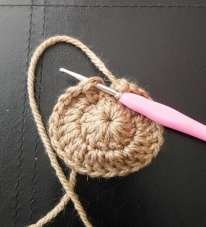
Round 2: ch3, dc in same, 2dc in each st, slst in top of ch3. (24)
Round 3: ch3, dc in same, *1 dc in next, 2 dc next* repeat to end, slst in top of ch3. (36)
Fasten off.
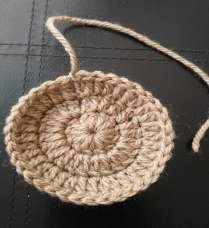
Change to cream colour
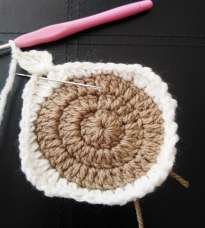
Round 4: Join in yarn and (ch3, dc in same, ch1, 2 dc in next) first corner, *hdc in each of the next 2, sc in each of the next 3, hdc in each of the next 2, (2 dc in the next, ch1, 2 dc in the next) corner, hdc in each of the next 2, sc in each of the next 3, hdc in each of the next 2** repeat twice more.
Slst into top of ch3, then slst to ch1 space.
slst to to of ch3
ch3
Fasten off
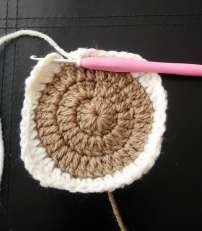
Round 5: ch3, (dc, ch1, 2 dc) in the first corner, 11 dc, (2 dc, ch1, 2 dc) in corner, 11 dc* repeat to end.
Slst into top of ch3, then slst to ch1 space. (60 + 4 ch1 spaces)
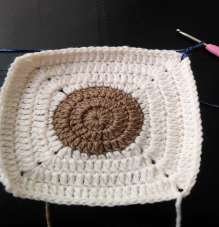
Round 6: ch3, (dc, ch1, 2 dc) in first corner, 15 dc, *(2 dc, ch1, 2 dc) in corner, 15 dc* repeat to end,
Slst into top of ch3, then slst to ch1 space. (76 +4 ch1 spaces)
From now on we will ch2 in each corner
Round 7: ch3, (dc, ch2, 2dc) in first corner, 19 dc, *(2 dc, ch2, 2 dc) in corner, 19 dc* repeat to end.
Slst into top of ch3, then slst to ch2 space. (92 + 4 ch2 spaces)
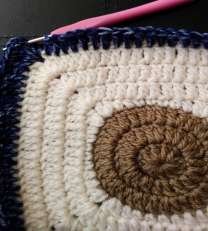
Change colour
Round 8: ch3, (dc, ch2, 2 dc) in first corner, 23 dc, *(2 dc, ch2, 2 dc) in corner, 23 dc* repeat to end.
Slst into top of ch3 then slst to ch2 space. (108 + 4 ch2 spaces)
Fasten off.
Work all of your squares up to round 8, we will do round 9 just before the joining process.
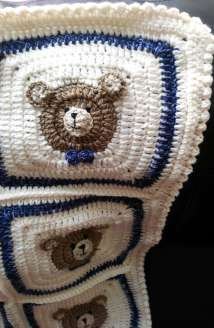
Make and sew on the muzzle and ears as below on each square.
This hidden stitch needs to be worked

slst to first, then the ch1 corner
Bear face details
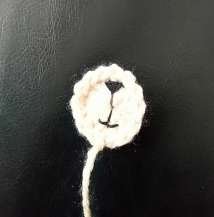
Muzzle
With beige yarn 3mm hook
Ch4, 14 dc in last ch from hook, slst to top of ch4. Fasten off.
Sew triangle for nose and add the mouth using black embroidery thread, then sew in place.
Eyes
Sew on eyes with embroidery thread.
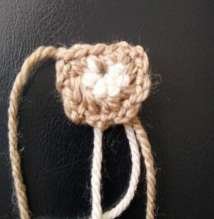
Bear ears
Starting with beige yarn and 3mm hook
Make 2 for each bear
Ch2
Round 1: With beige 6 sc in second ch from hook, do not join and fasten off.
Join brown and 3mm hook
Round 2: ch3, sc in same, *ch2, sc in next* repeat to end, ch1, sc back to beginning along the beige side.
Fasten off leaving a long end for sewing.
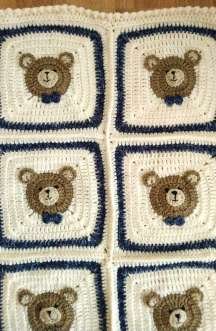
Bow Tie
Ch4 with 3mm hook in the colour you want the bow.
3 dc in last ch from hook, ch3, slst to end, ch3, 3 dc, ch3, slst to end. Fasten off leaving a long end and wrap round the middle a few times ready to sew in place.
You could sew a bow on the head for a girl's bear.
sew a triangle nose and mouth on the muzzle
Ears
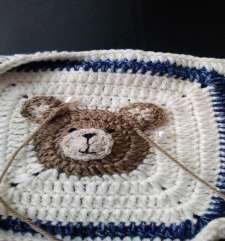
Sew muzzle, ears and eyes
Sew bow tie
Once all the squares have been made, do round 9 on the first and fasten off.
Change back to cream colour
Round 9: ch2, (hdc, ch2, 2hdc) in first corner, 27 hdc, *(2 hdc, ch2, 2 hdc) in corner, 27 hdc* repeat to end. Slst into top of ch2 then slst to ch2 space. (124 + 2 ch2 spaces)
Fasten off for the first square of each row only.
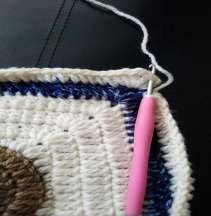
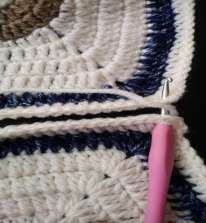
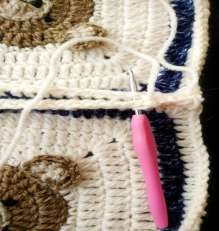
Joining squares together
Do round 9 on the next and continue to join with a sc (place the two squares side by side then sc through both sides to join) then fasten off and repeat with the next square.
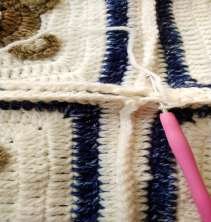
Repeat once more and you will have 4 tiles in a row downwards.
Then when you have three rows of four you can join each of them together.
Start by laying two rows together and join in yarn at the top corner.
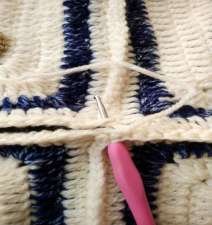
Then repeat the above steps to join the third row, after finishing this do not fasten off, continue to border.
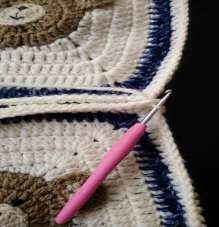
Border
Round 1: Turn work so the wrong side is facing you. Ch1, sc in the same and each stitch all the way round doing (2 sc, ch2, 2 sc) in the corners.
Once you have done this you can add any border you like or commence to use the same border I used.
Round 2: Turn work so the right side is facing you. Ch2 and hdc all around doing (2 hdc, ch2, 2 hdc) in each corner space.
Round 3: Turn work so the wrong side is facing you. Ch1, dc in same space, *slst in next, dc in next* repeat to end and slst to first.
Fasten off and sew in all ends.
For a girls blanket you could add a simple shell stitch for round 3 as follows.
Ch1, sc in same, sk2, *5 dc in next, sk2, sc in next* repeat to end and slst to first sc. fasten off and sew in ends.