
Free Easter Bunnies Amigurumi Crochet Pattern
These Easter Bunnies are a quick and fun make and will make a great Easter gift. The pattern also includes a little basket to fill with chocolate eggs.
Written in US terms with abbreviations for UK
sc=single crochet (double crochet in UK)
dc=double crochet (treble crochet UK)
dec=decrease sc (sc 2 stitches together) (double crochet 2 stitches together UK)
inc=increase (2 sc in next stitch) (2 double crochet in next stitch UK)
Blo-back loops only
Materials:
Around 35g of bunny colour (beige, white, brown, cream) dk Yarn and 15g of contrasting colour. (I used King Cole cottonsoft Truffle DK, cookie dough and Ricorumi 055 beige) LoveCrafts
A small amount of pink for the nose
2mm hook I use this set from Amazon*
Small amount of black embroidery thread for eyelashes
10mm safety eyes or black yarn.
Polyester toy filling.
Needle.
All parts are made going round in a spiral.
Bunnies will measure approx 9 inches tall.
If you want your rabbit slightly bigger you can use aran/worsted yarn and a 2.5mm hook or even bigger use chunky and a 3.5mm.
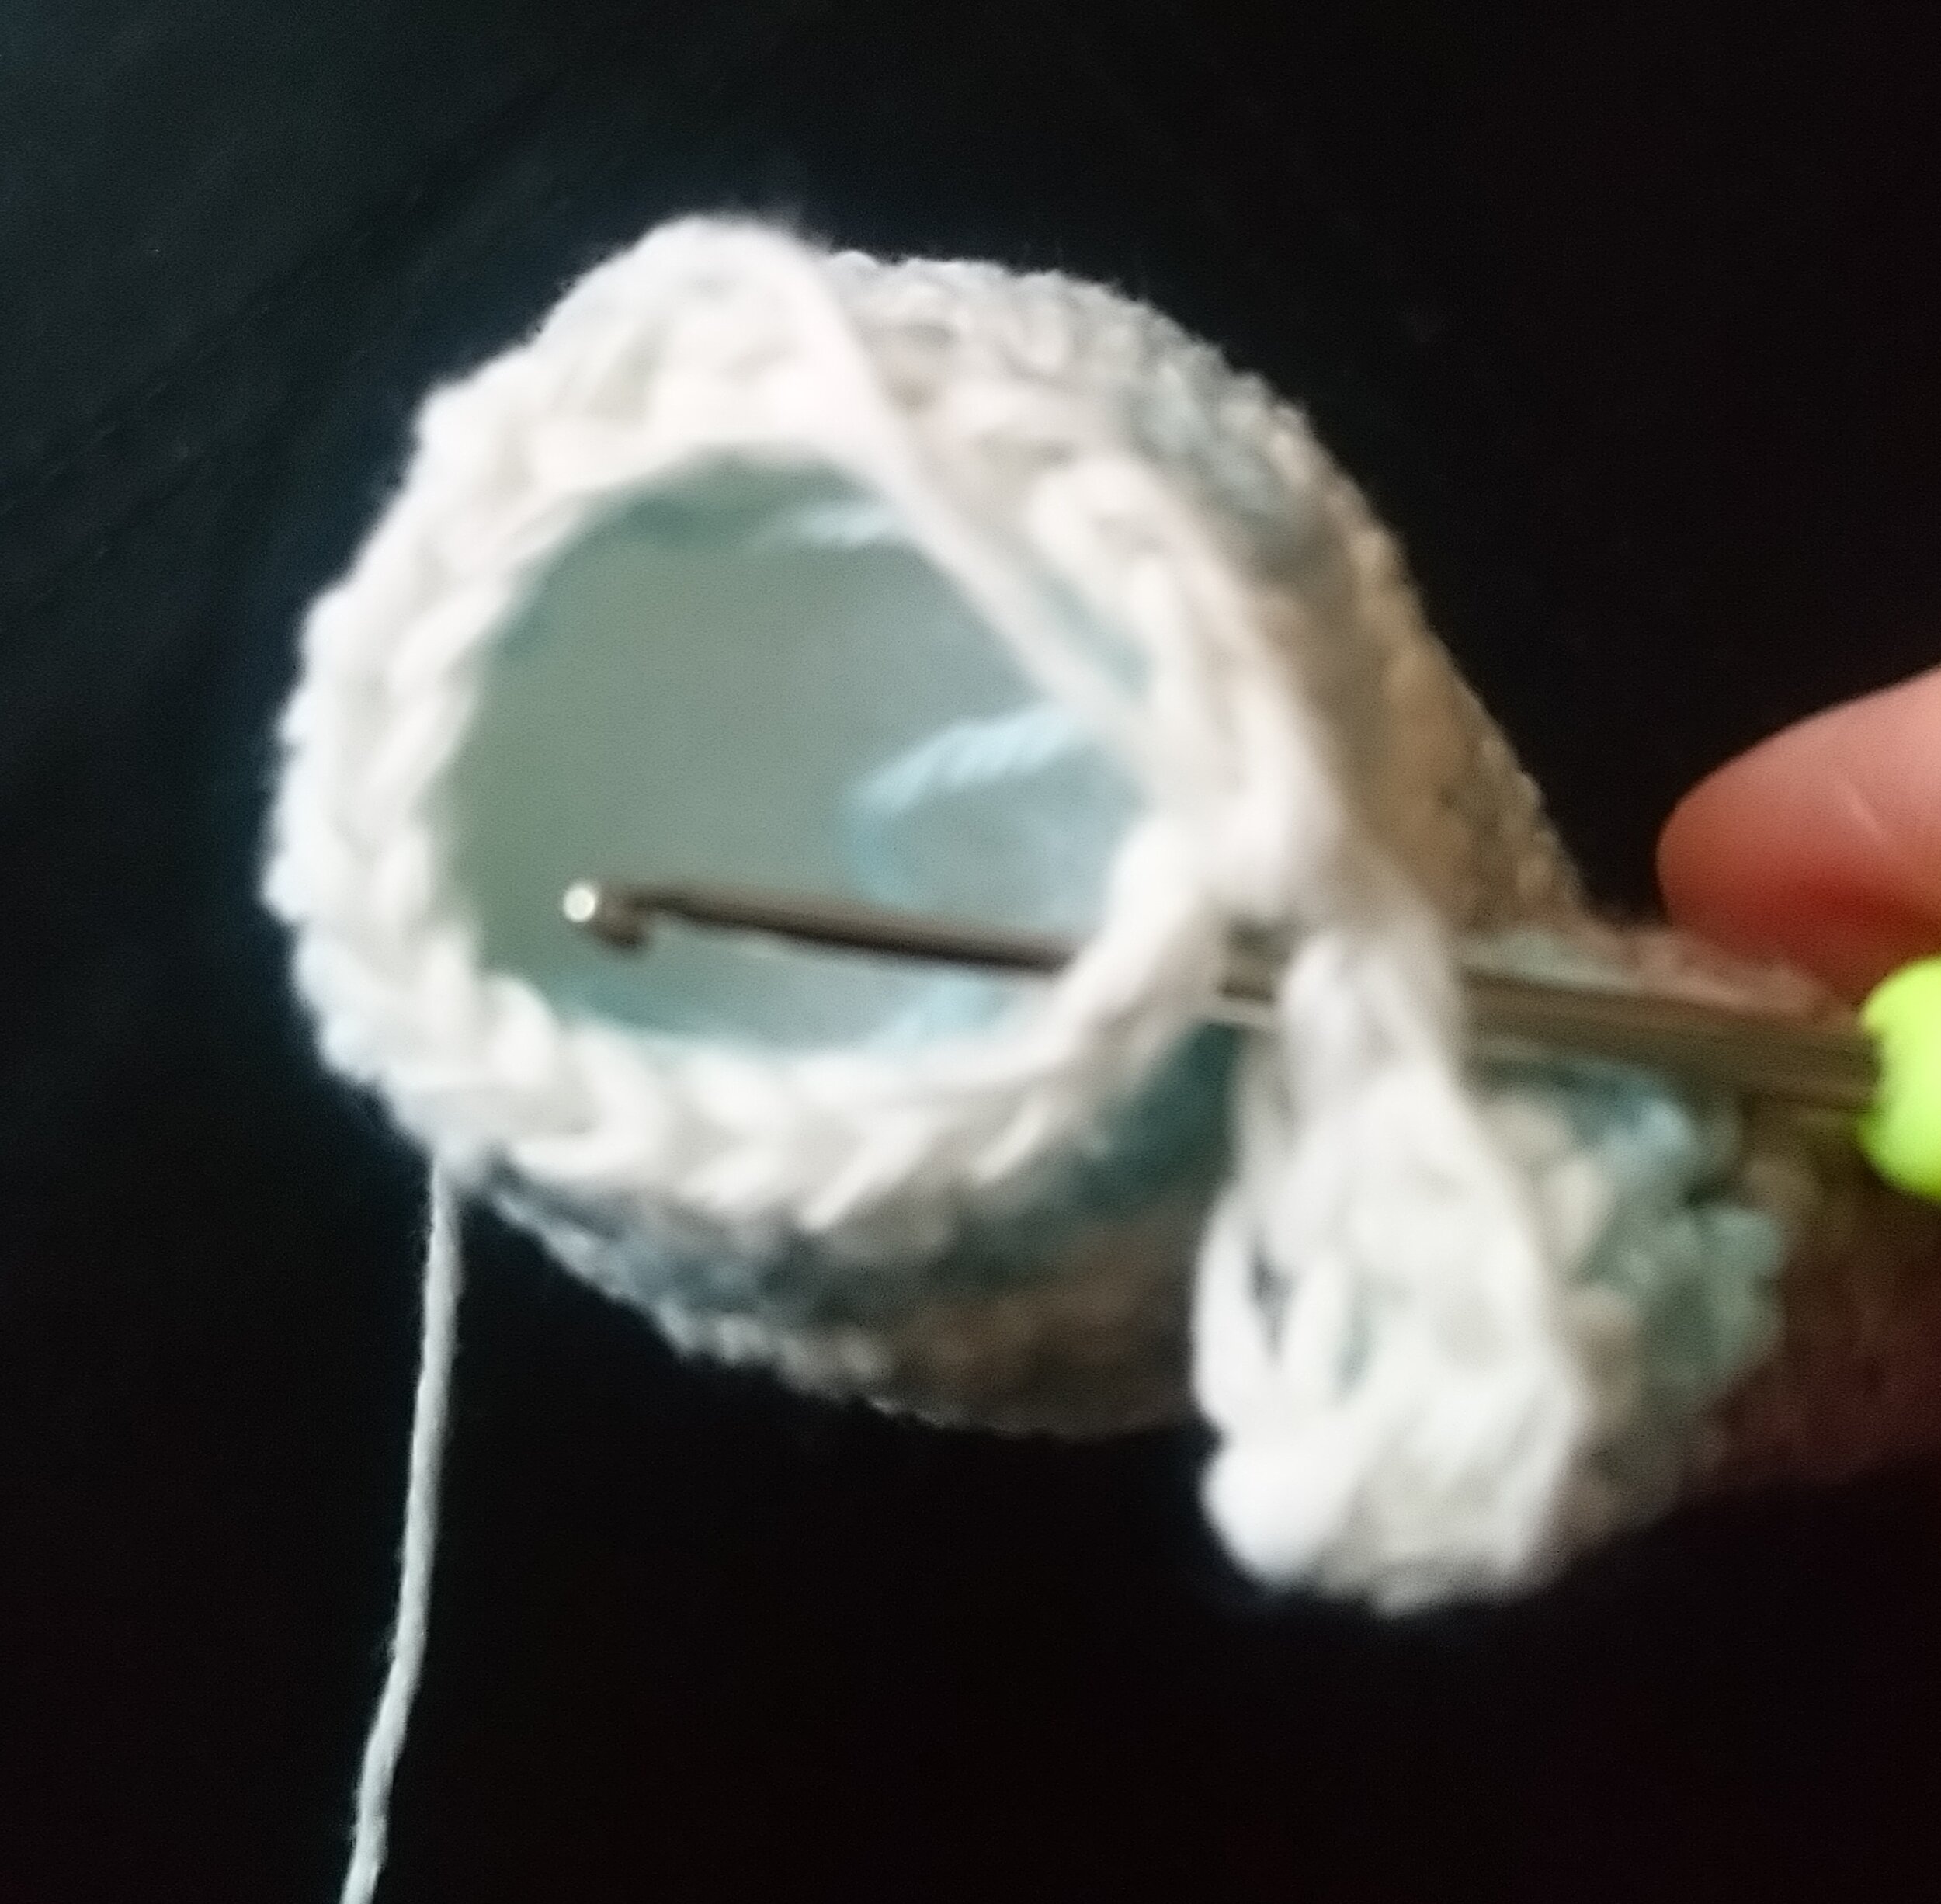
Head
Starting with nose colour
Rnd1 6 sc in magic circle. (6)
Change to skin colour
Rnd2 sc all. (6)
Rnd3 *inc* x 6. (12)
Rnd4 *sc 1, inc* x 6. (18)
Rnd5 sc all. (18)
Rnd6 *sc 2, inc* x 6. (24)
Rnd7 sc all. (24)
Rnd8 sc 9, *inc* x 6, sc 9. (30)
Rnd9 sc 12, *inc* x 6, sc 12. (36)
If using safety eyes place between row 6 and 7, 5 stitches apart
Rnd10-17 sc all. (36)
Rnd18 *sc 4, dec* x 6. (30)
Stuff as you go
Rnd19 *sc 3, dec* x 6. (24)
Rnd20 *sc 2, dec* x 6. (18)
Rnd21 *sc 1, dec* x 6. (12)
Rnd22 *dec* x 6. (6)
Fasten off and sew up.
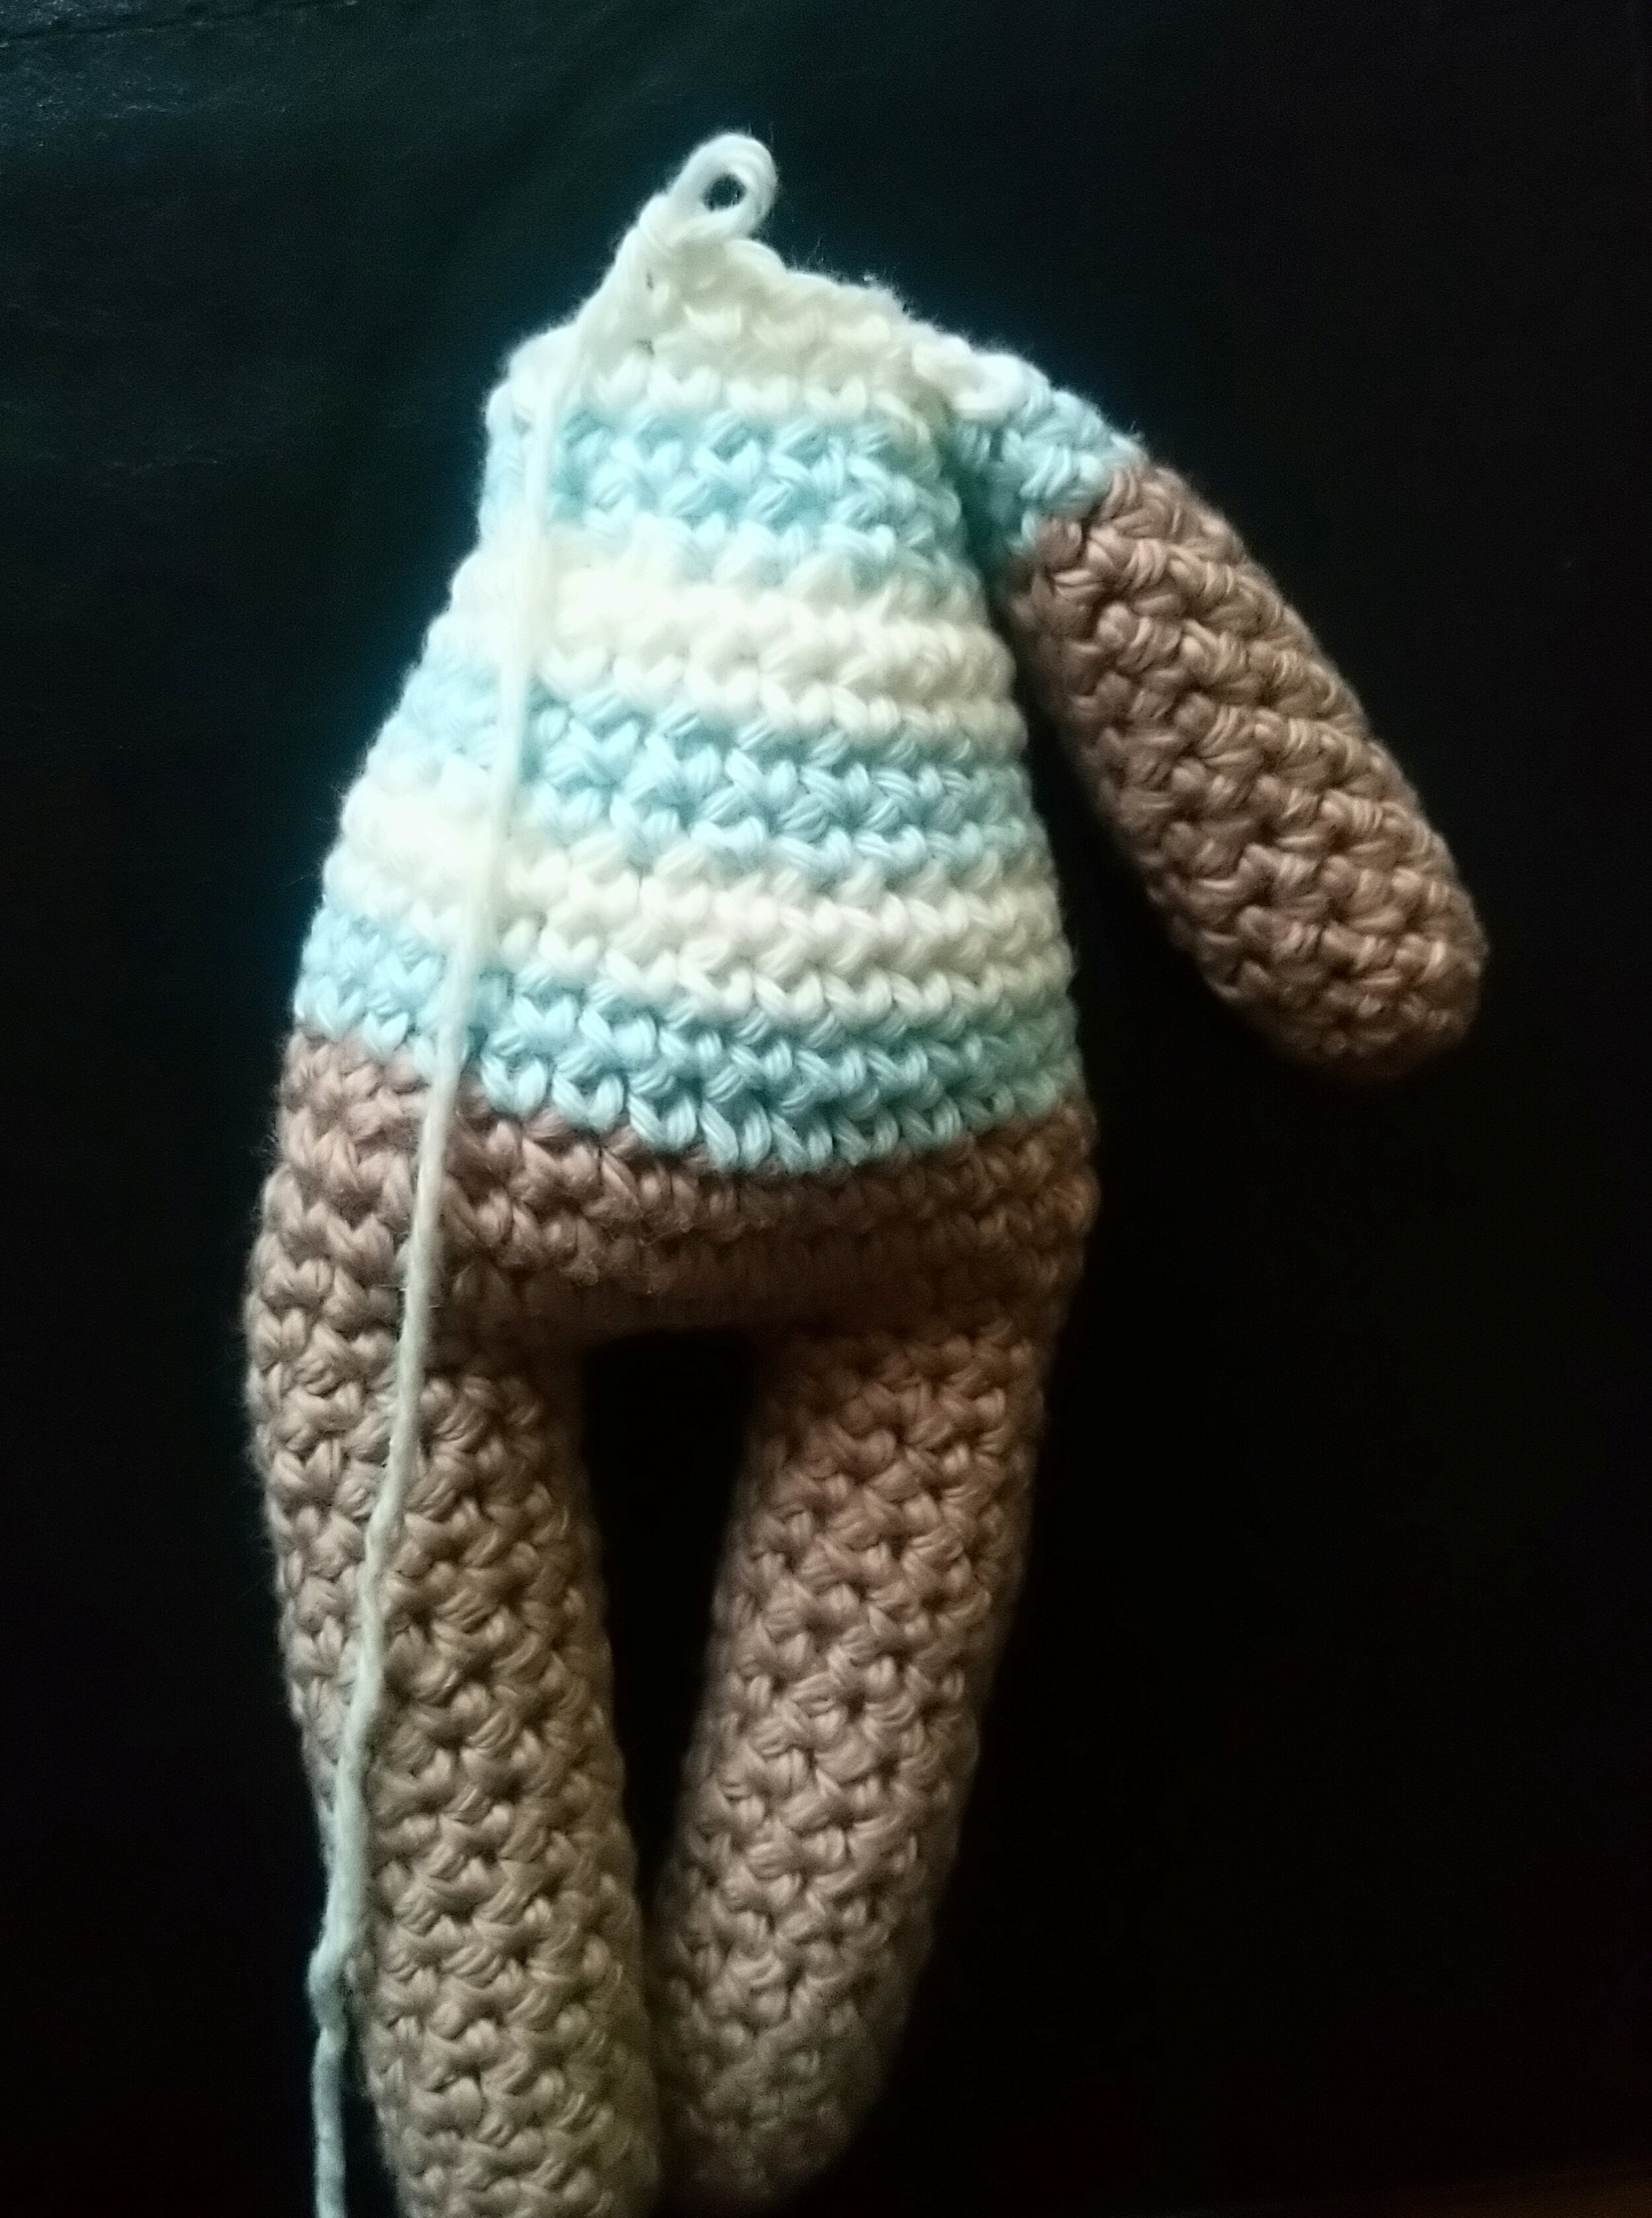
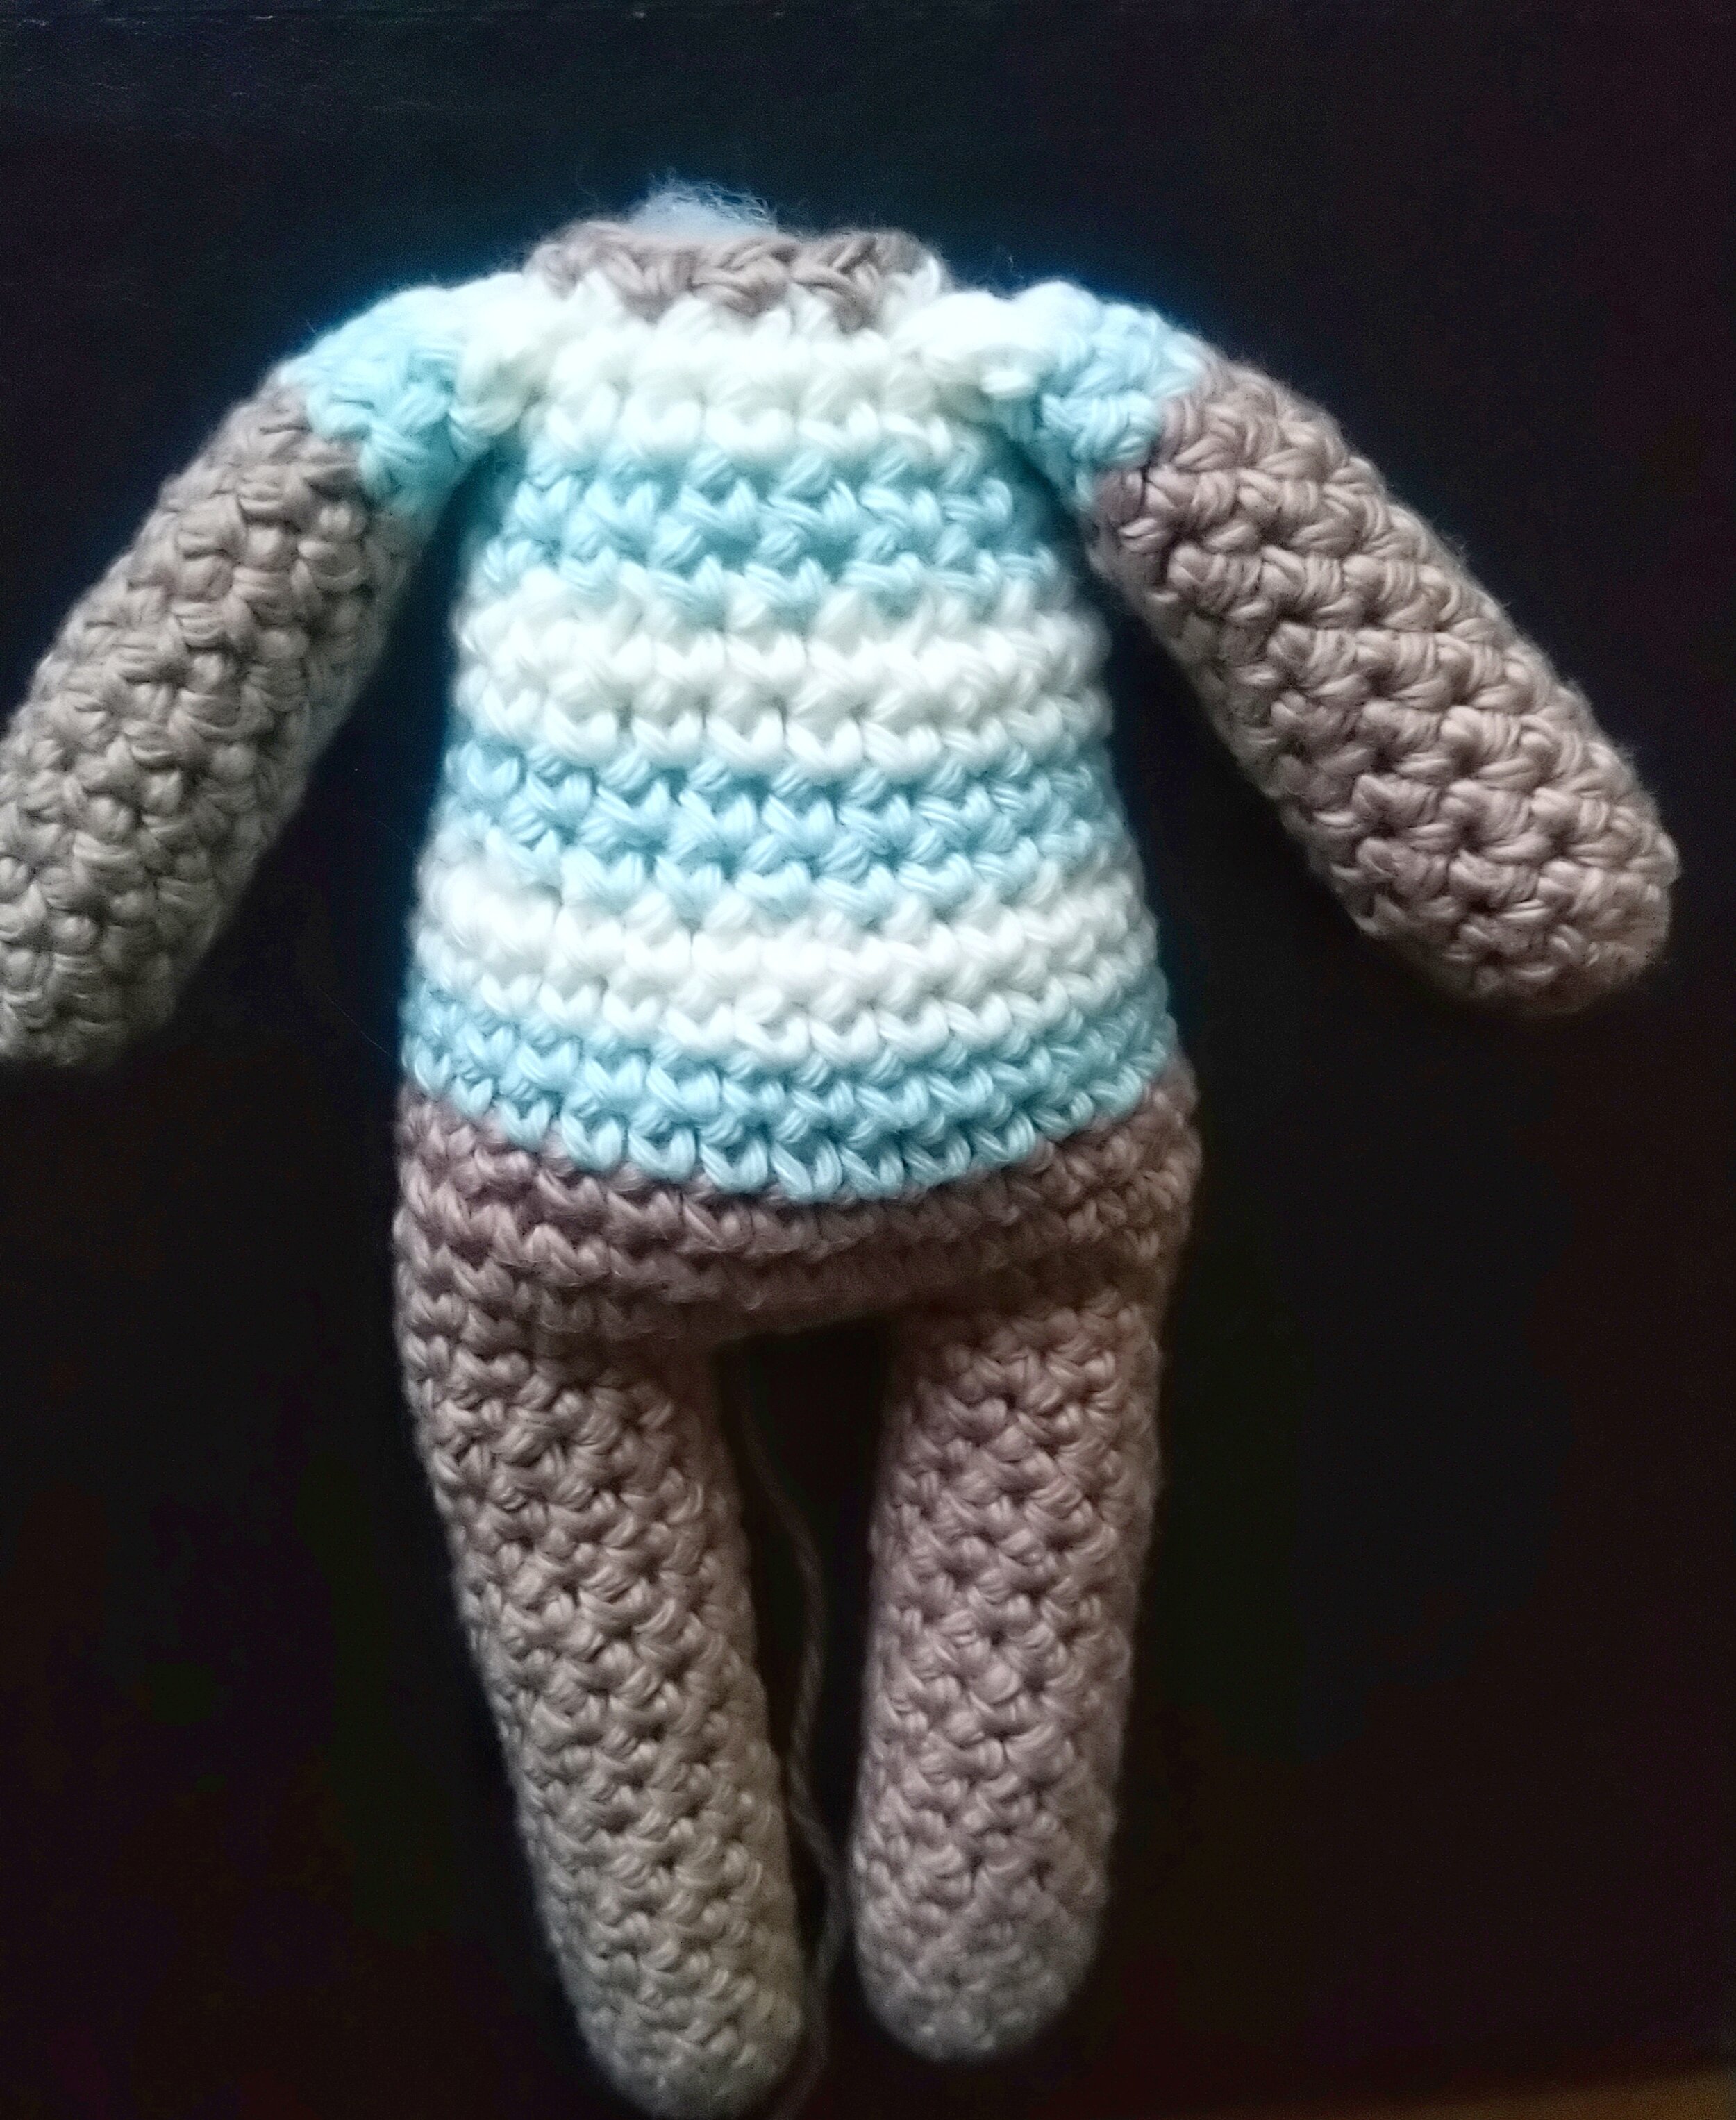
Arms
Make 2 starting with skin colour (stuff as you go)
Rnd1 6 sc in magic circle.
Rnd2 *sc 2, inc* x 2. (8)
Rnd3-13 sc all. (8)
Change to shirt / dress colour
Rnd14-16 sc all. (8)
Fasten off.
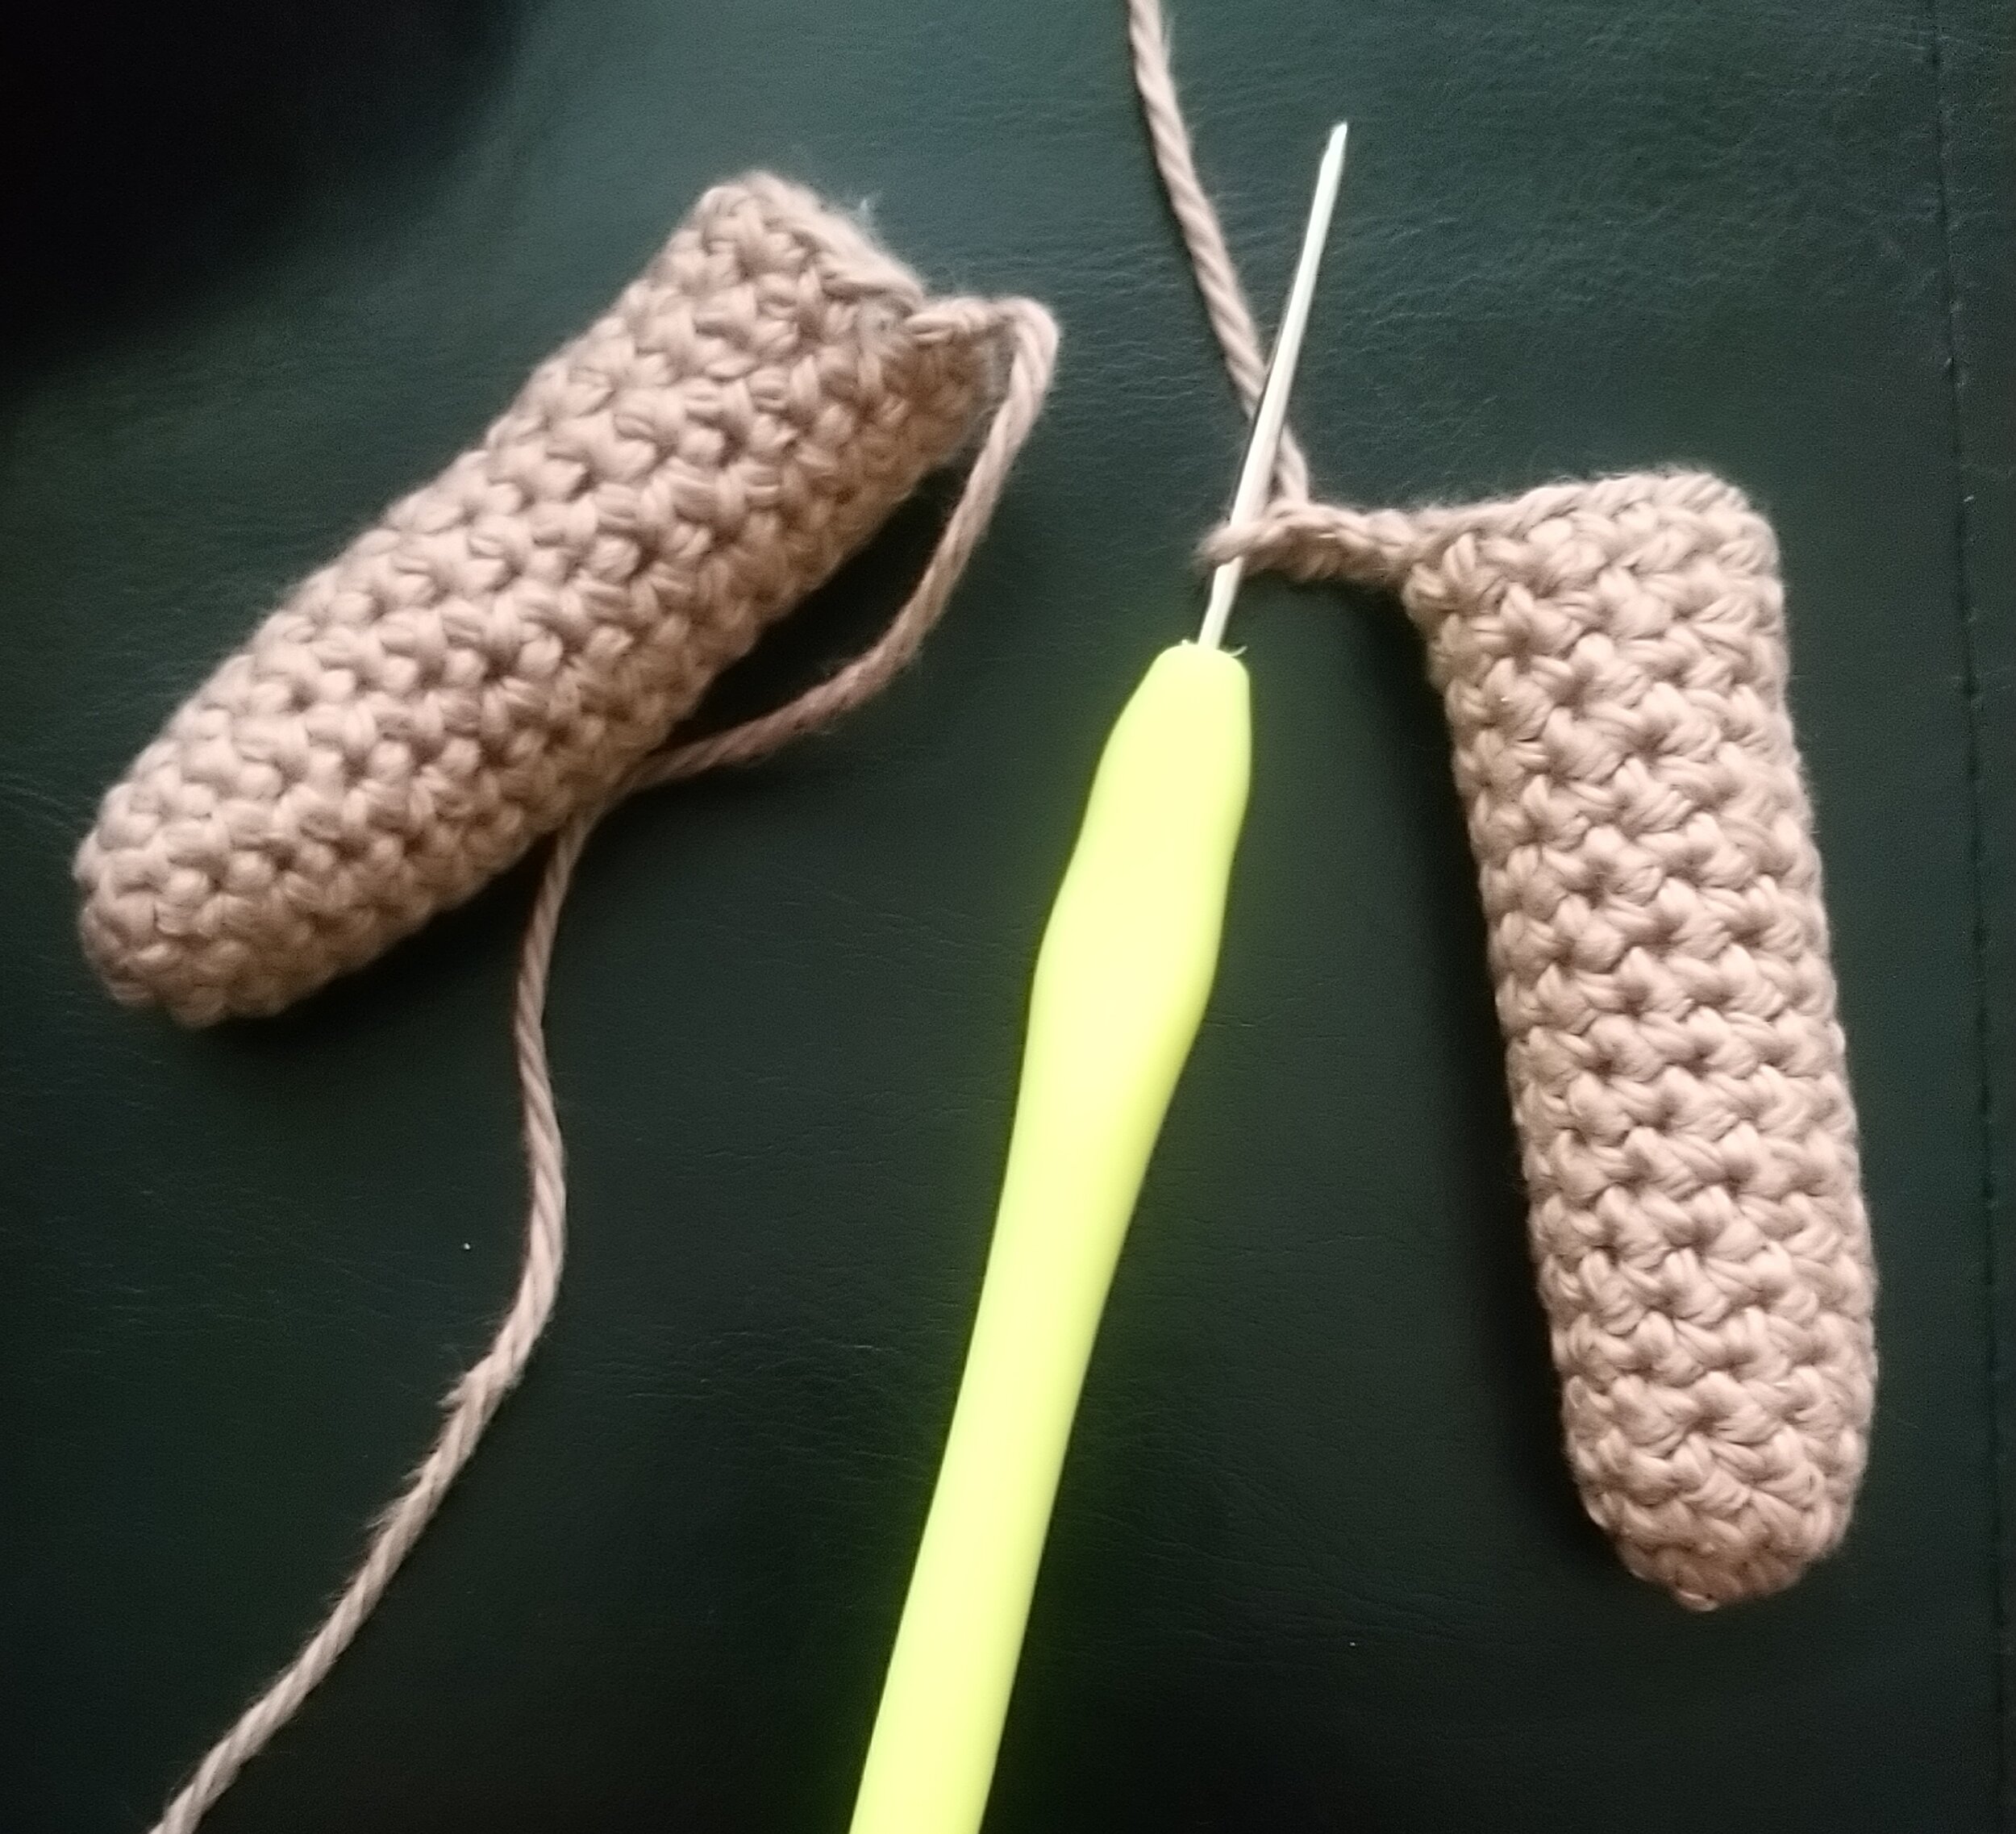
Legs
Make 2 using skin colour (stuff as you go)
Rnd1 5 sc in magic circle. (5)
Rnd2 *inc* x 5. (10)
Rnd3-18 sc in all (10)
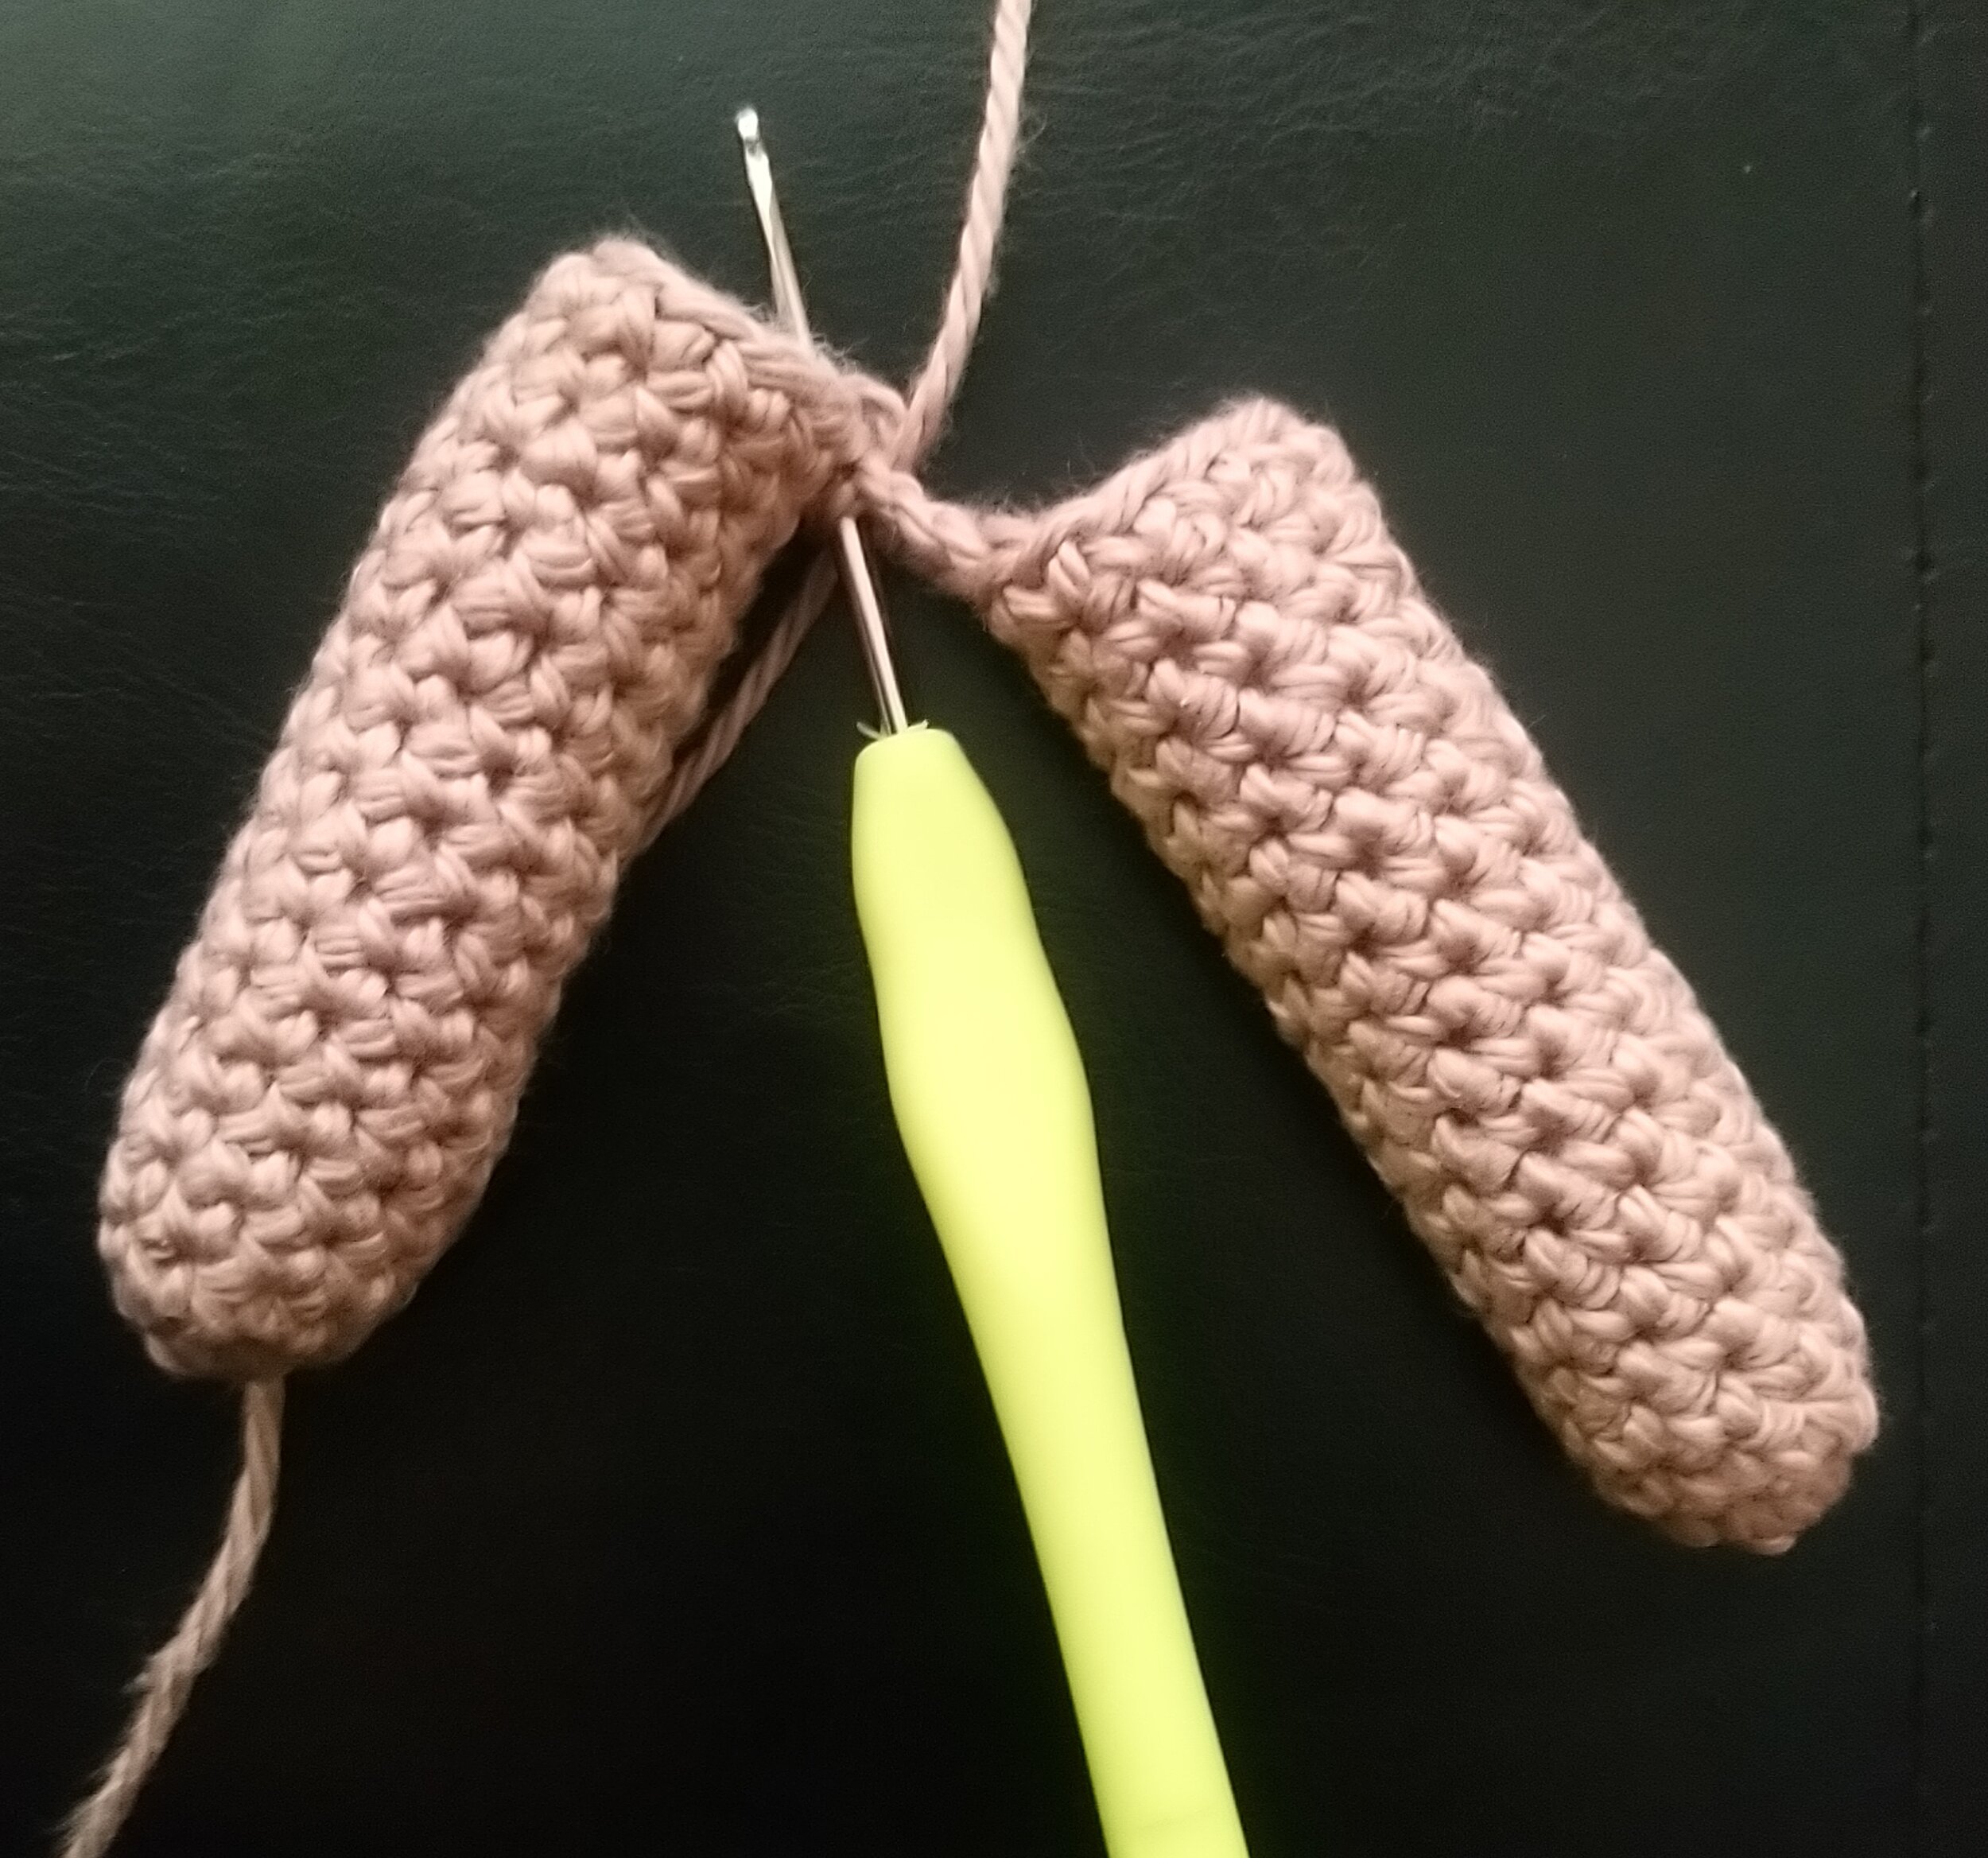
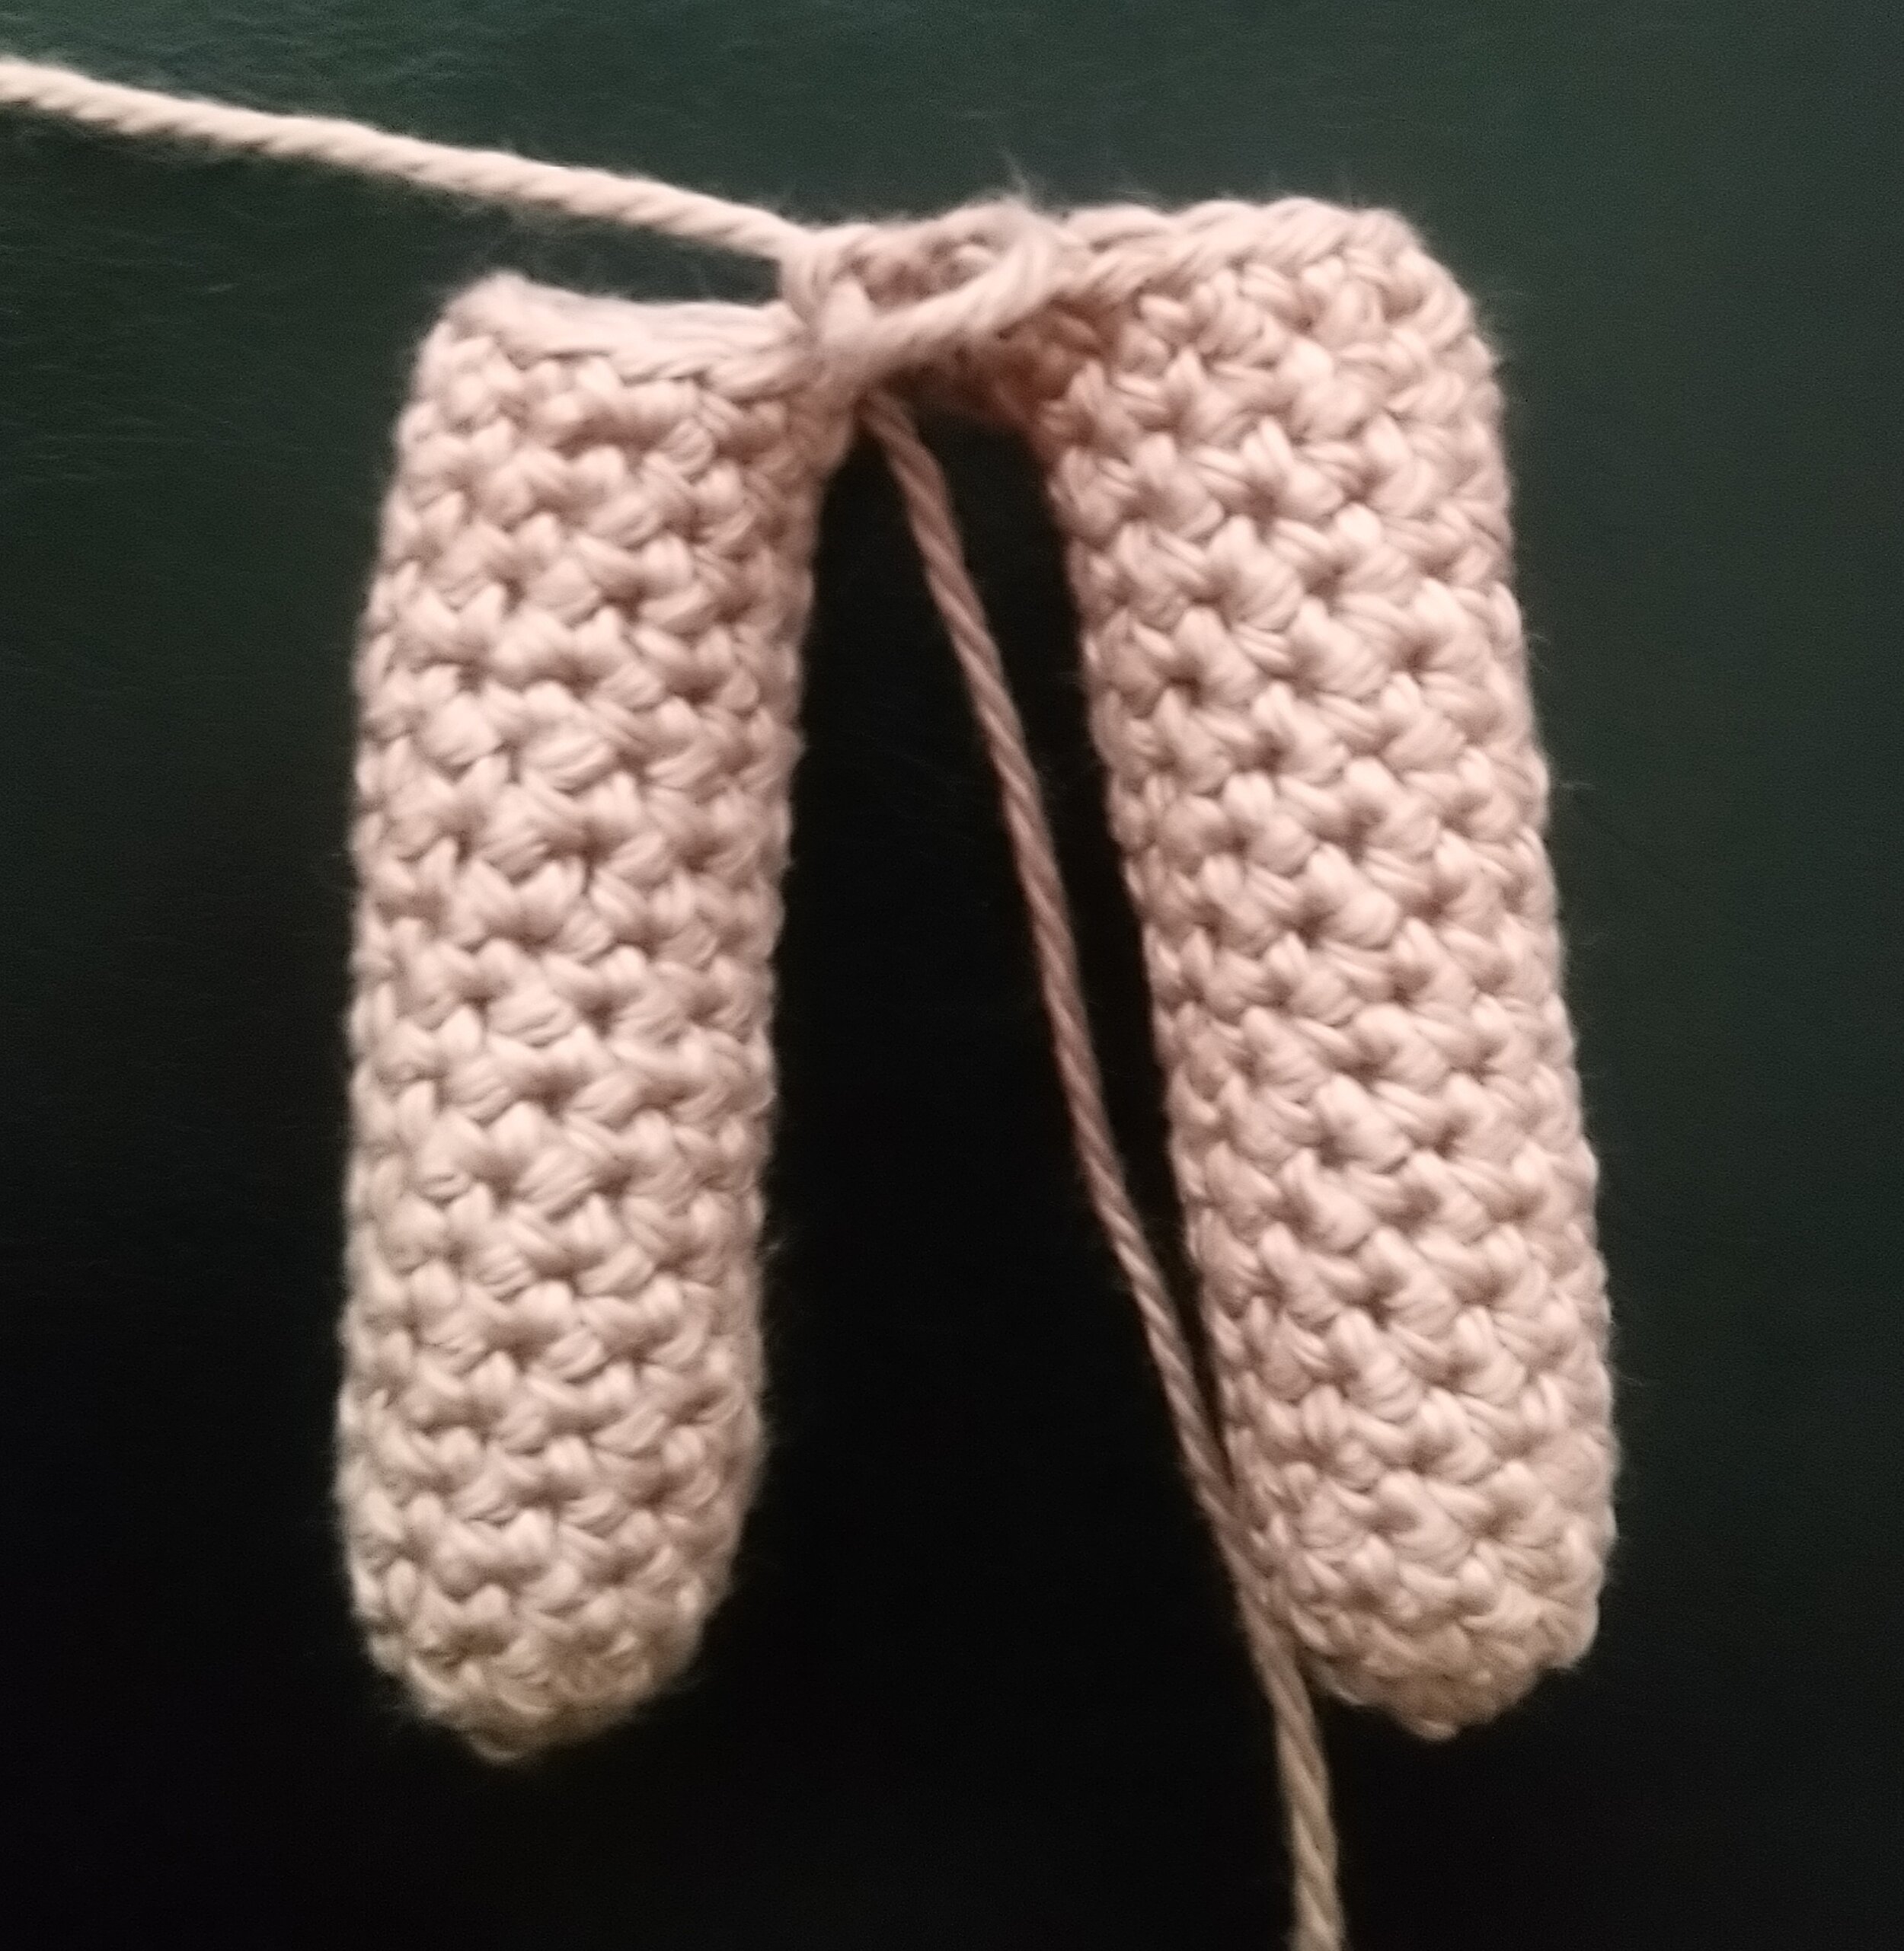
Fasten off the first leg, don’t fasten off second as we will be continuing the body from here.
Body
Rnd1 continuing from the second leg with skin colour, ch 2, sc across 10 stitches on the first leg, sc in each chain, then sc 10 stitches on the second leg, sc in each chain. (24)
Rnd2 *sc 3, inc* x 6. (30)
Rnd3 *sc 4, inc* x 6. (36)
Rnd4 sc all. (36)
Rnd5 *sc 4, dec* x 6. (30)
Change to shirt / dress colour (stuff as you go)
Rnd6-9 sc all. (30) (on rnd 7 for the girl crochet in blo, this is to make the skirt later)
Rnd10 *sc 3, dec* x 6. (24)
Rnd11-13 sc all. (24)
Rnd14 *sc 2, dec* x 6. (18)
Rnd15 sc all. (18)
Rnd16 sc to center back. (18)
Attaching arms
Rnd17 Starting at center back, sc 3, sc 4 through arm and body, sc 4, sc 4 through arm and body, sc 3. (18)
Change to skin colour
Rnd18 *sc 1, dec* x 6. (12)
Fasten off leaving a long end for sewing the head to the body.
Skirt
Join yarn in the loop at back where you did back loops only round with the head nearest you
Row1 ch3, dc in each stitch, slst to first. (30)
Row2 ch3, 2 dc in same, 3 dc in each stitch, slst to first. (90)
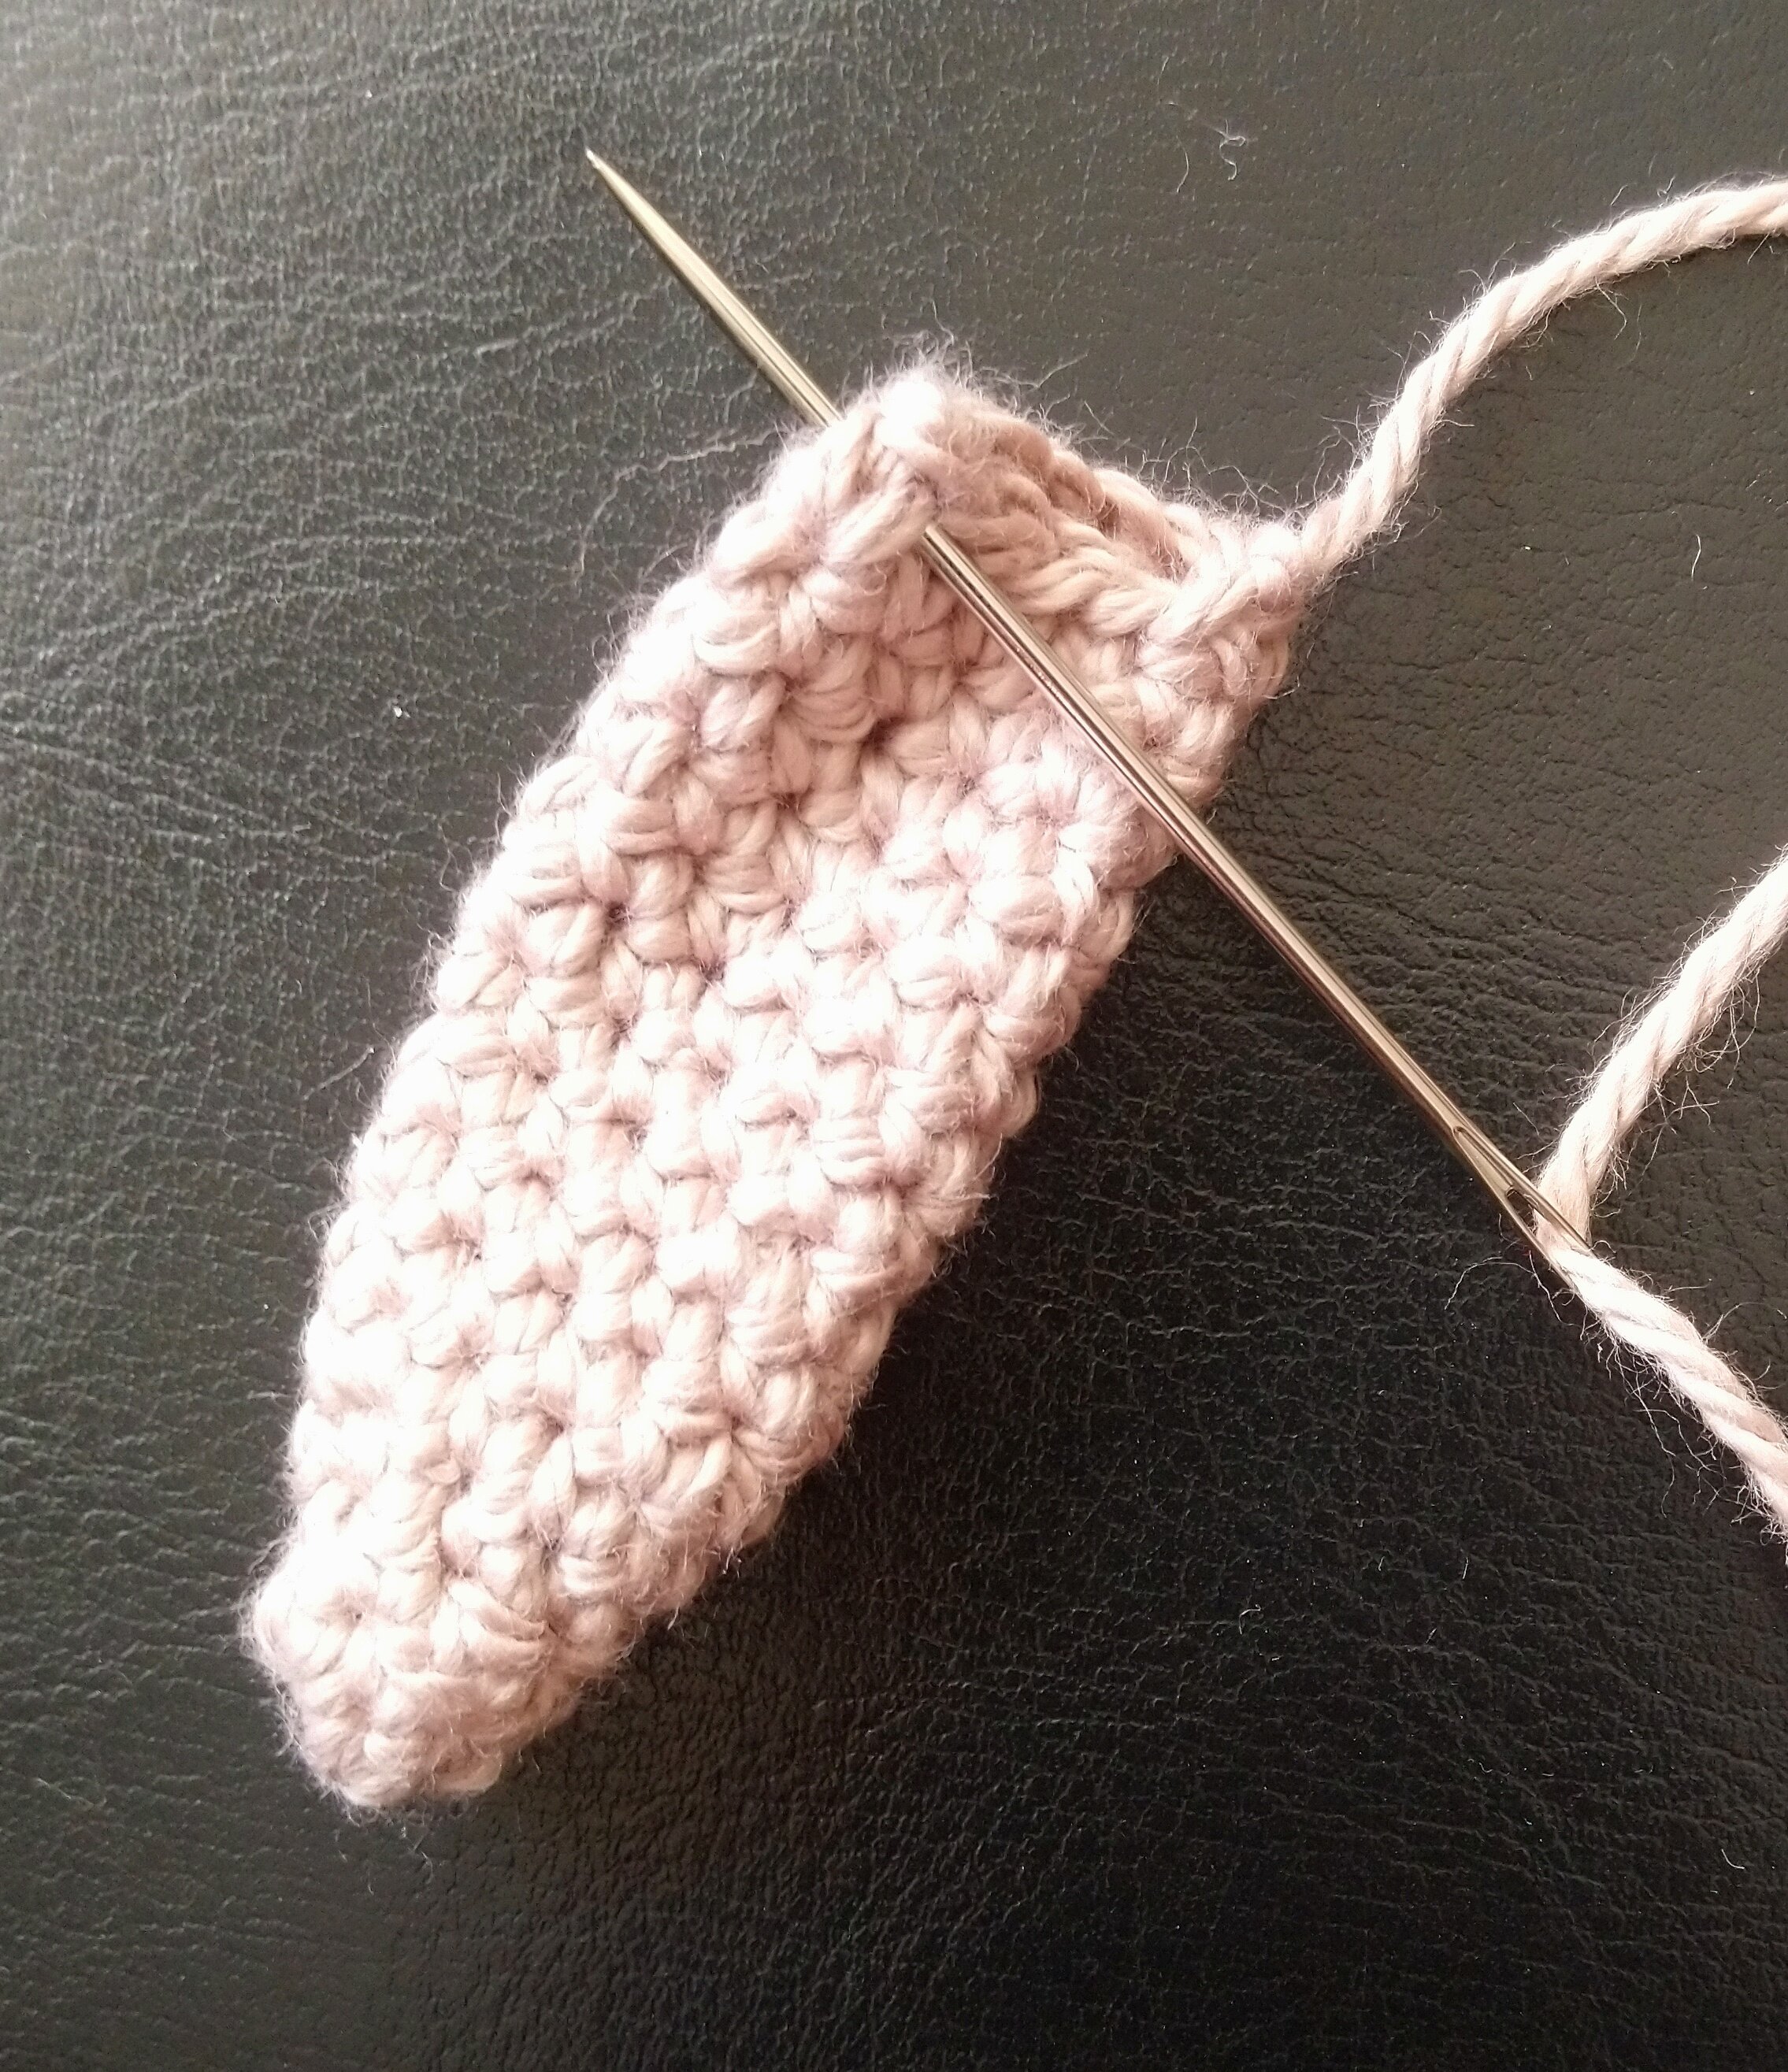
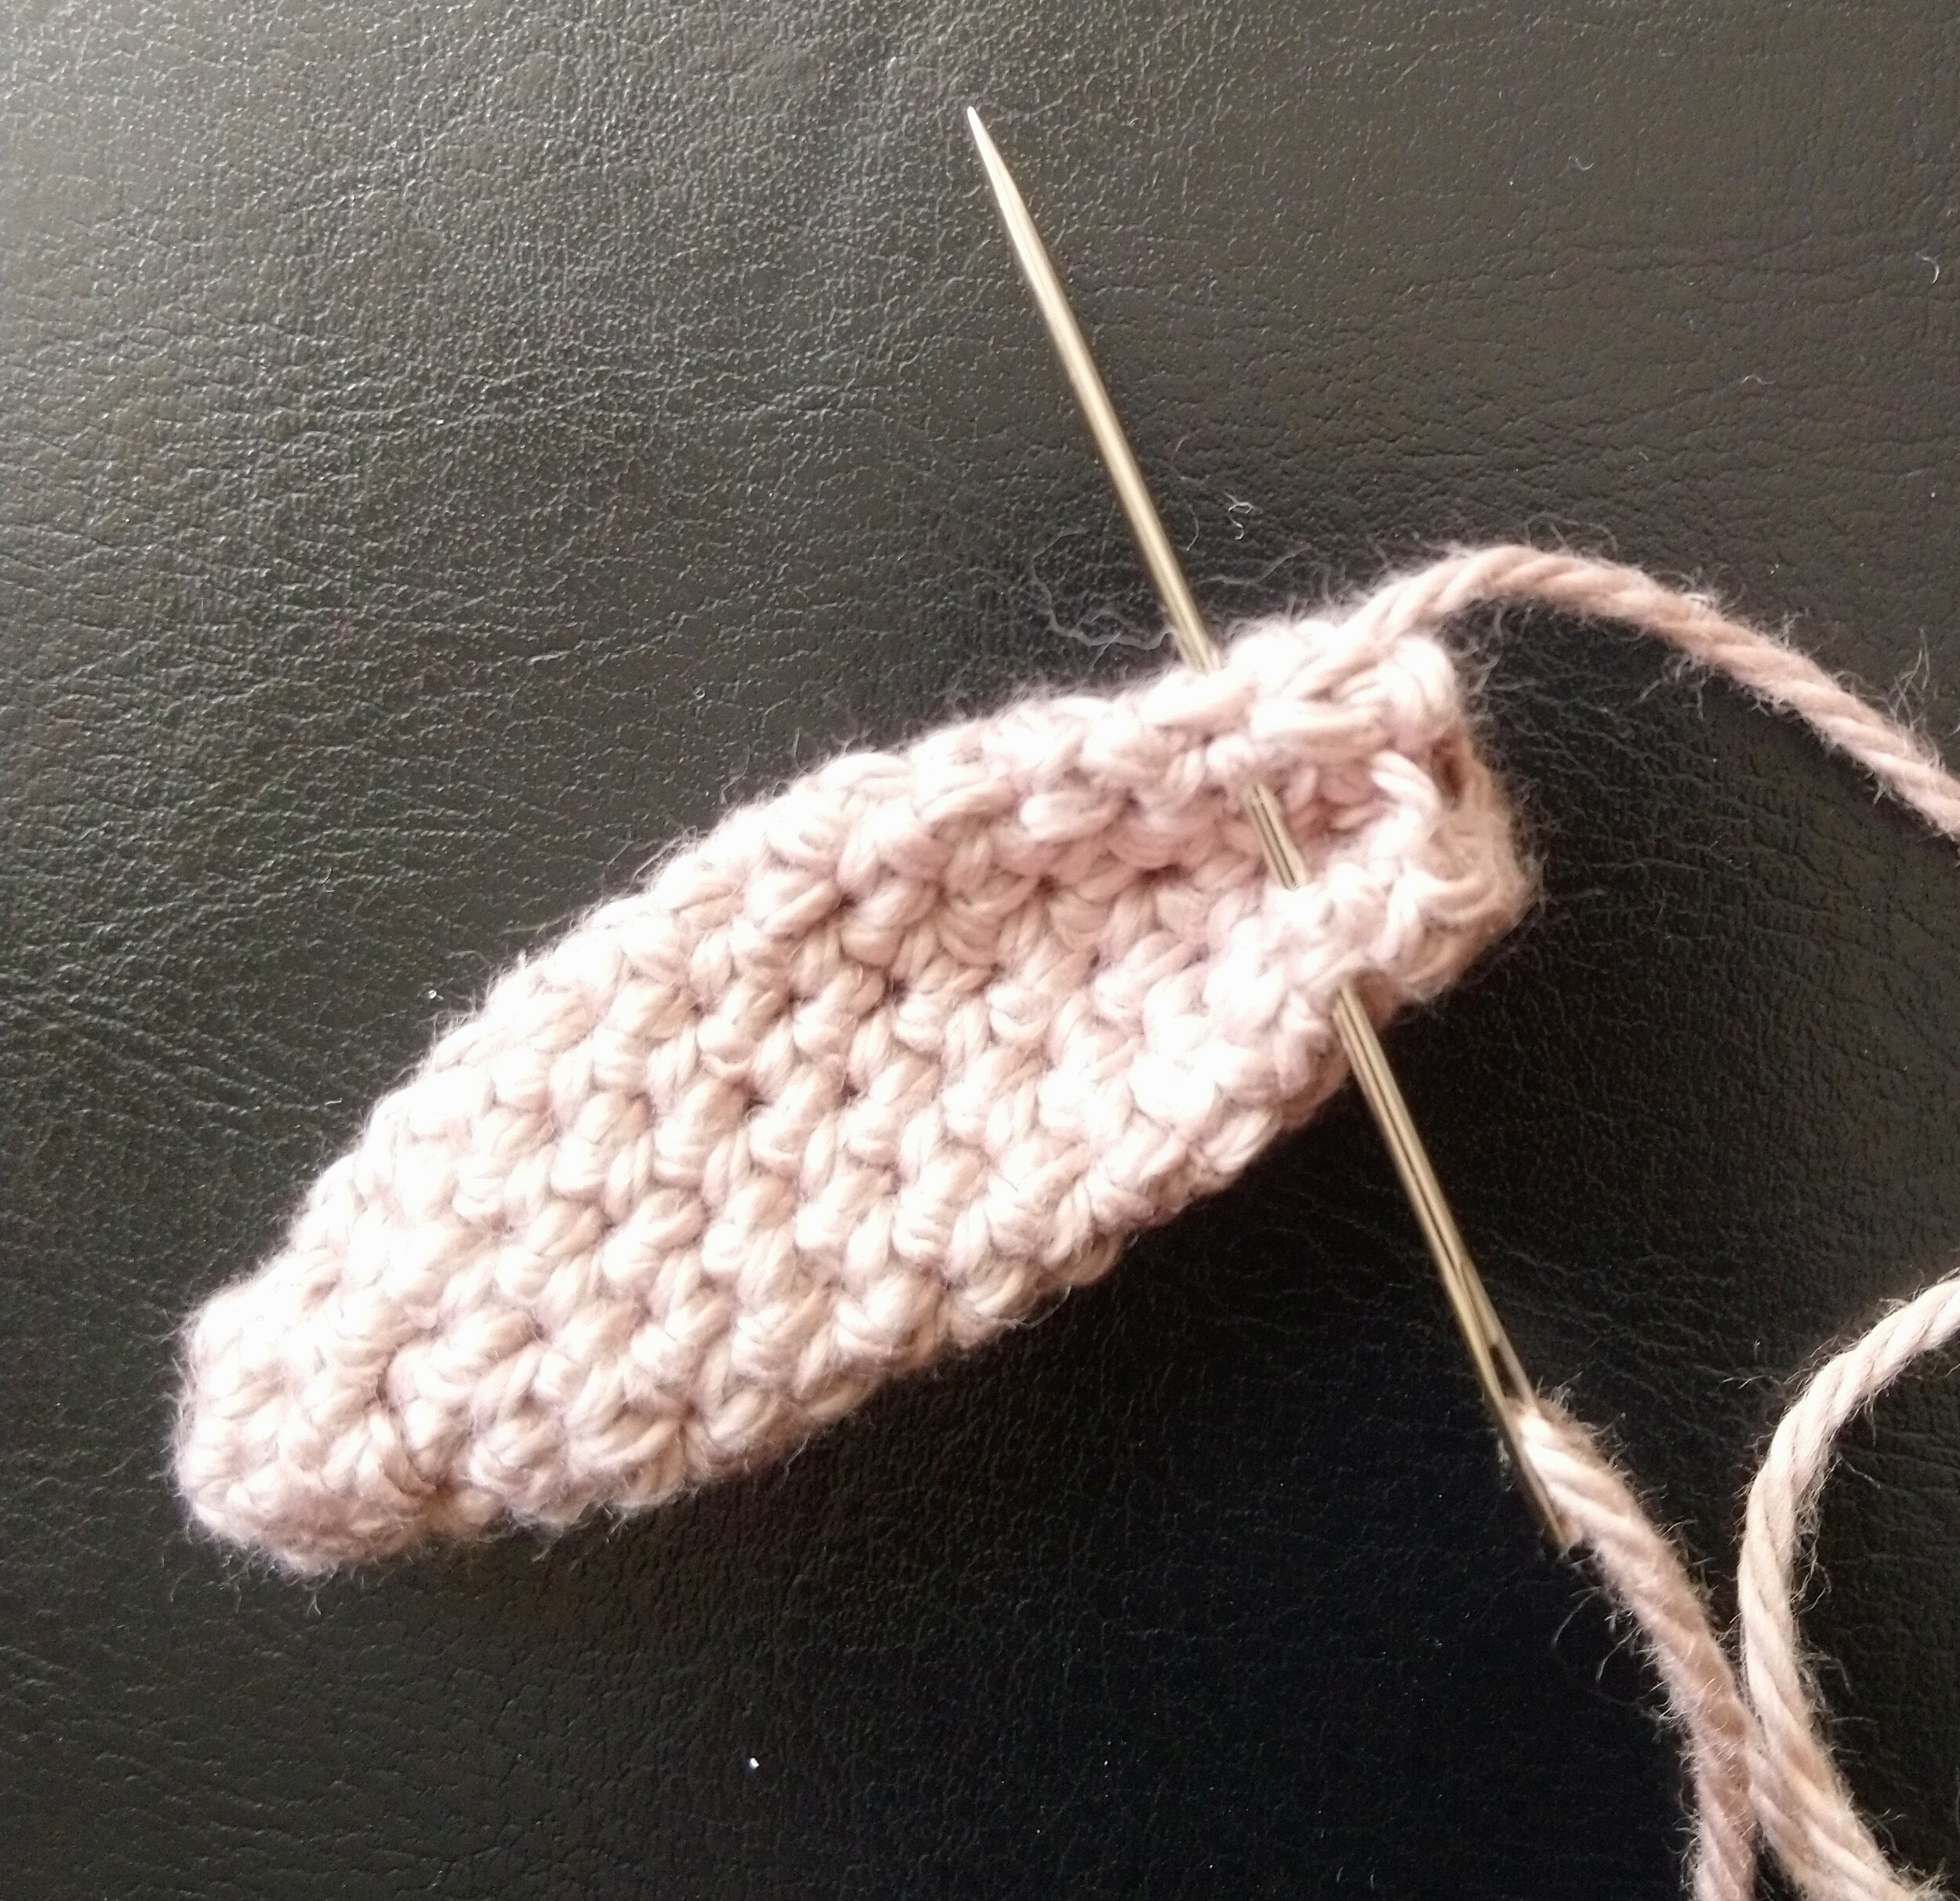
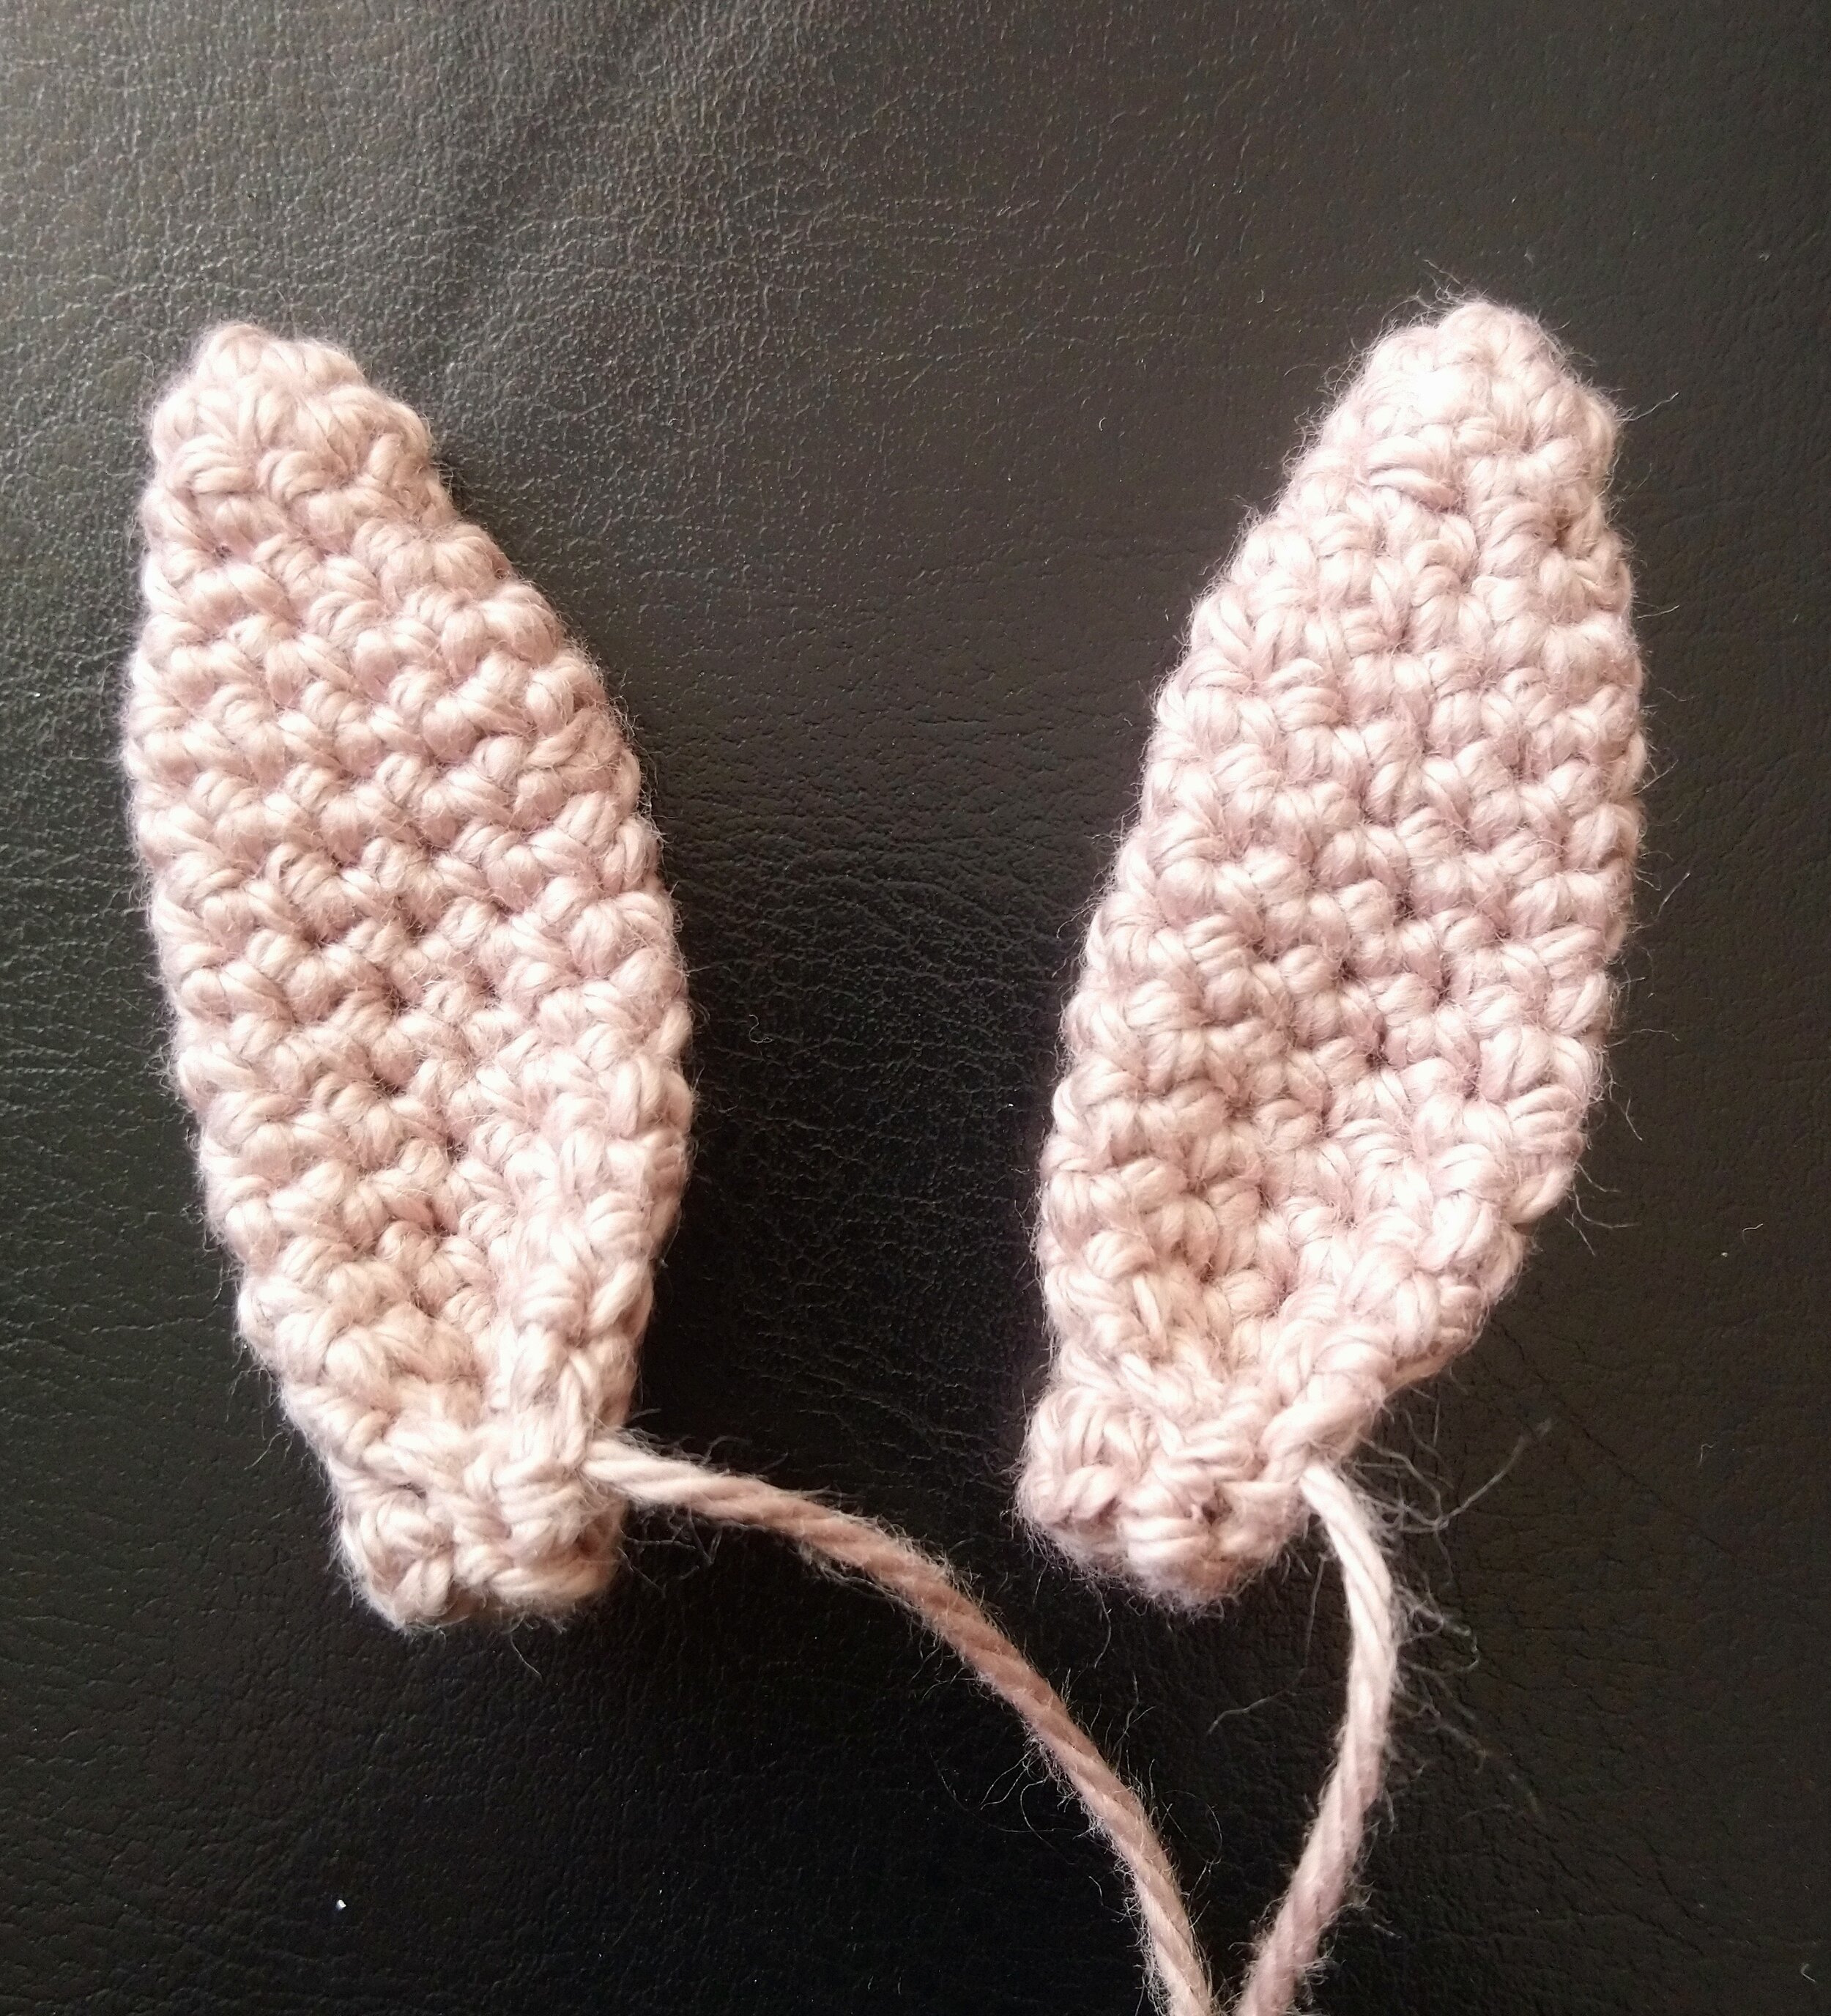
Ears
using skin colour
Rnd1 4 sc in magic circle. (4)
Rnd2 *sc 1, inc* x 2. (6)
Rnd3 sc all. (6)
Rnd4 *sc 2, inc* x 2. (8)
Rnd5 *sc 3, inc* x 2. (10)
Rnd6-16 sc all. (10)
Fasten off leaving a long end for sewing.
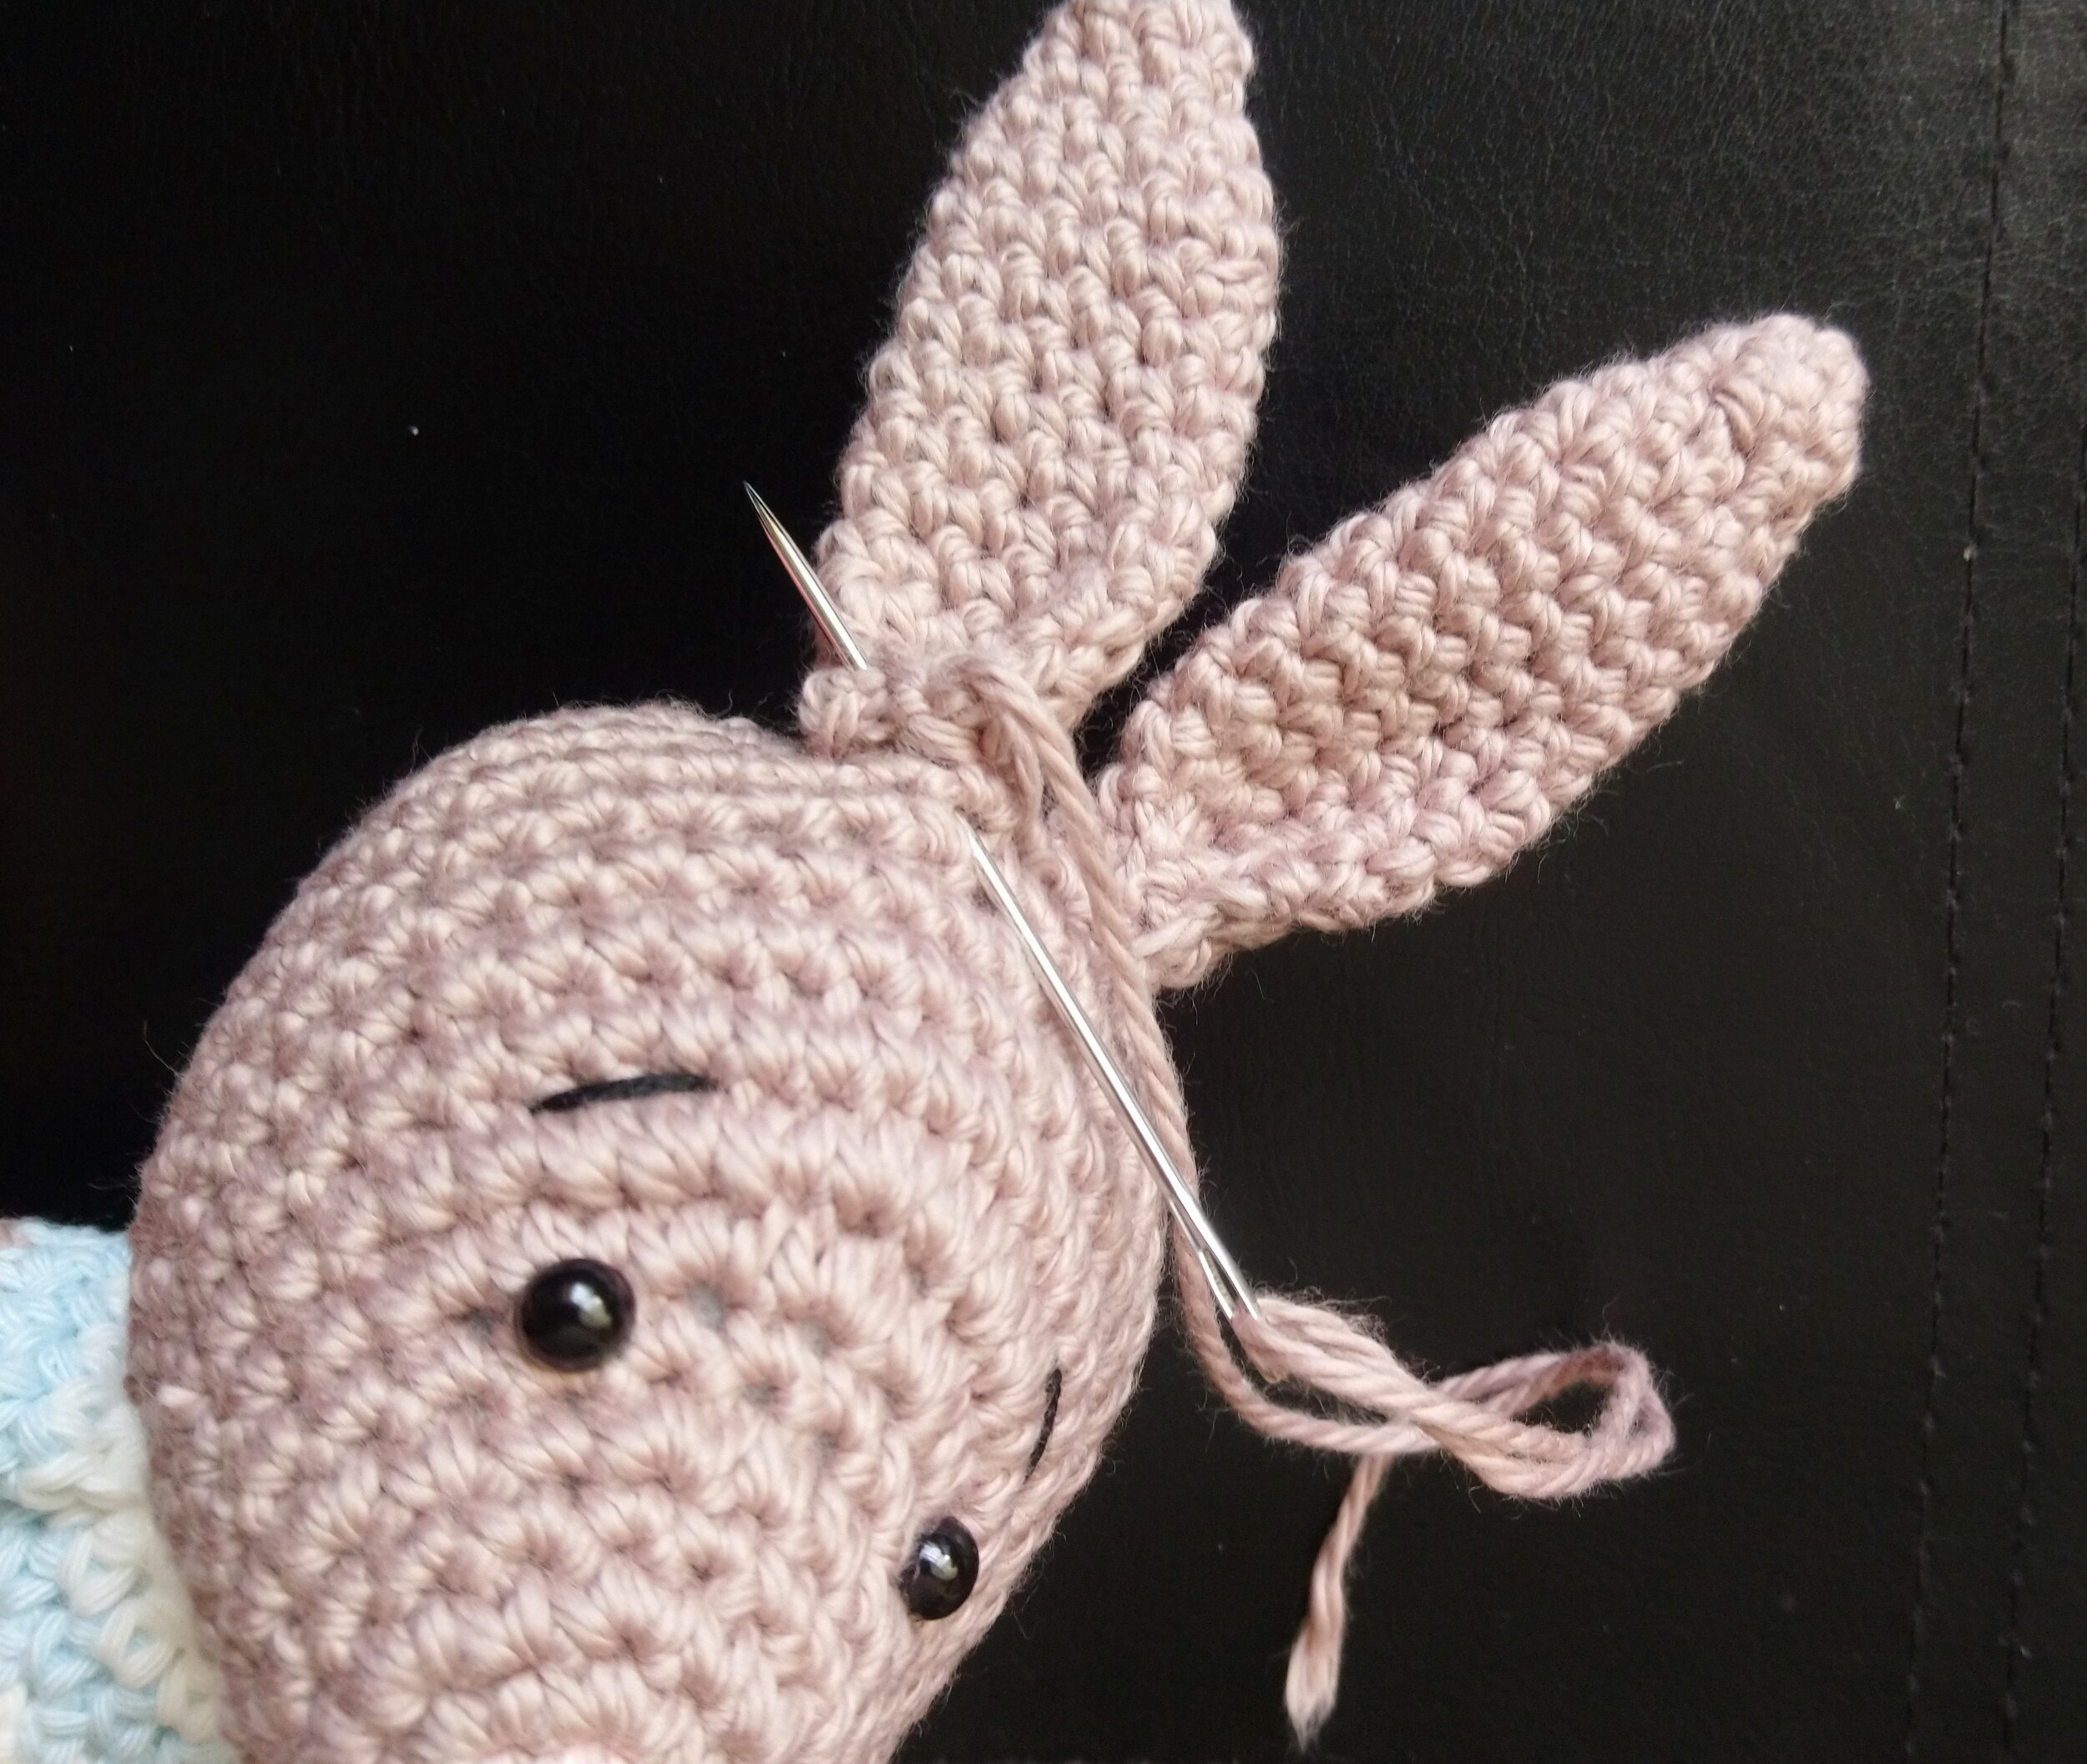
Fold bottom in half and put a couple of stitches in to keep in place then sew onto head.
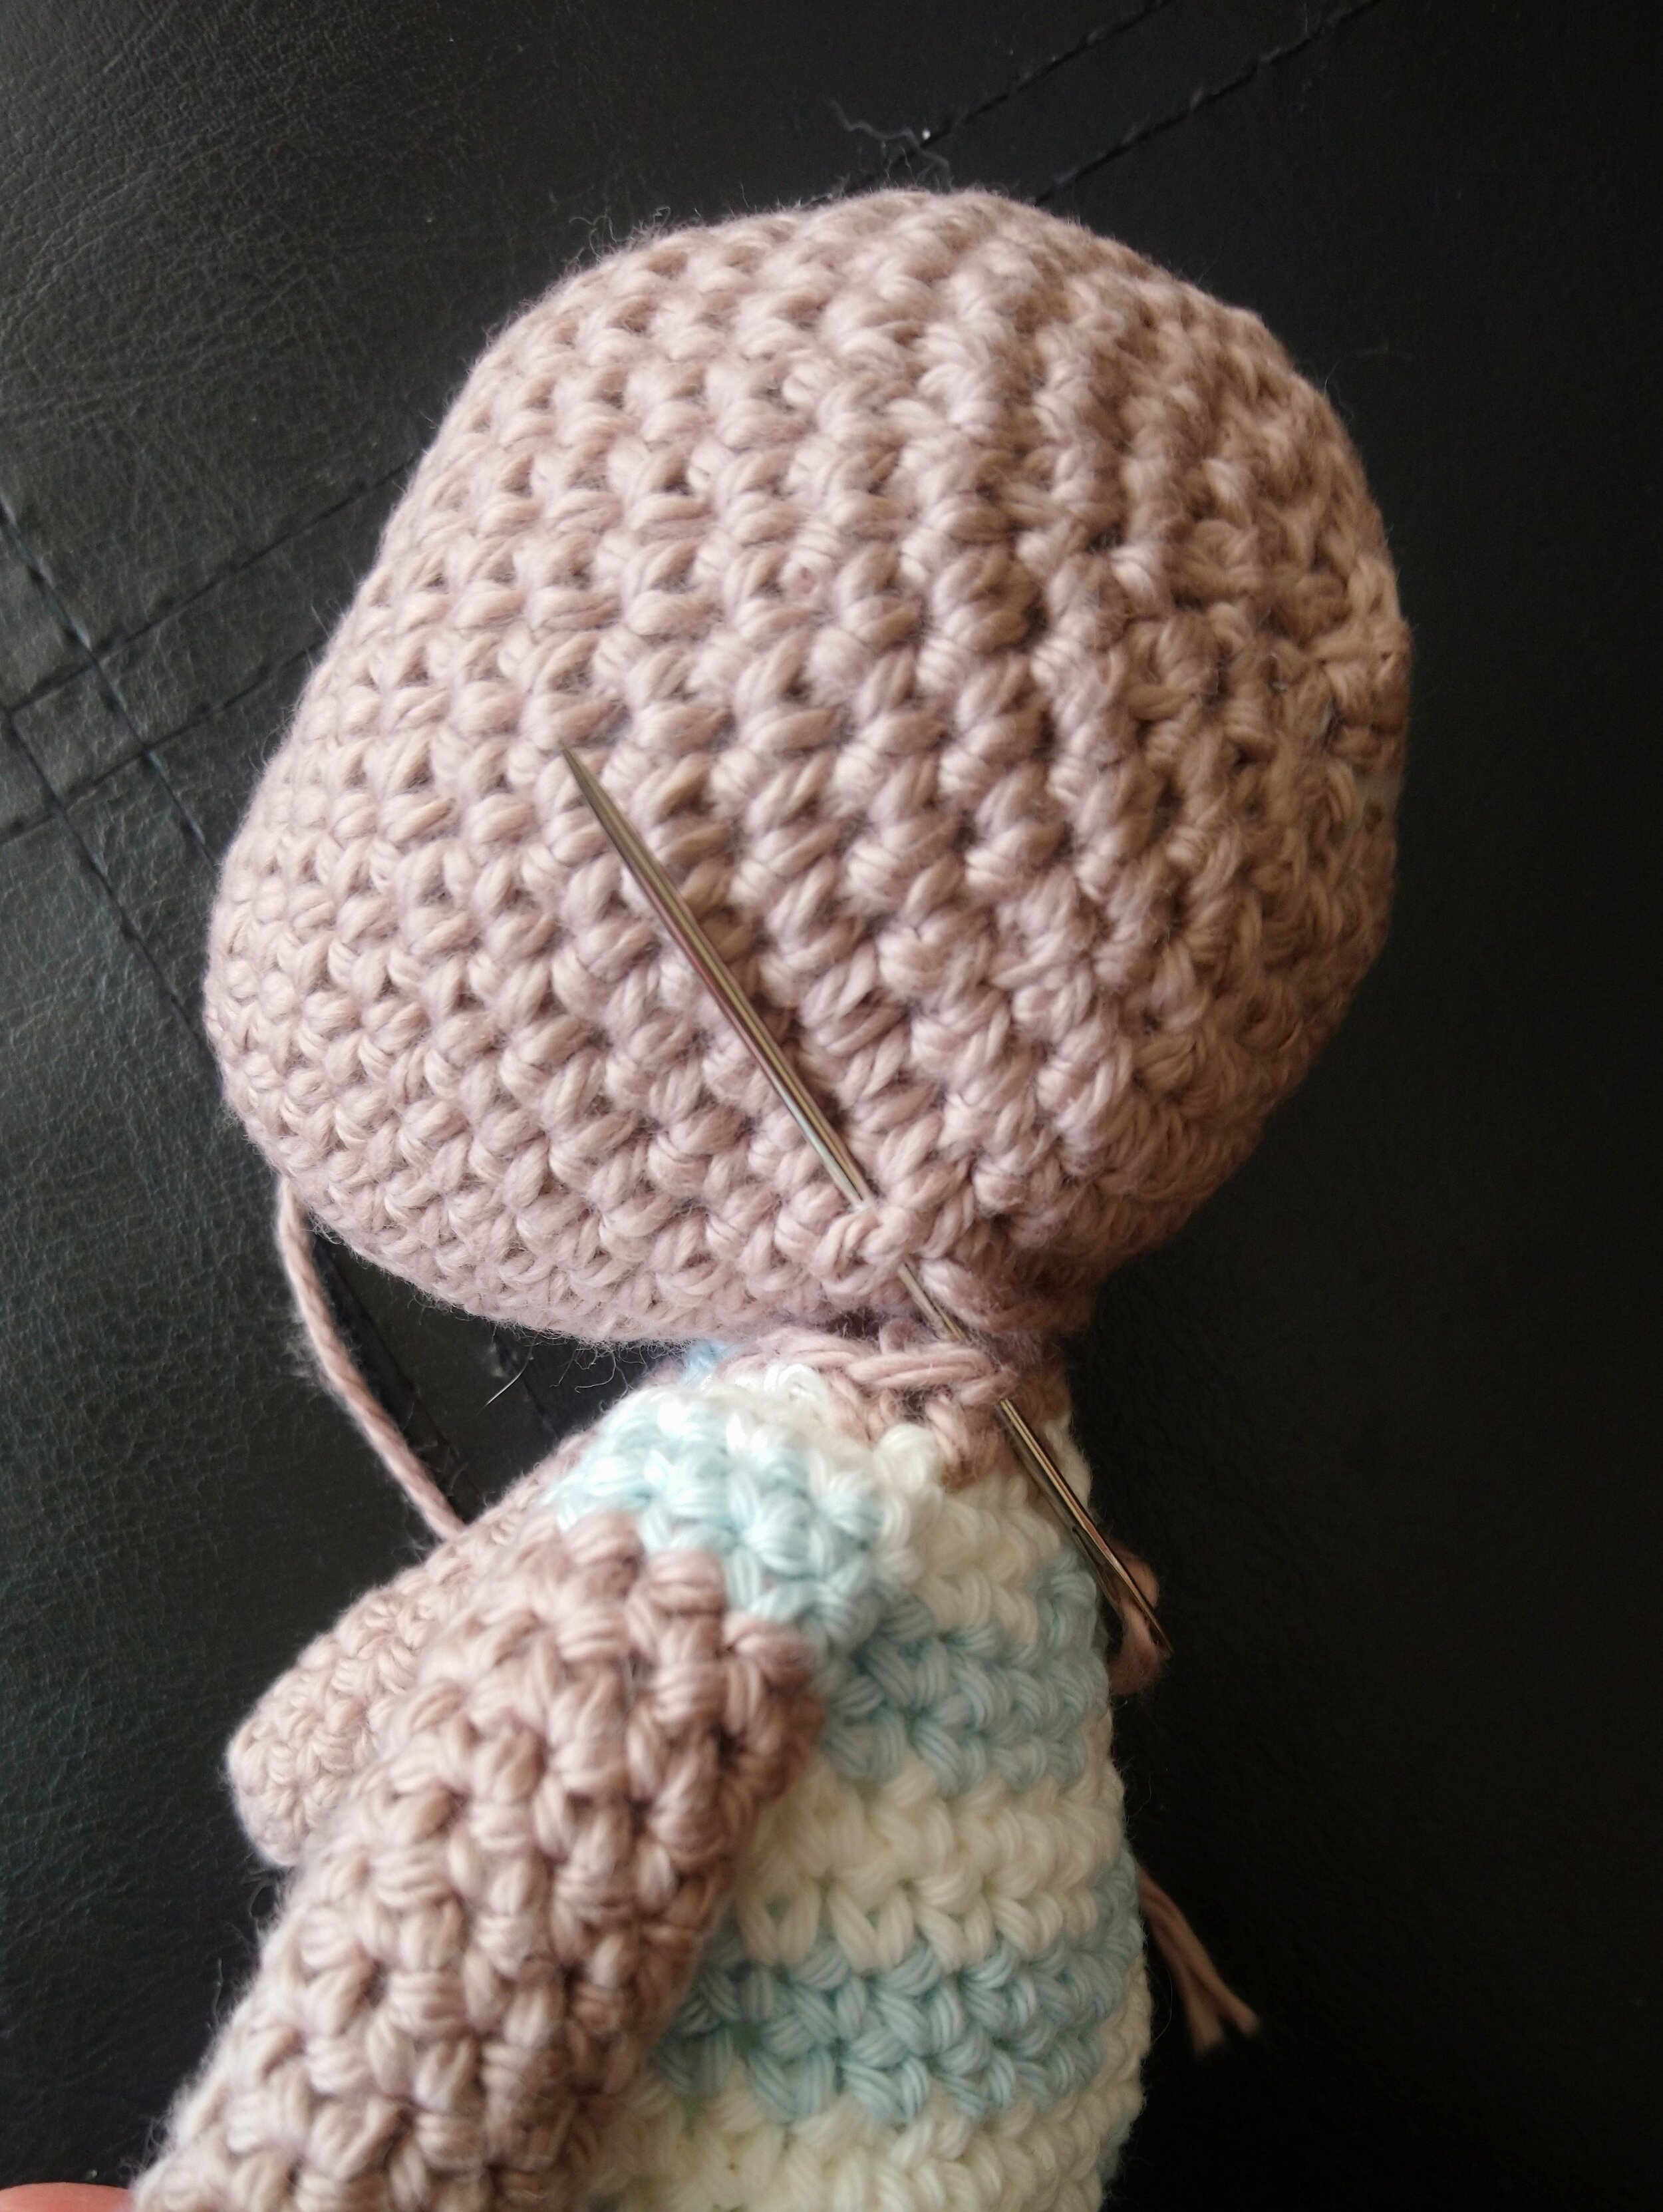
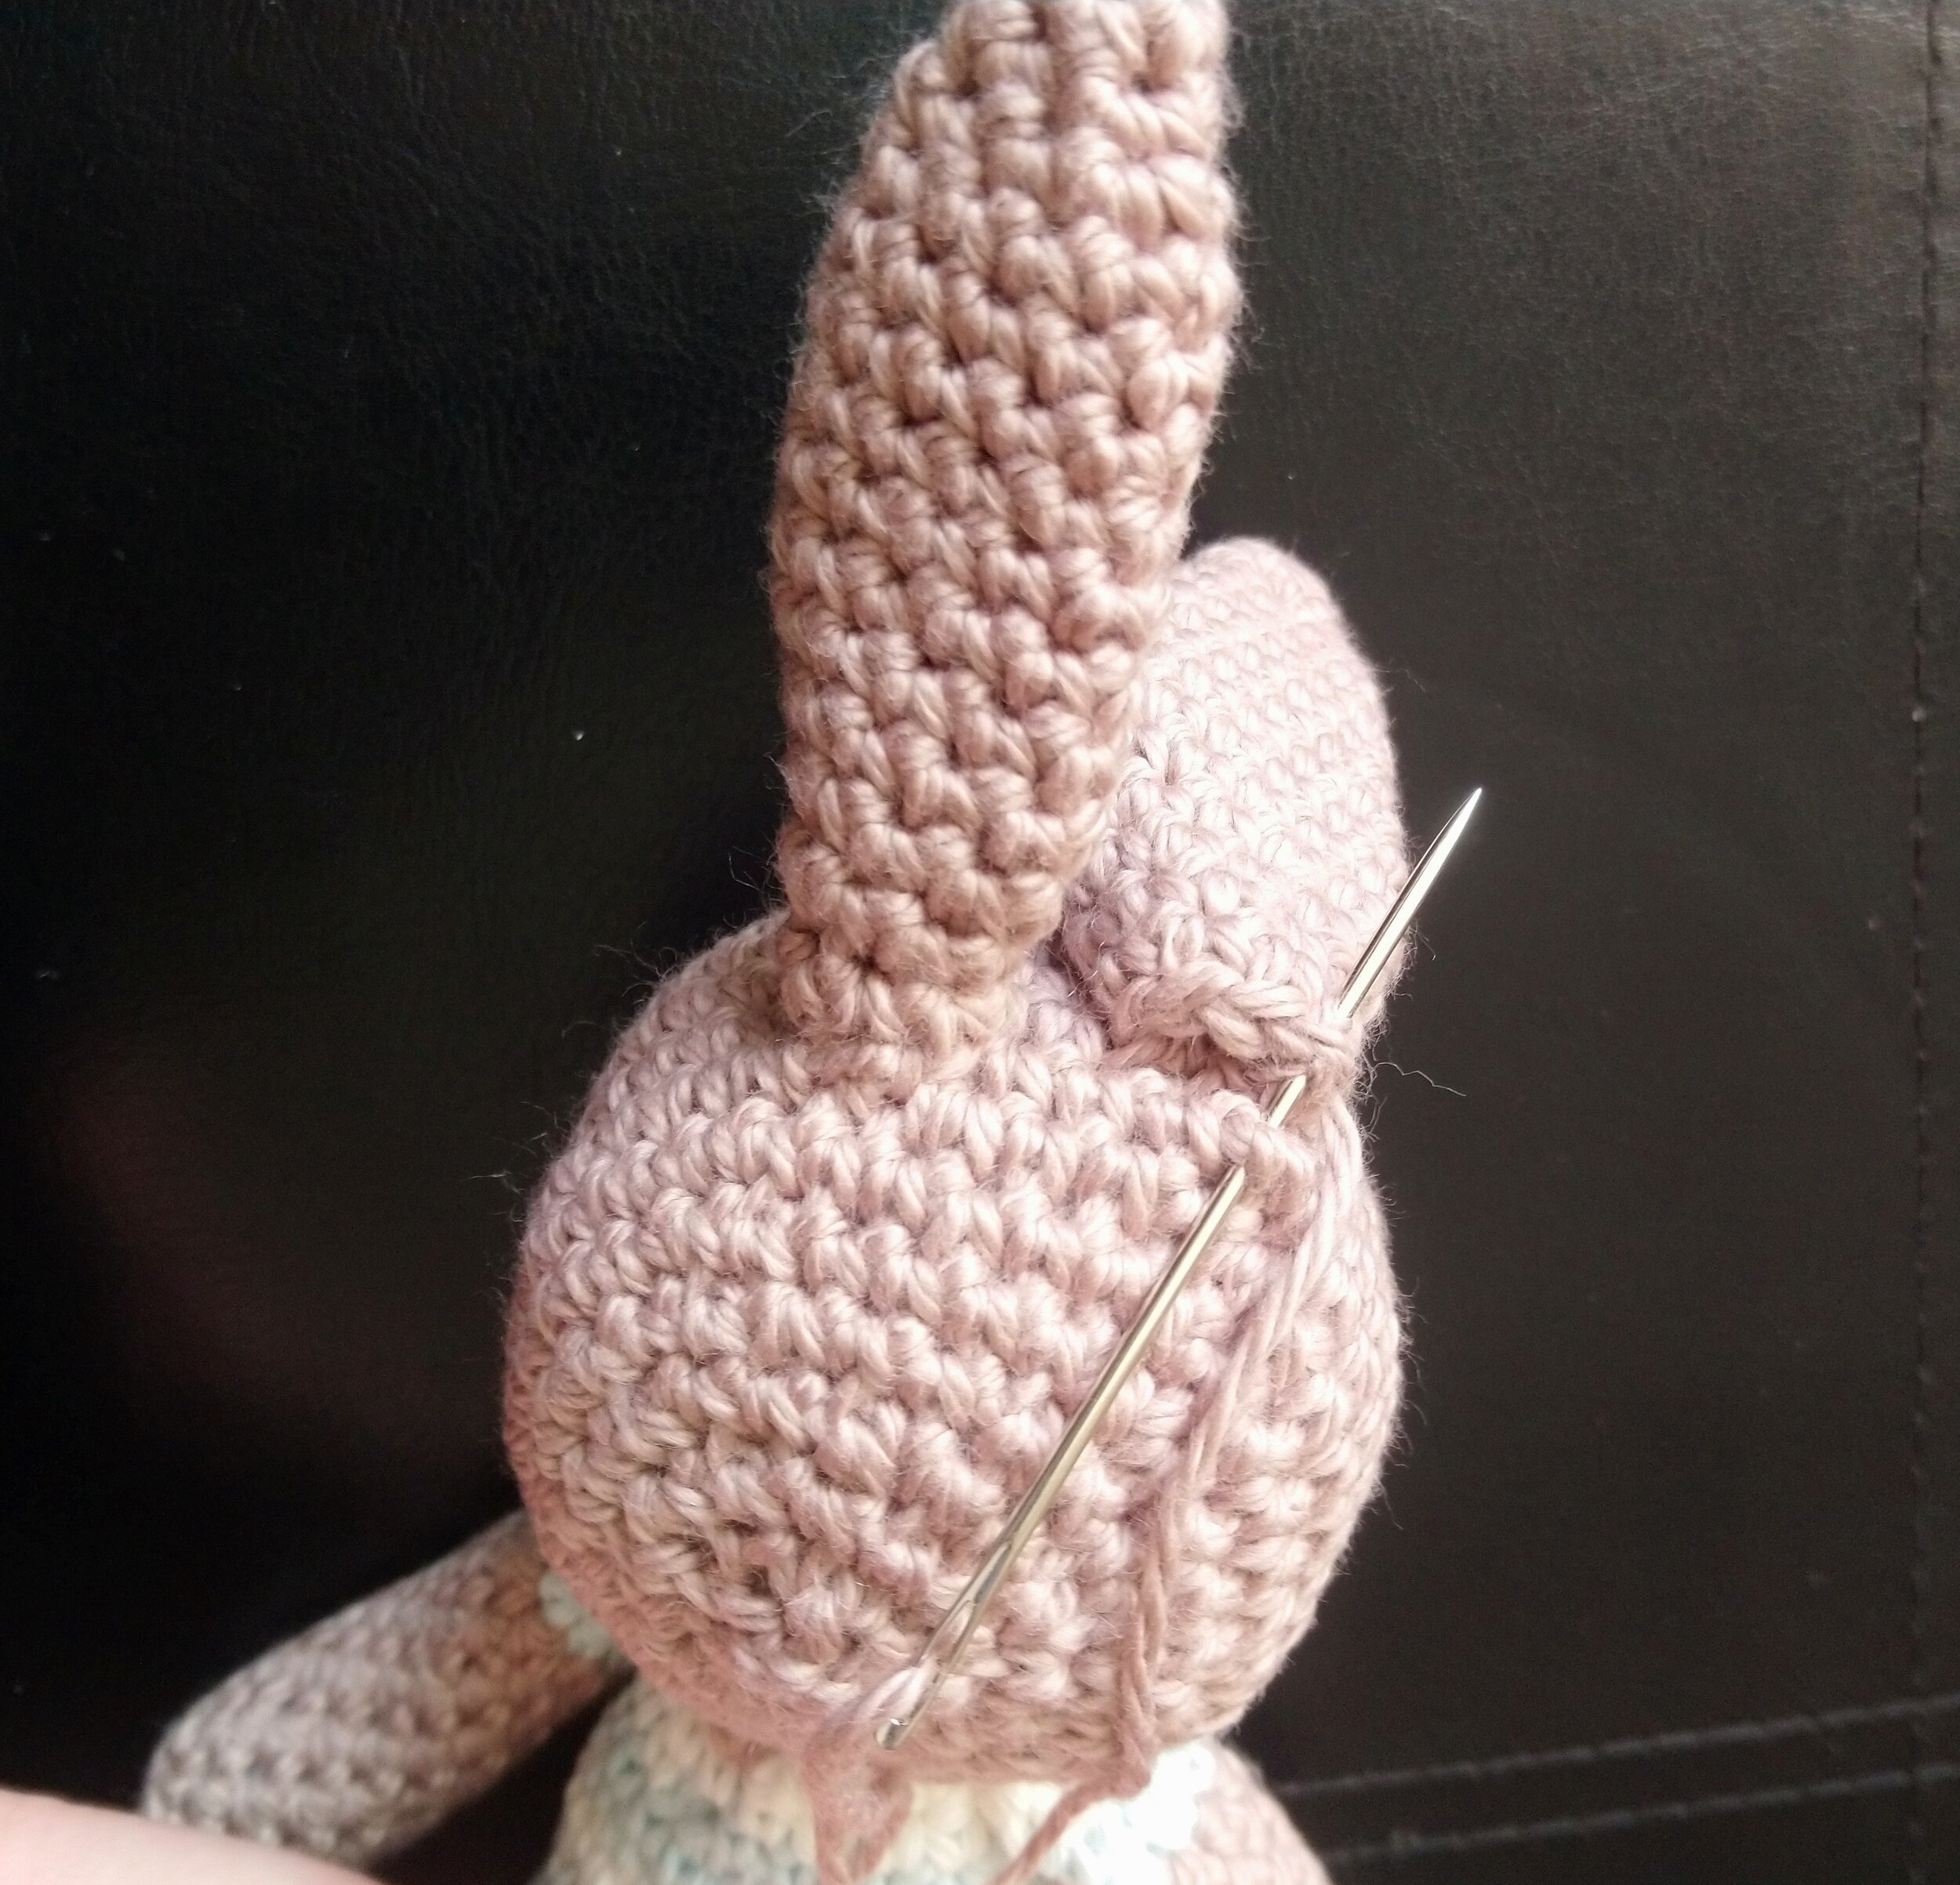
Making up
Fold ears in half and put a couple of stitches in the bottom then sew to the top of the head.
Then pin head in place and sew when happy, before the last few stitches add more stuffing and make sure firm.
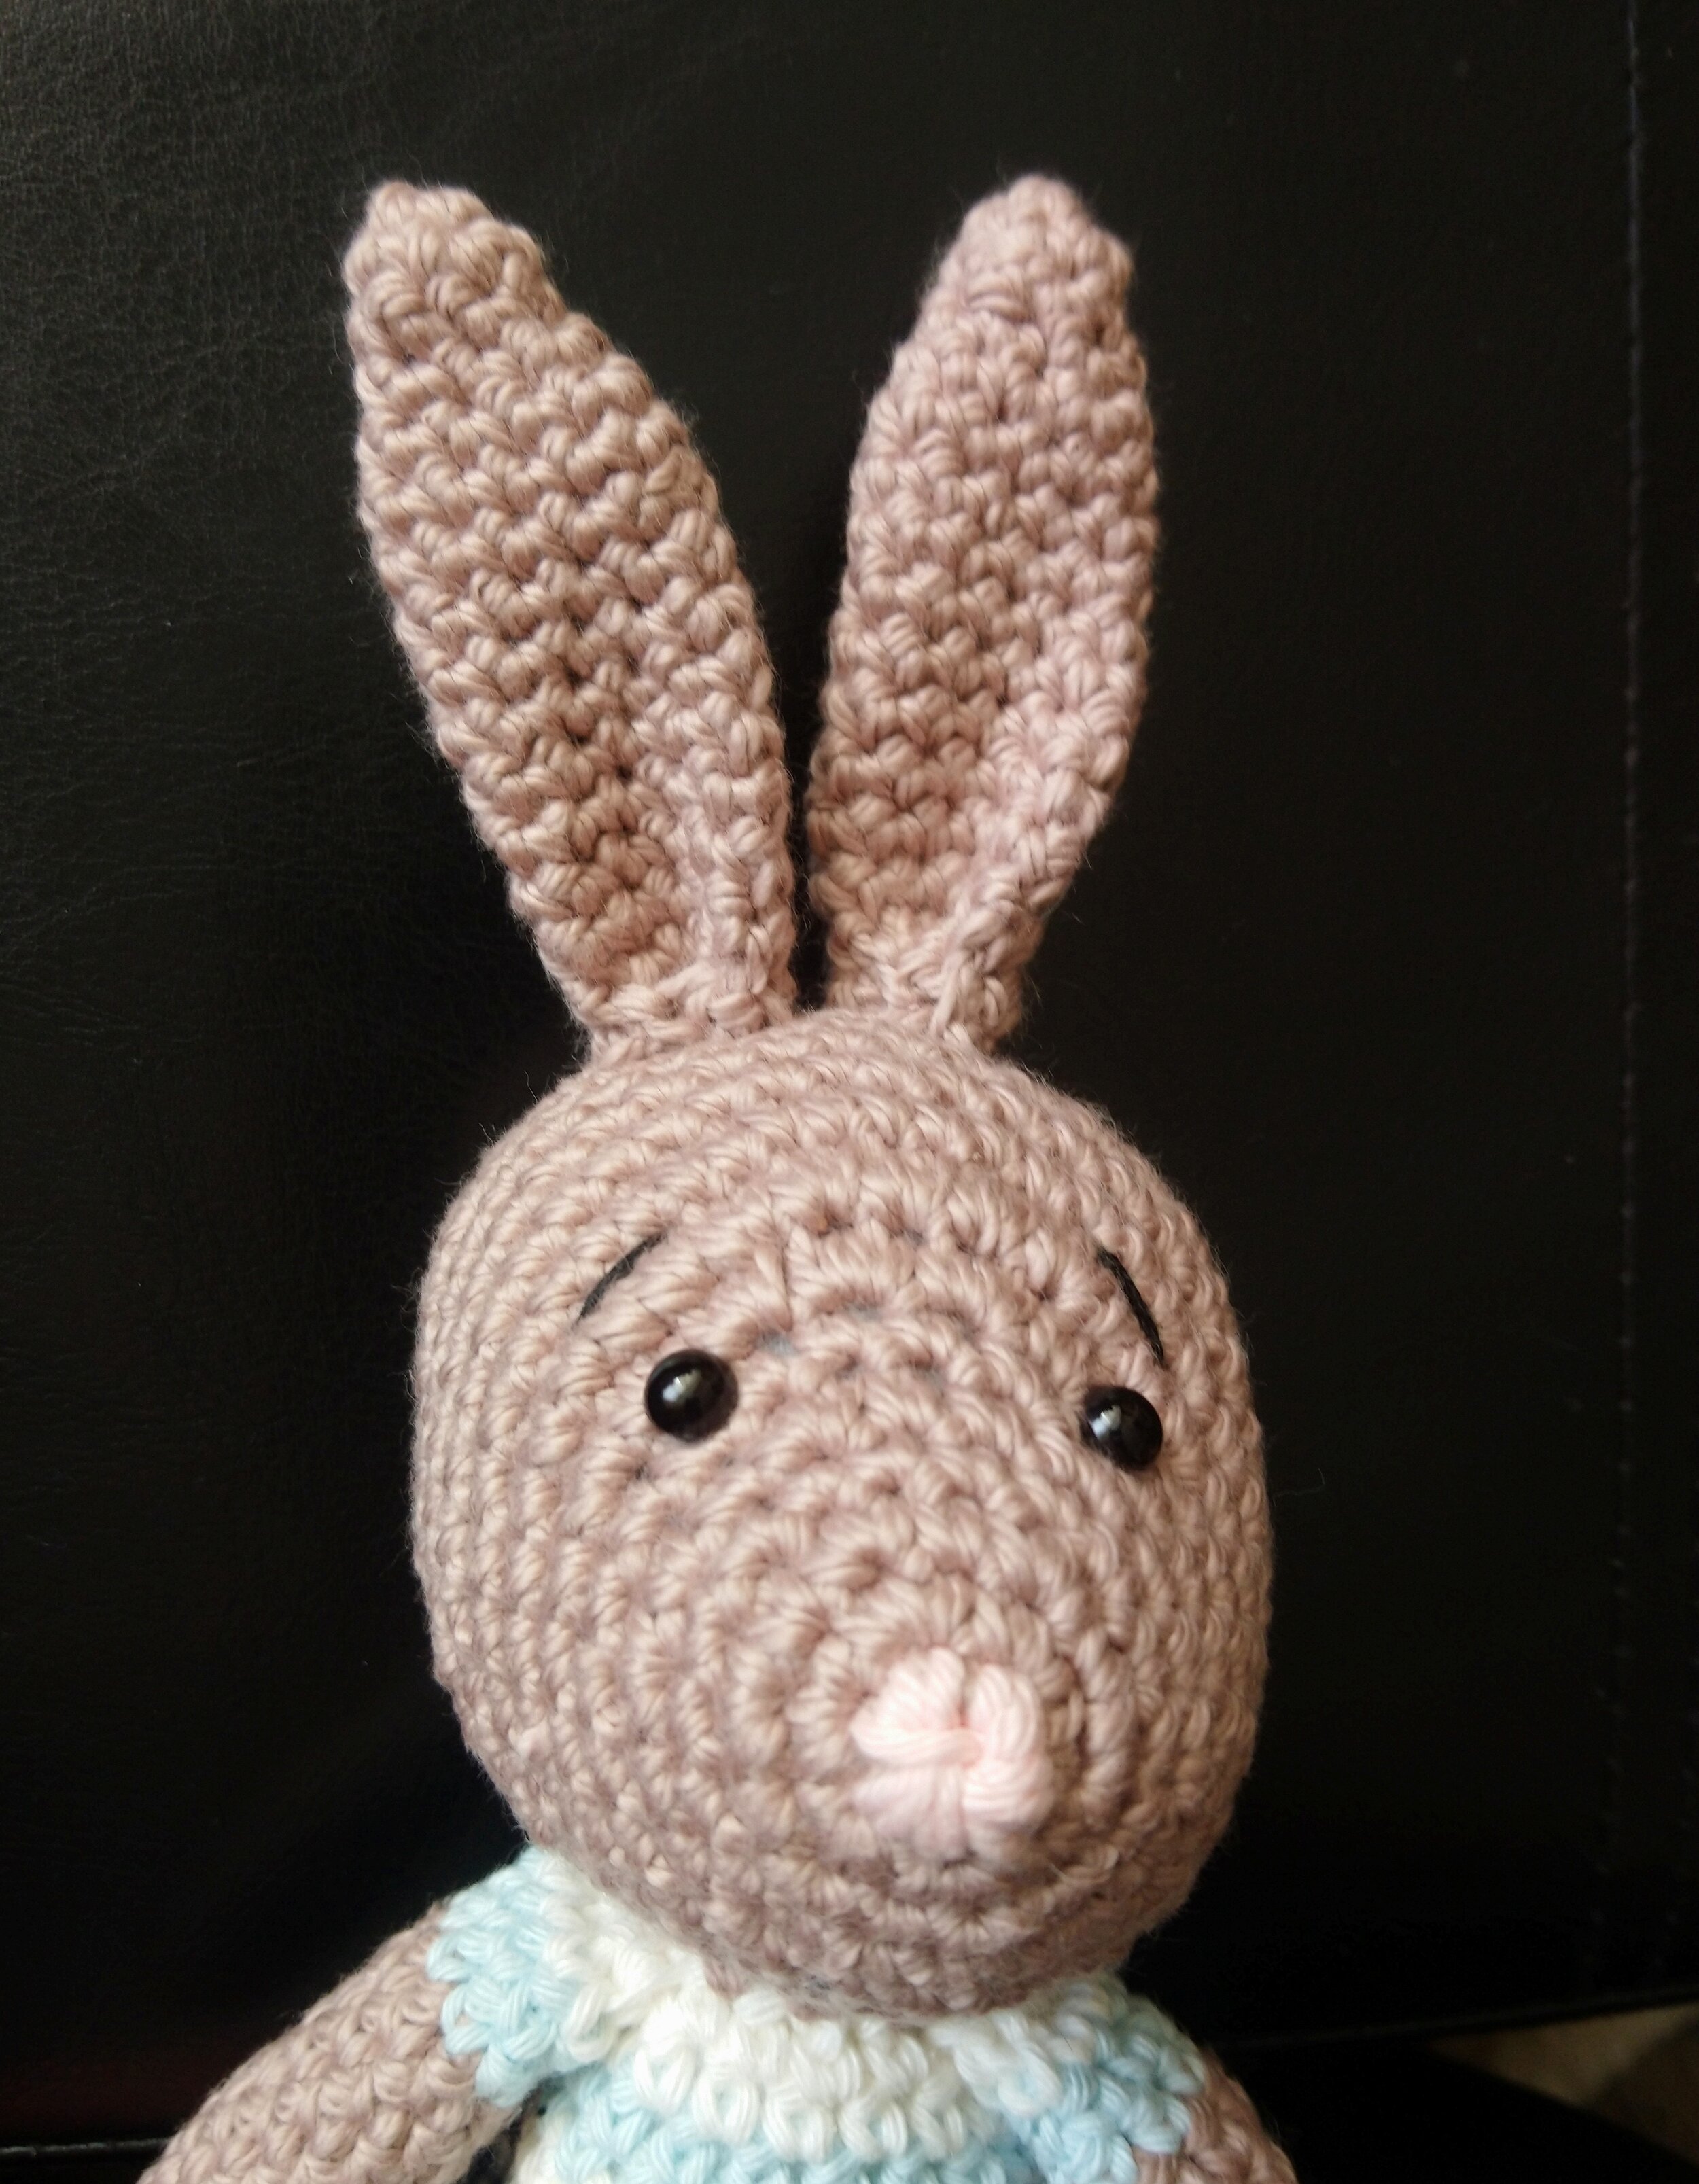
Sew eyebrows with black embroidery thread and eyelashes for the girl.
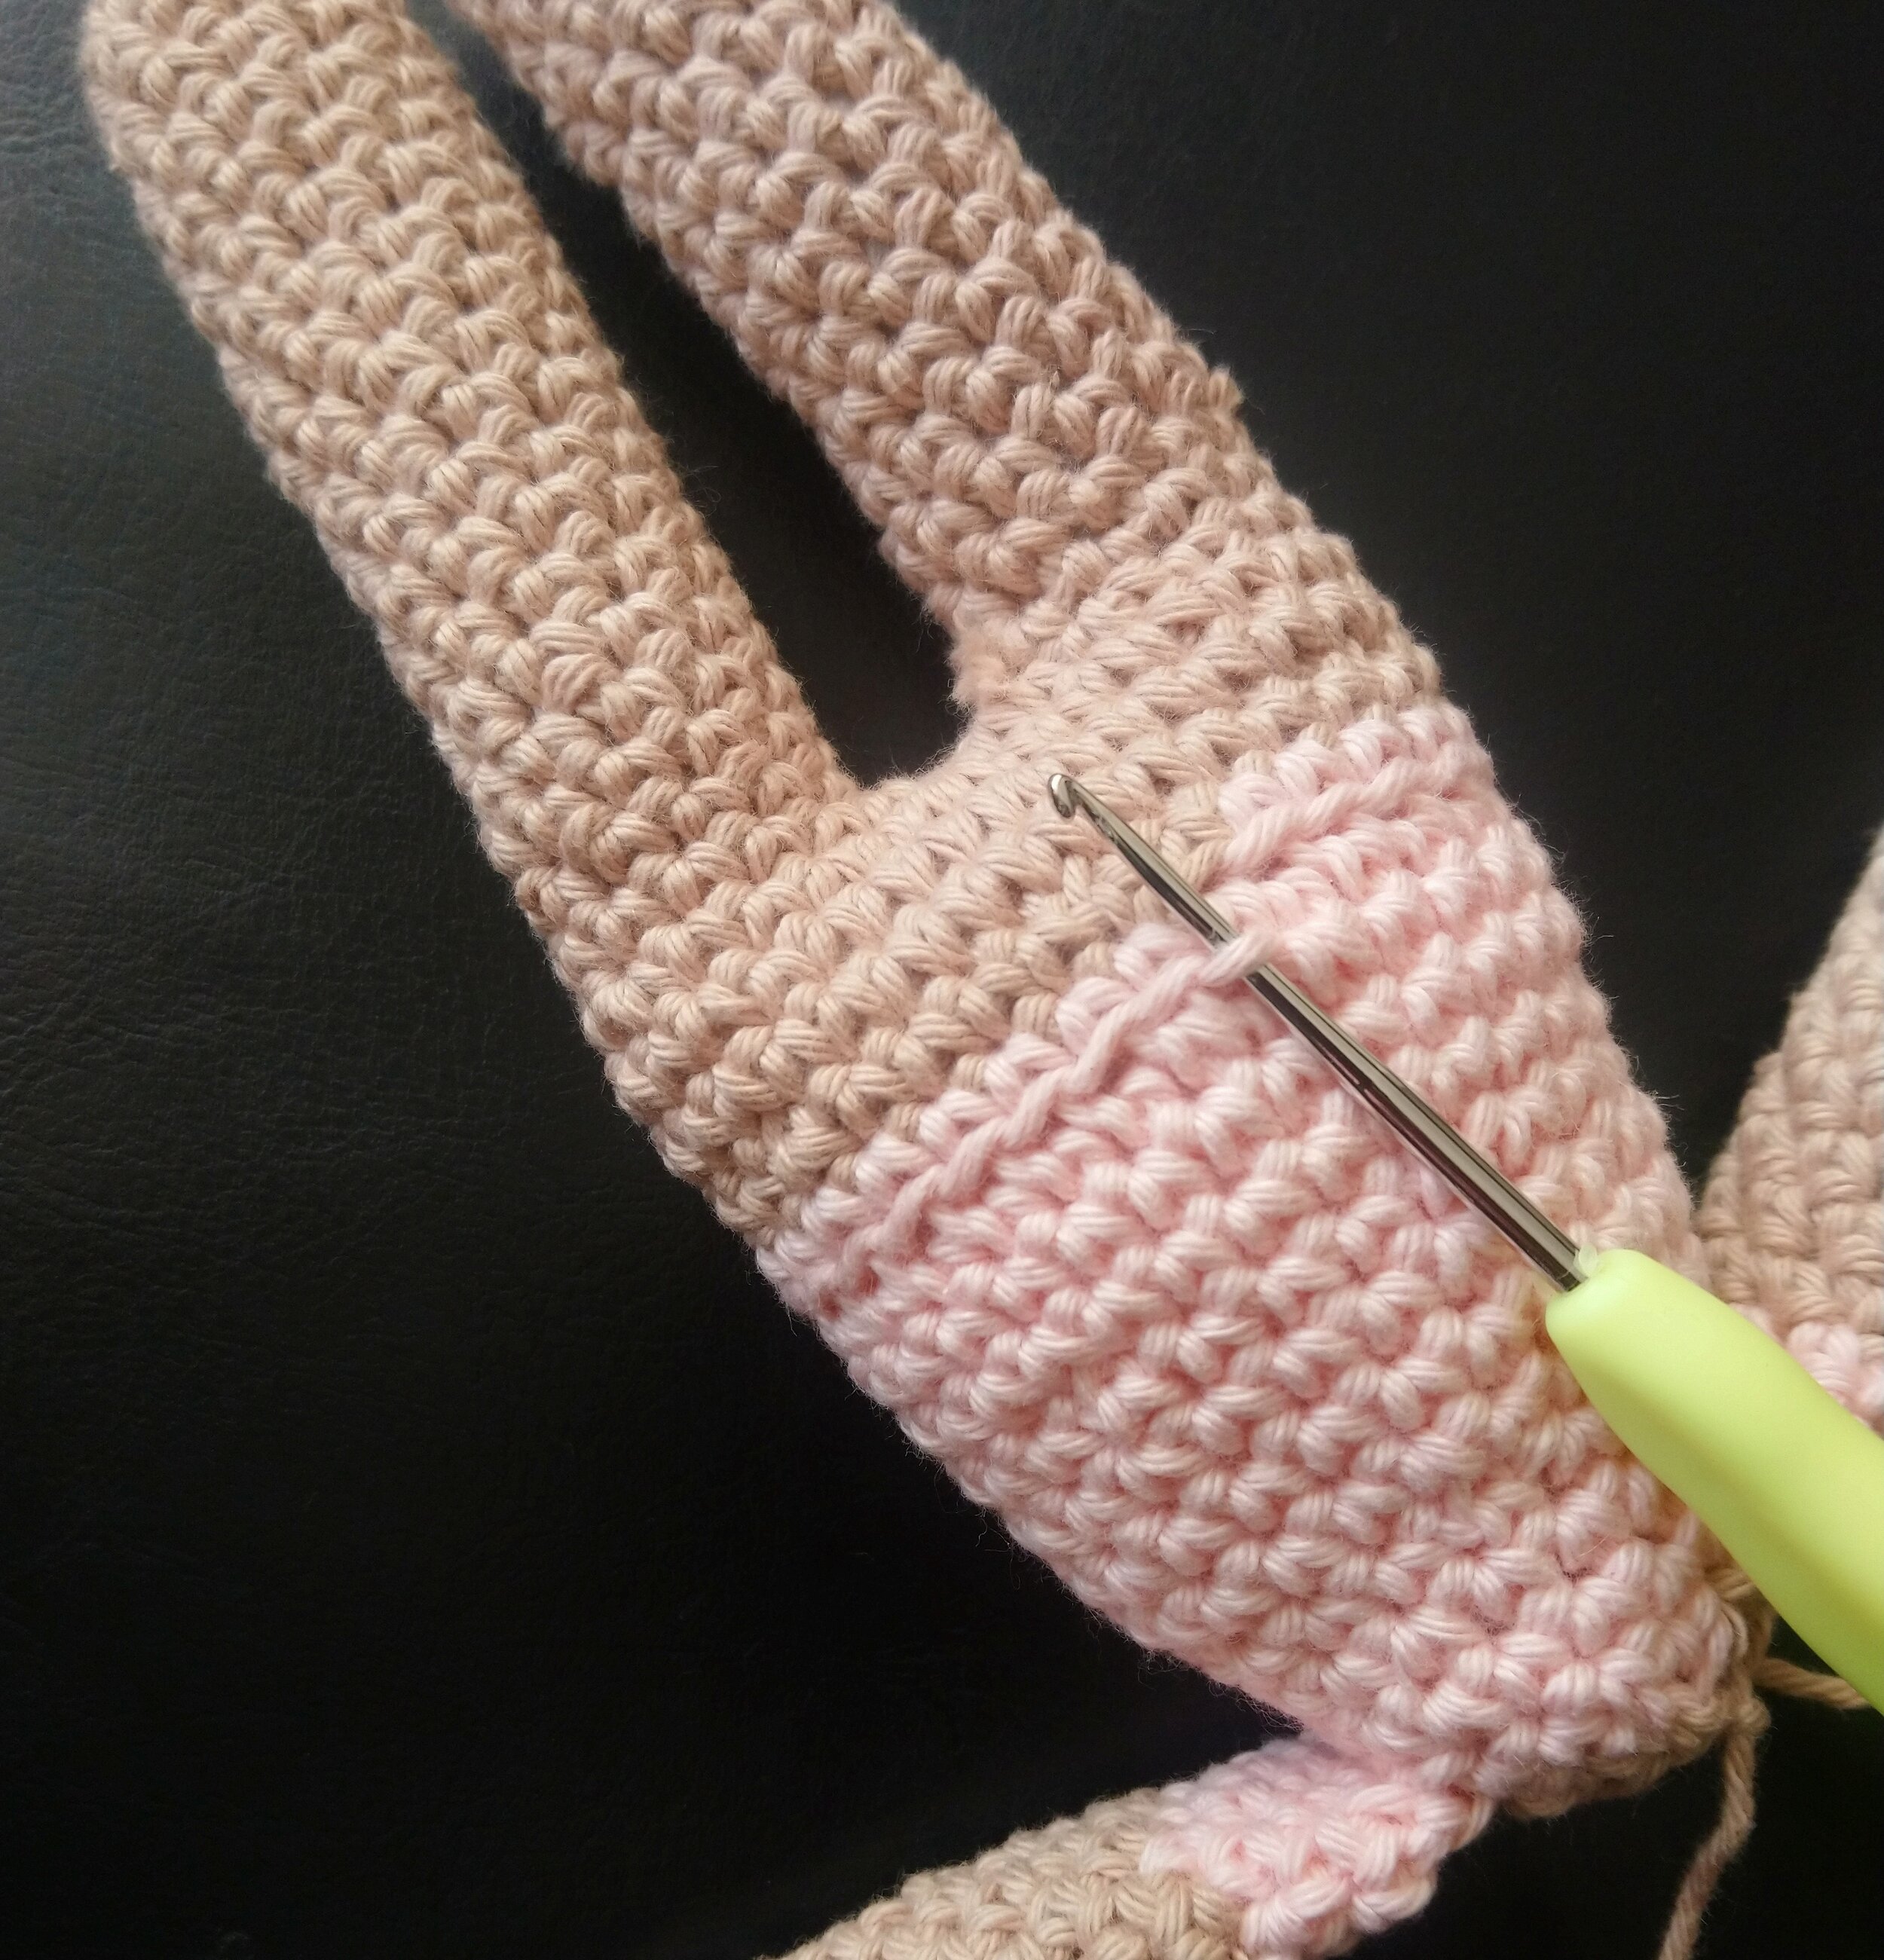
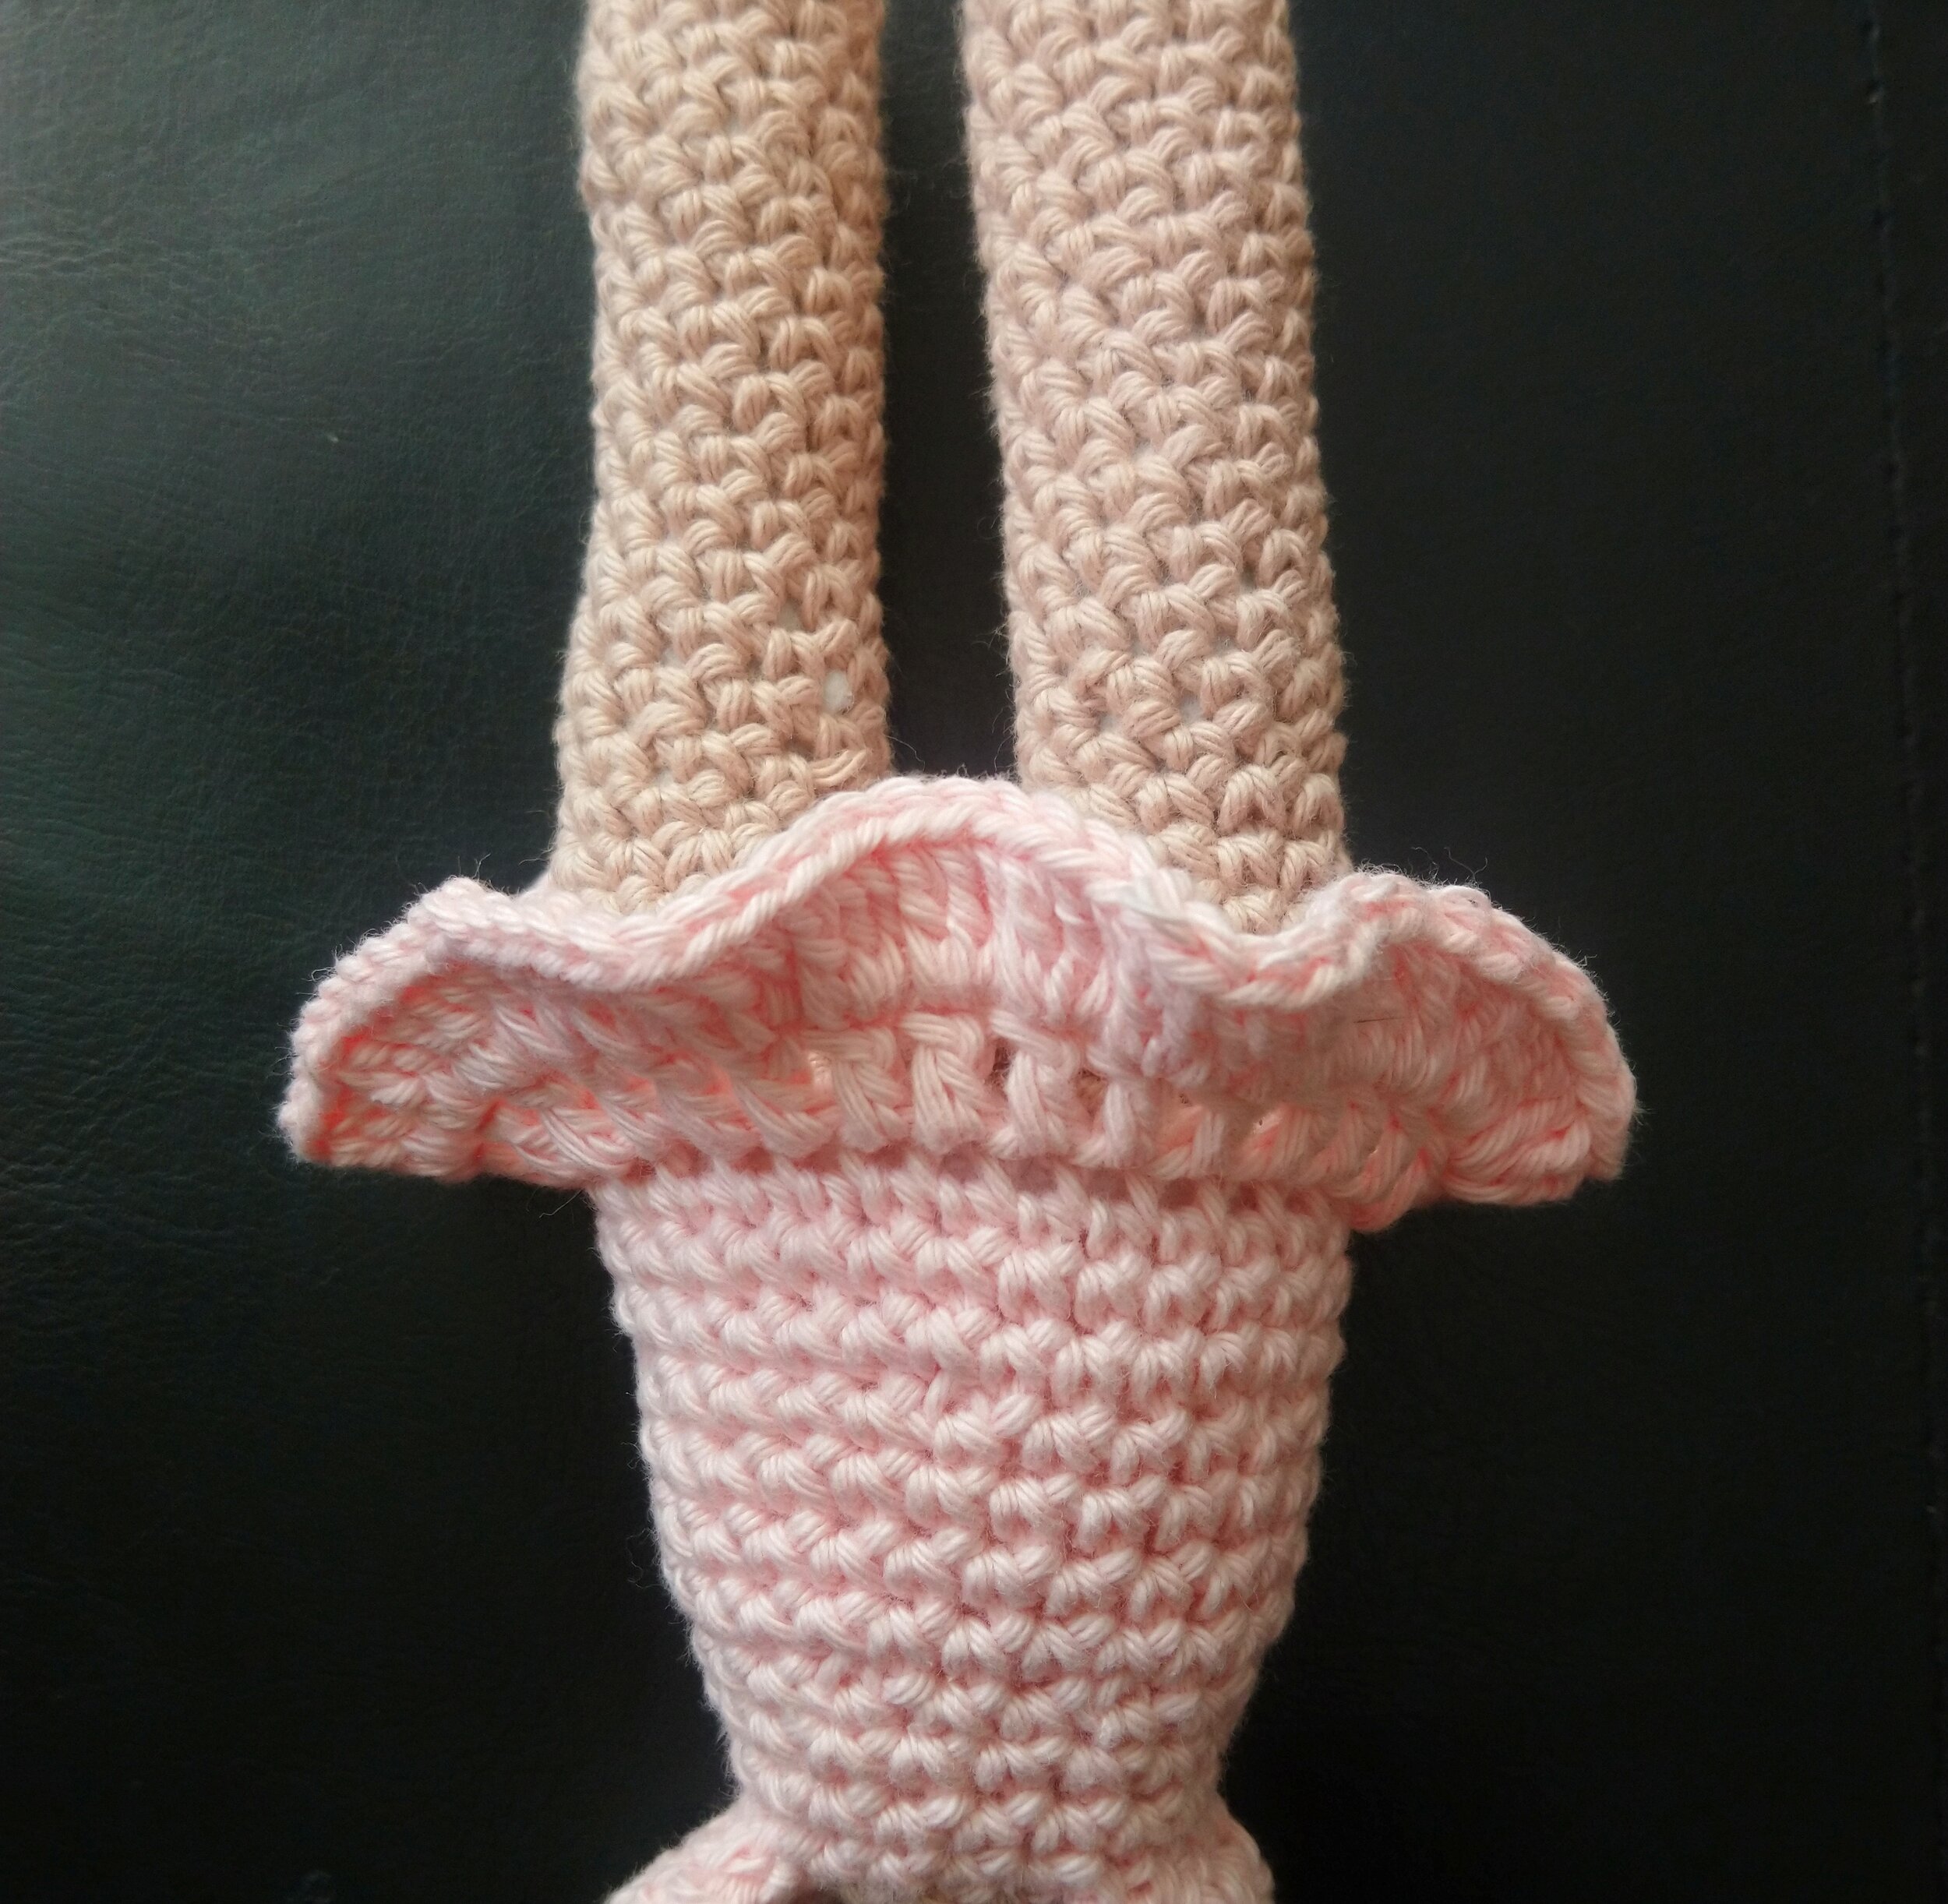
Basket
Rnd1 6 sc in a magic circle. (6)
Rnd2 *inc* x 6. (12)
Rnd3 *sc 1, inc* x 6. (18)
Rnd4 *sc 2, inc* x 6. (24)
Rnd5 *sc 3, inc* x 6. (30)
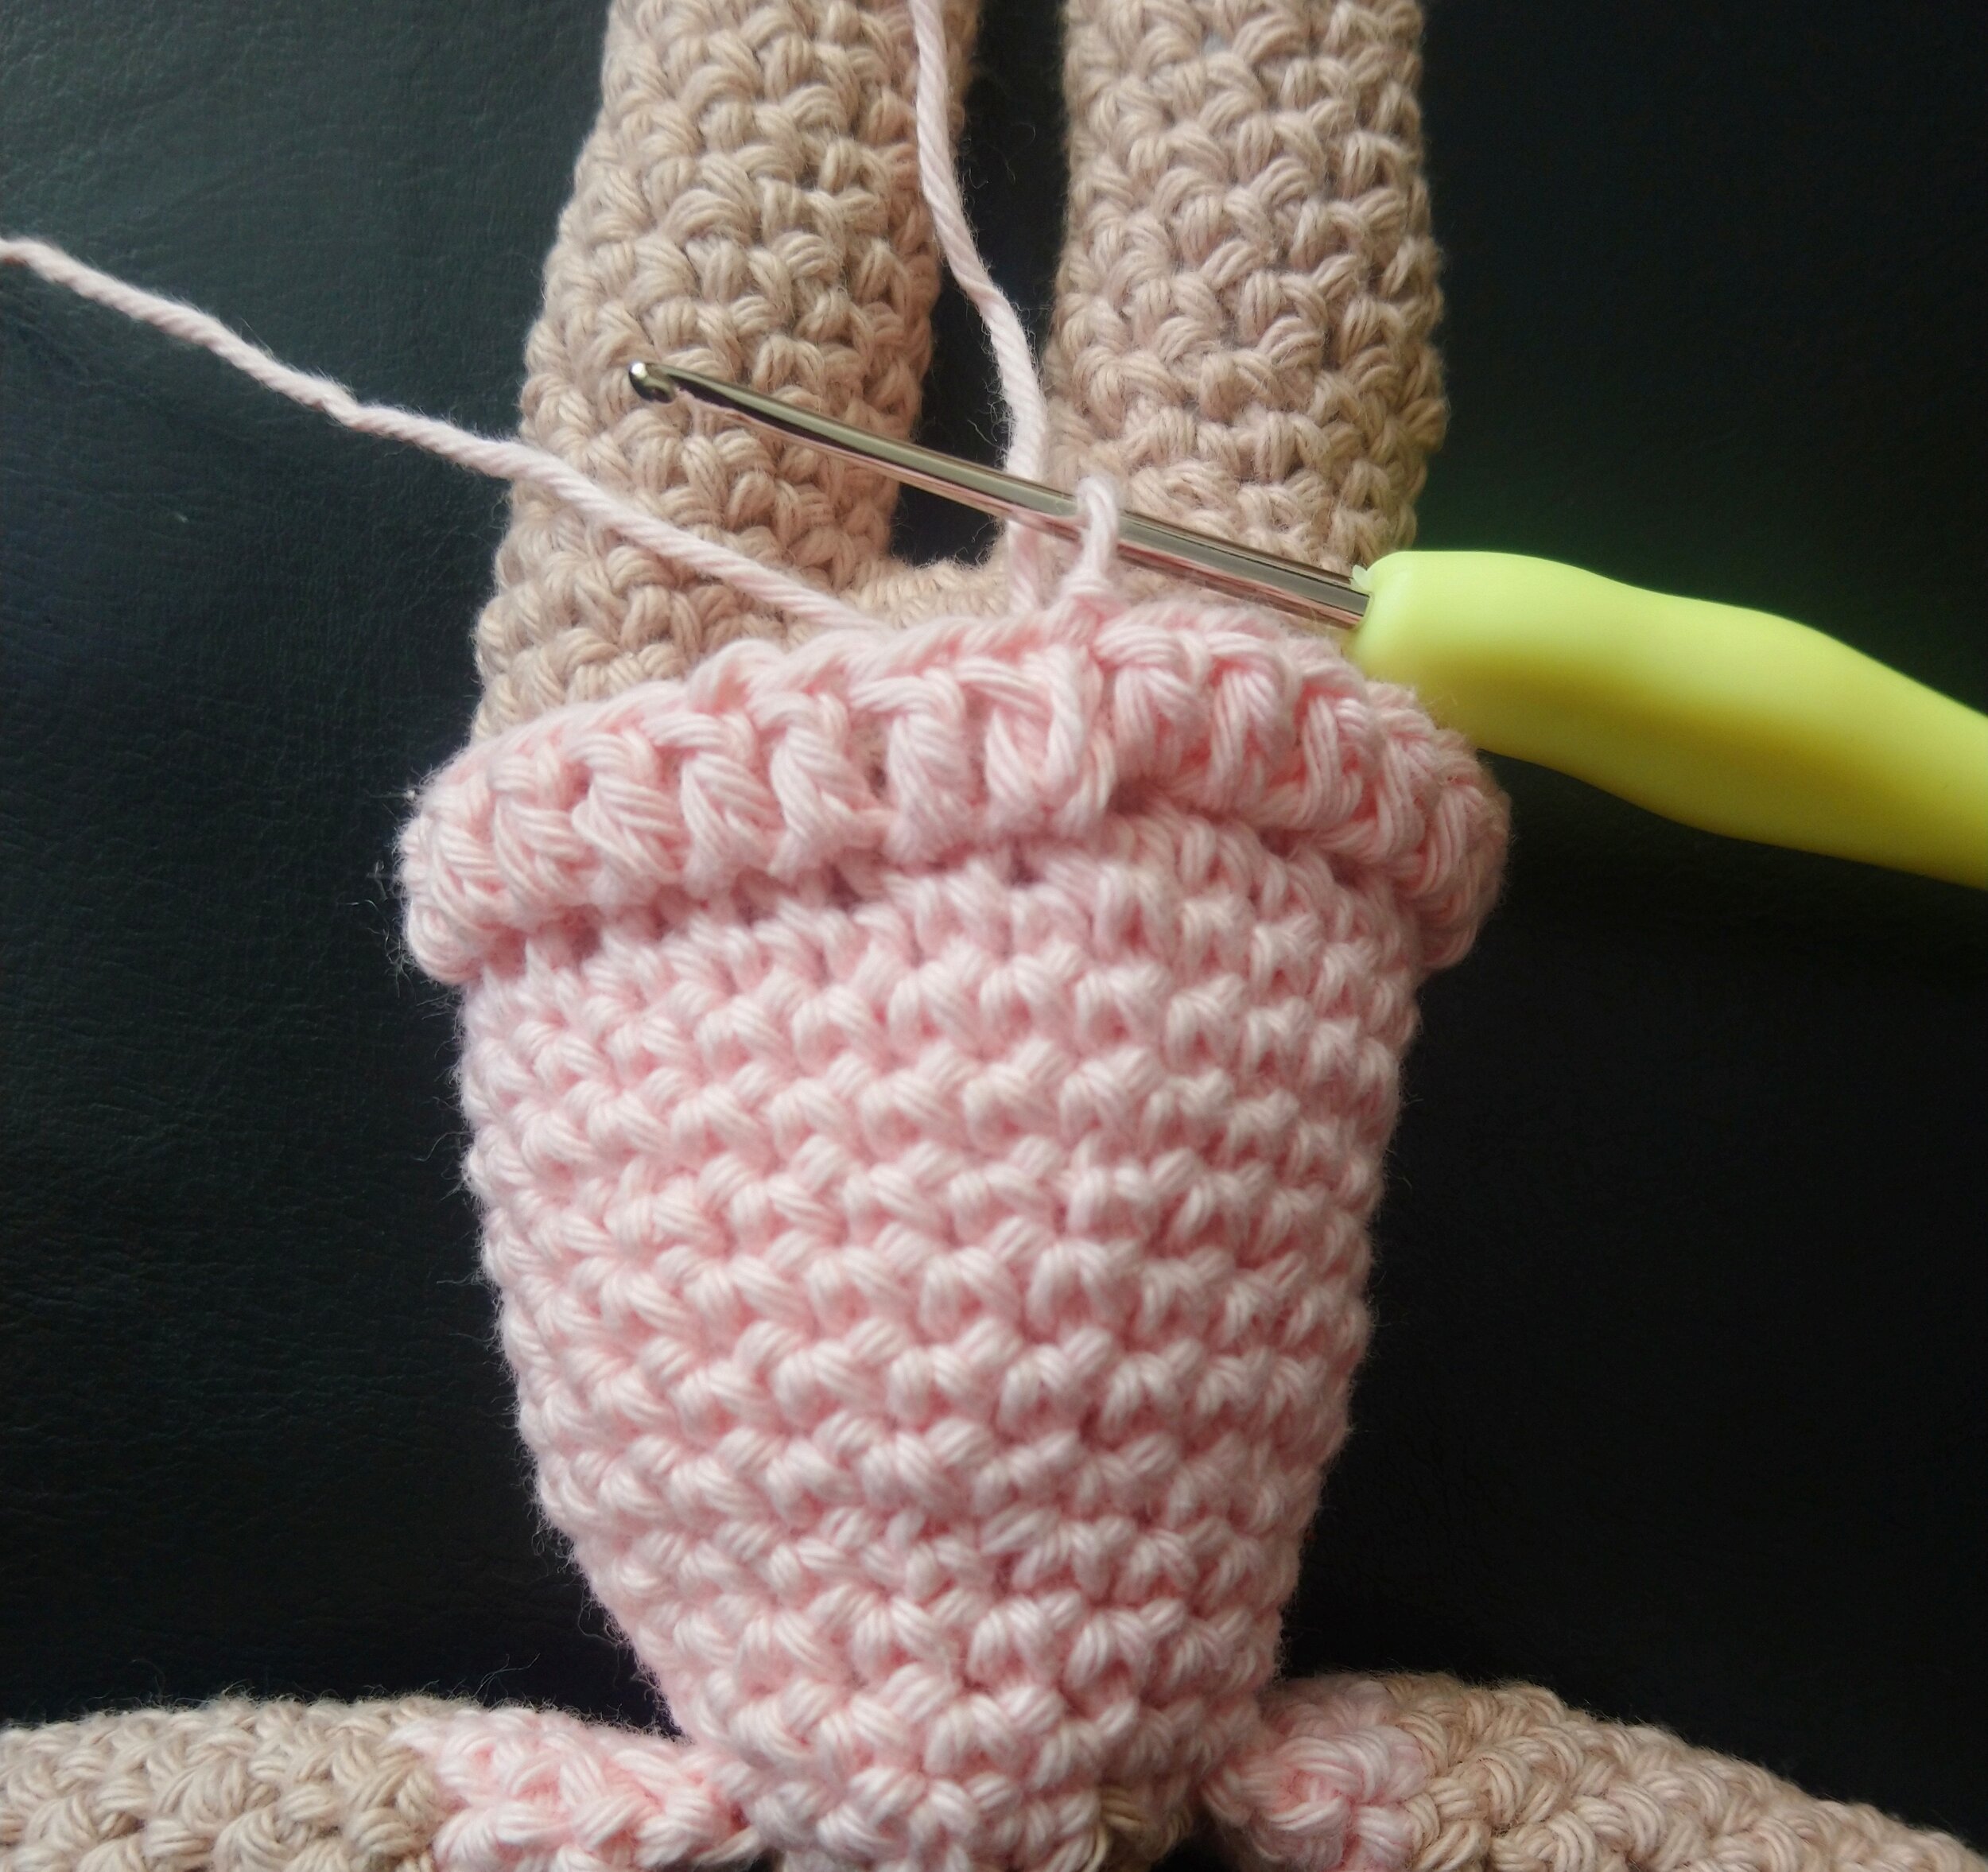
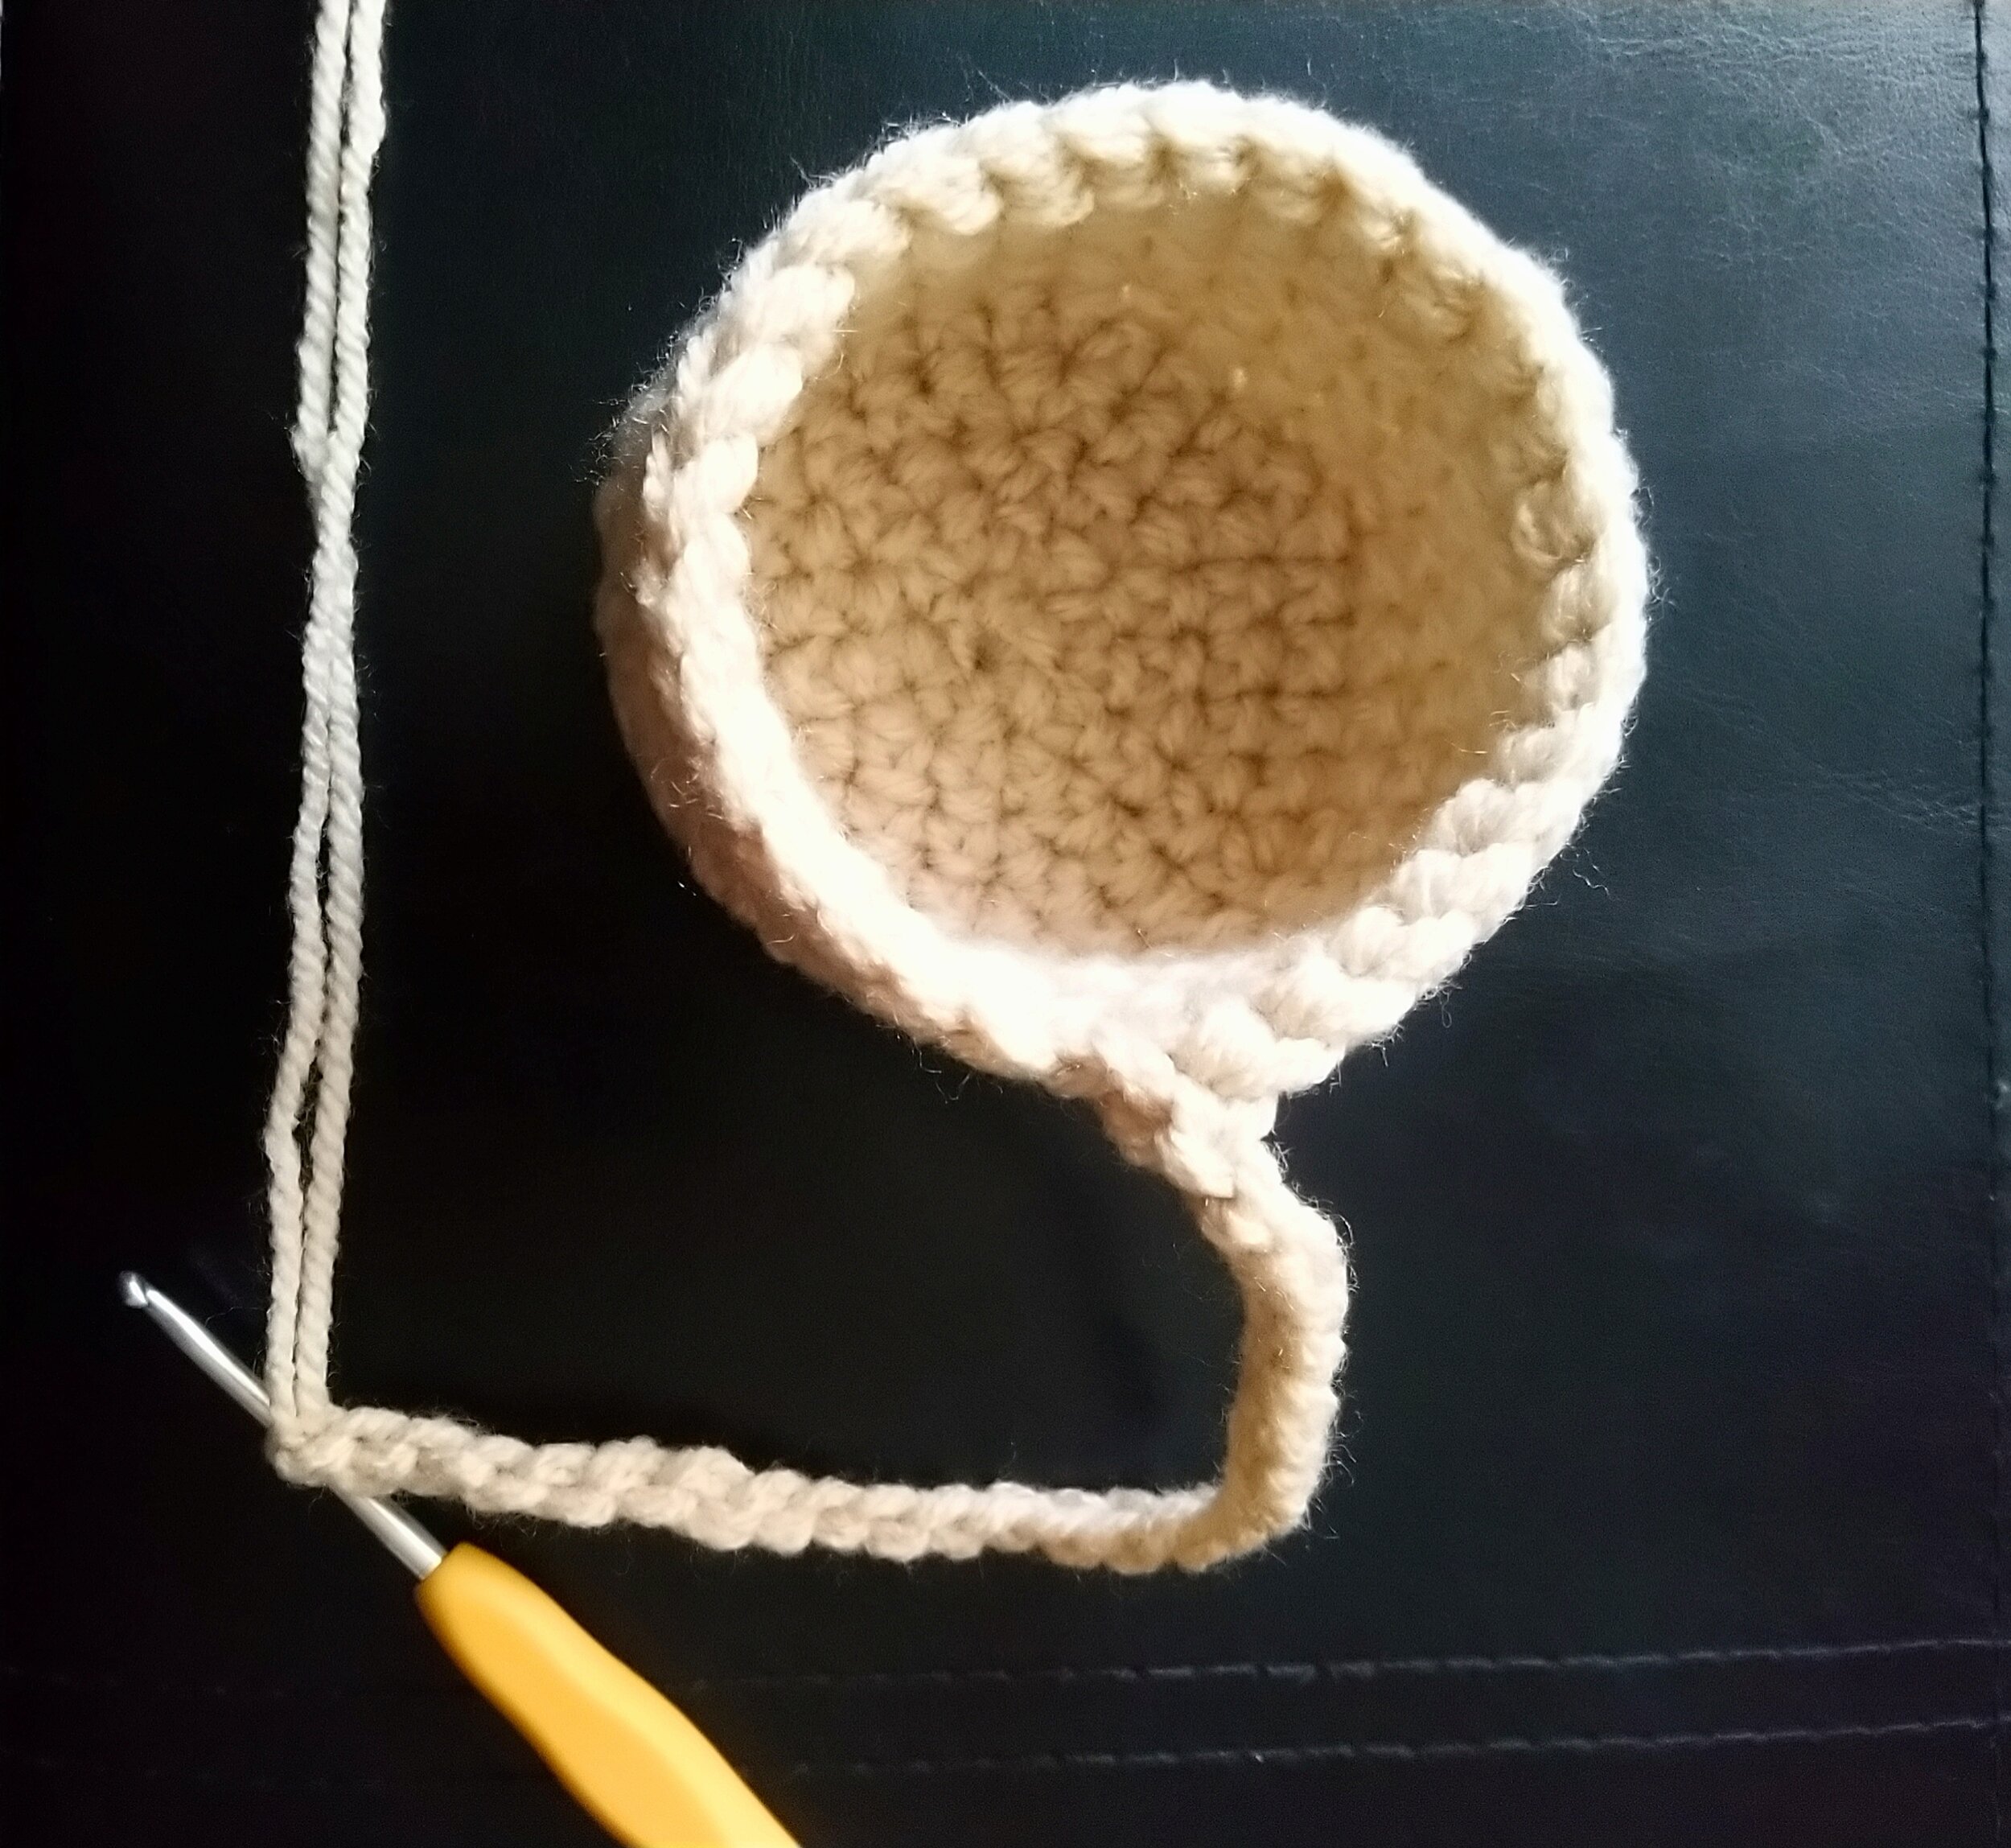
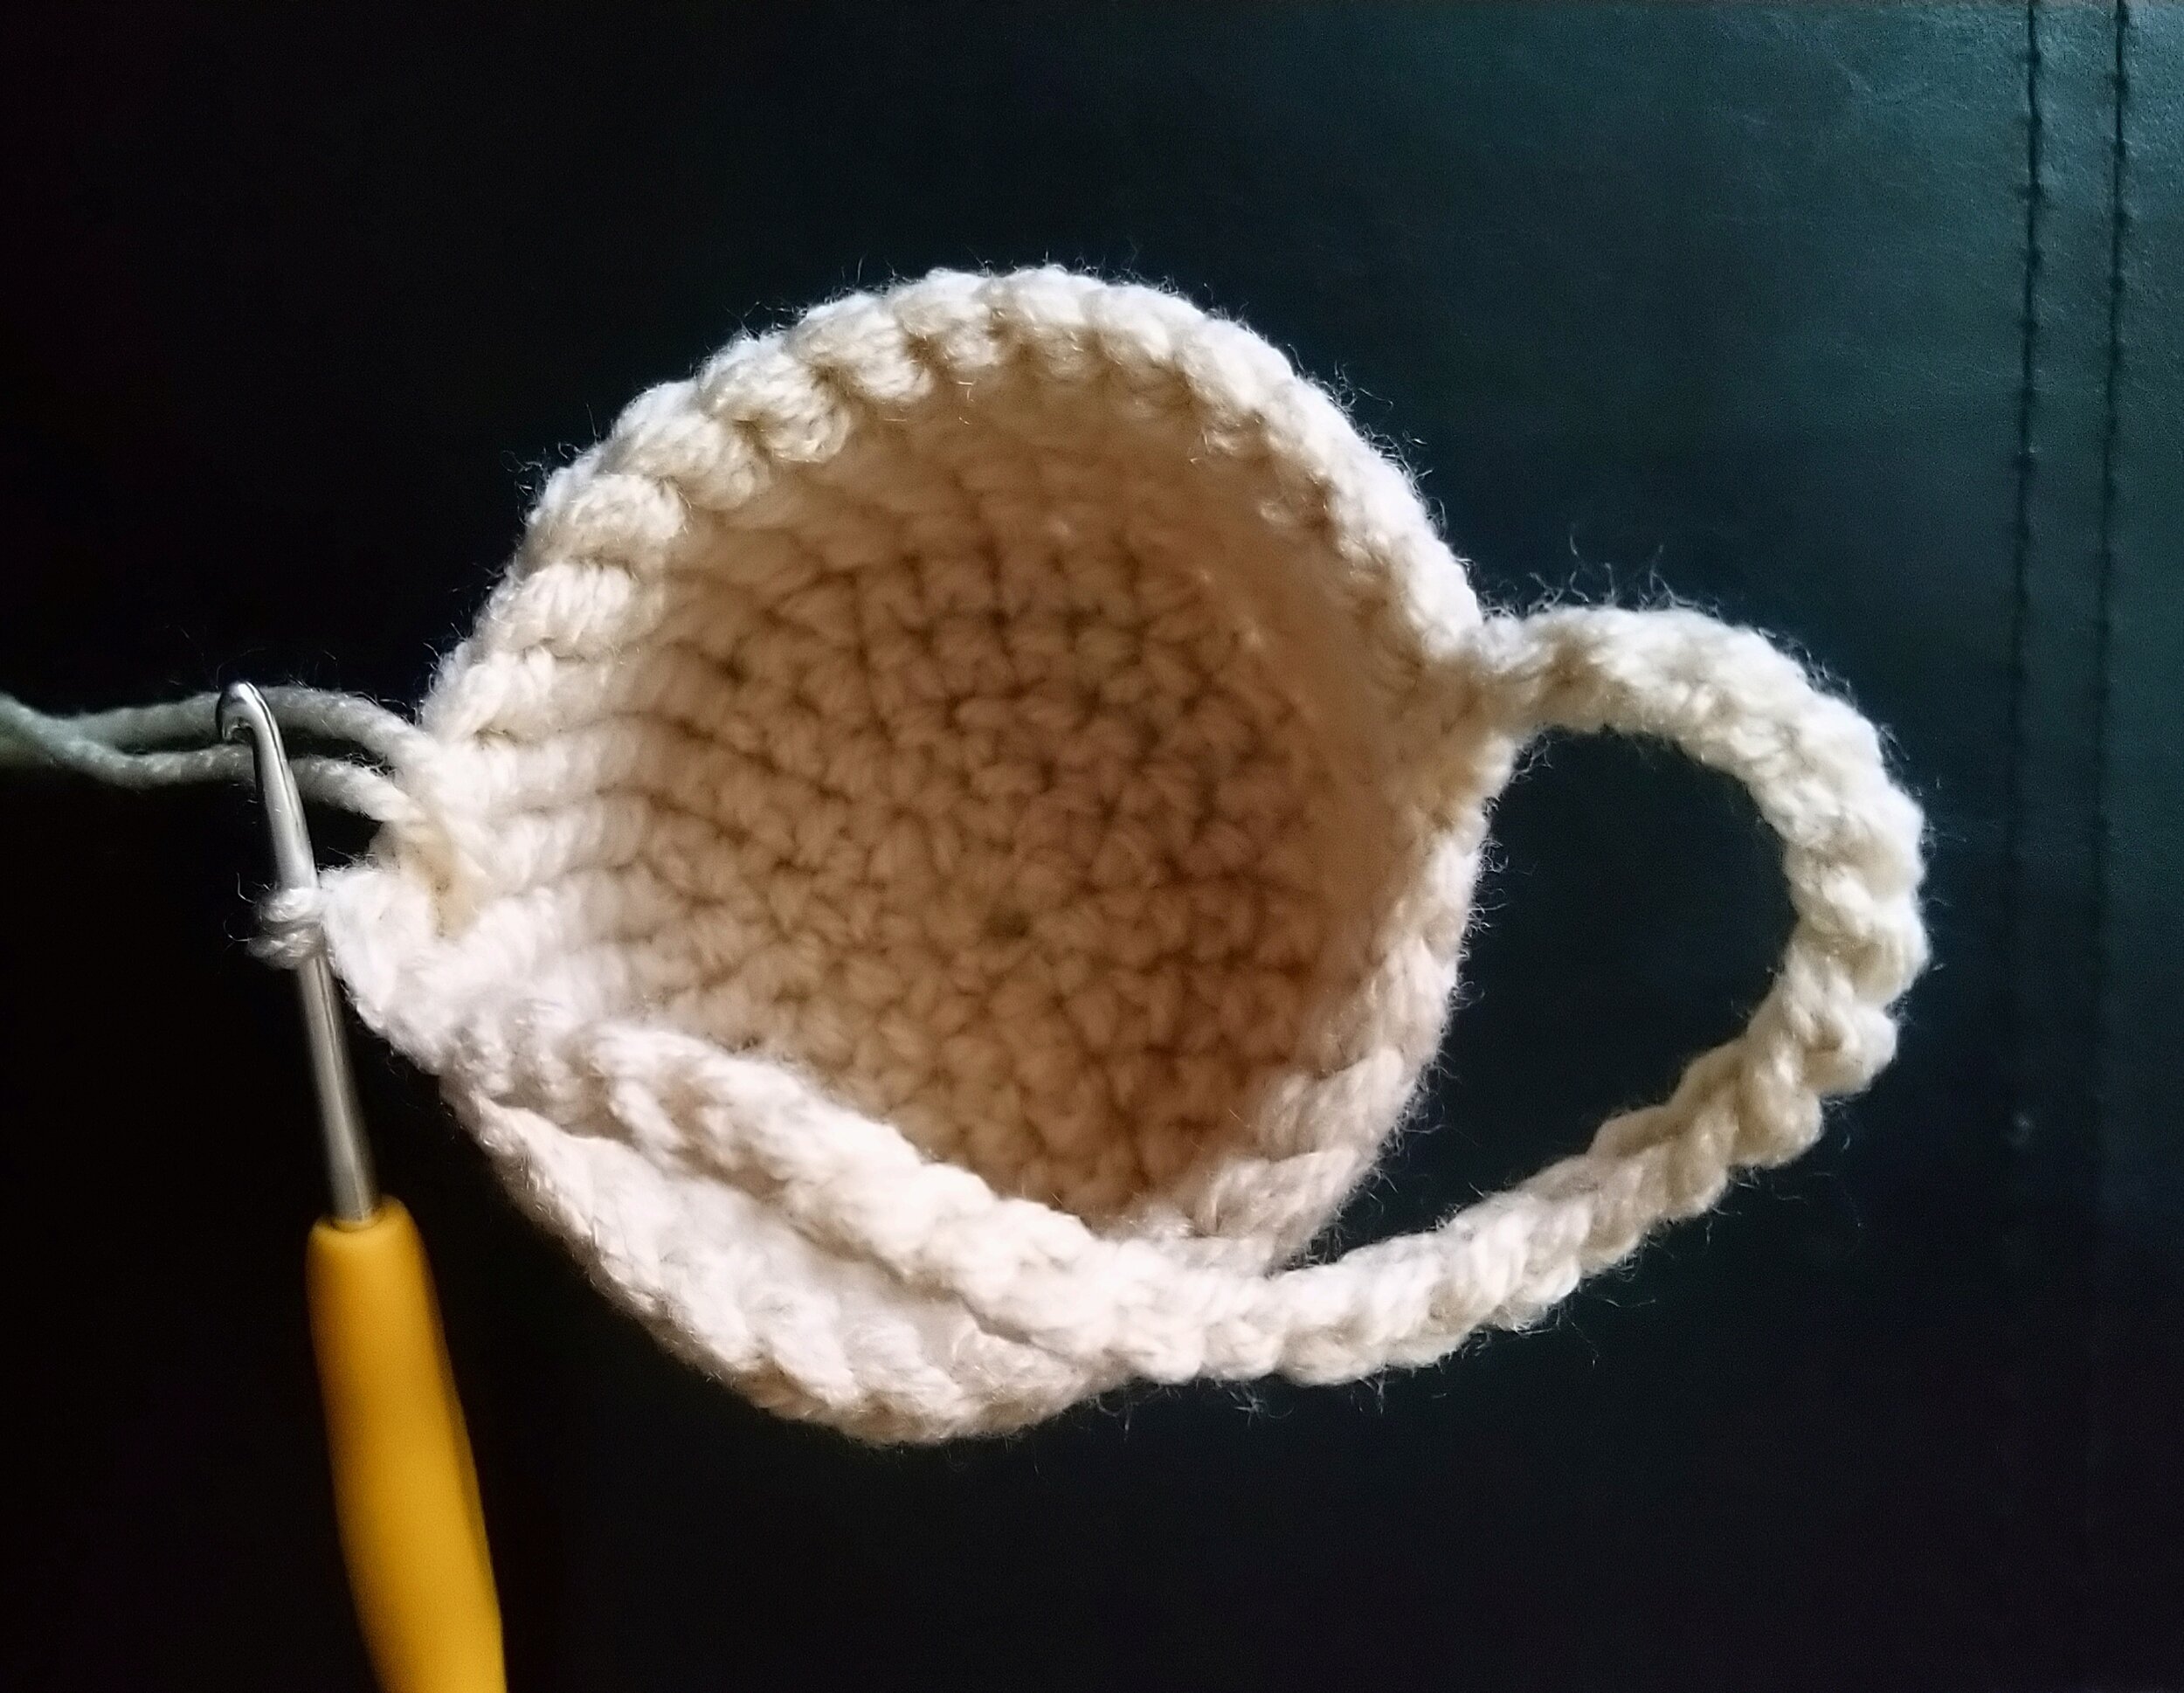
Rnd6 sc all in blo. (30)
Rnd7-10 sc all. (30)
Rnd11 ch26, skip 14 stitches and slst to the next, ch1, sc in same and each stitch across, slst to the other side of basket.
Fasten off.
Sew in all the ends.
I sewed some ribbon around the outside of the basket, but you could decorate how you like, then fill with eggs.
That's it completed. I hope you enjoyed making my pattern!
I would love to see your makes feel free to share @babycrochetdesigns Instagram, Pinterest and Facebook.
*COPYRIGHT 2021 This pattern is made for personal use only. You may not copy, share or sell this pattern, you may make and sell items made from my patterns but please credit me @BabyCrochetDesigns as the designer many thanks*