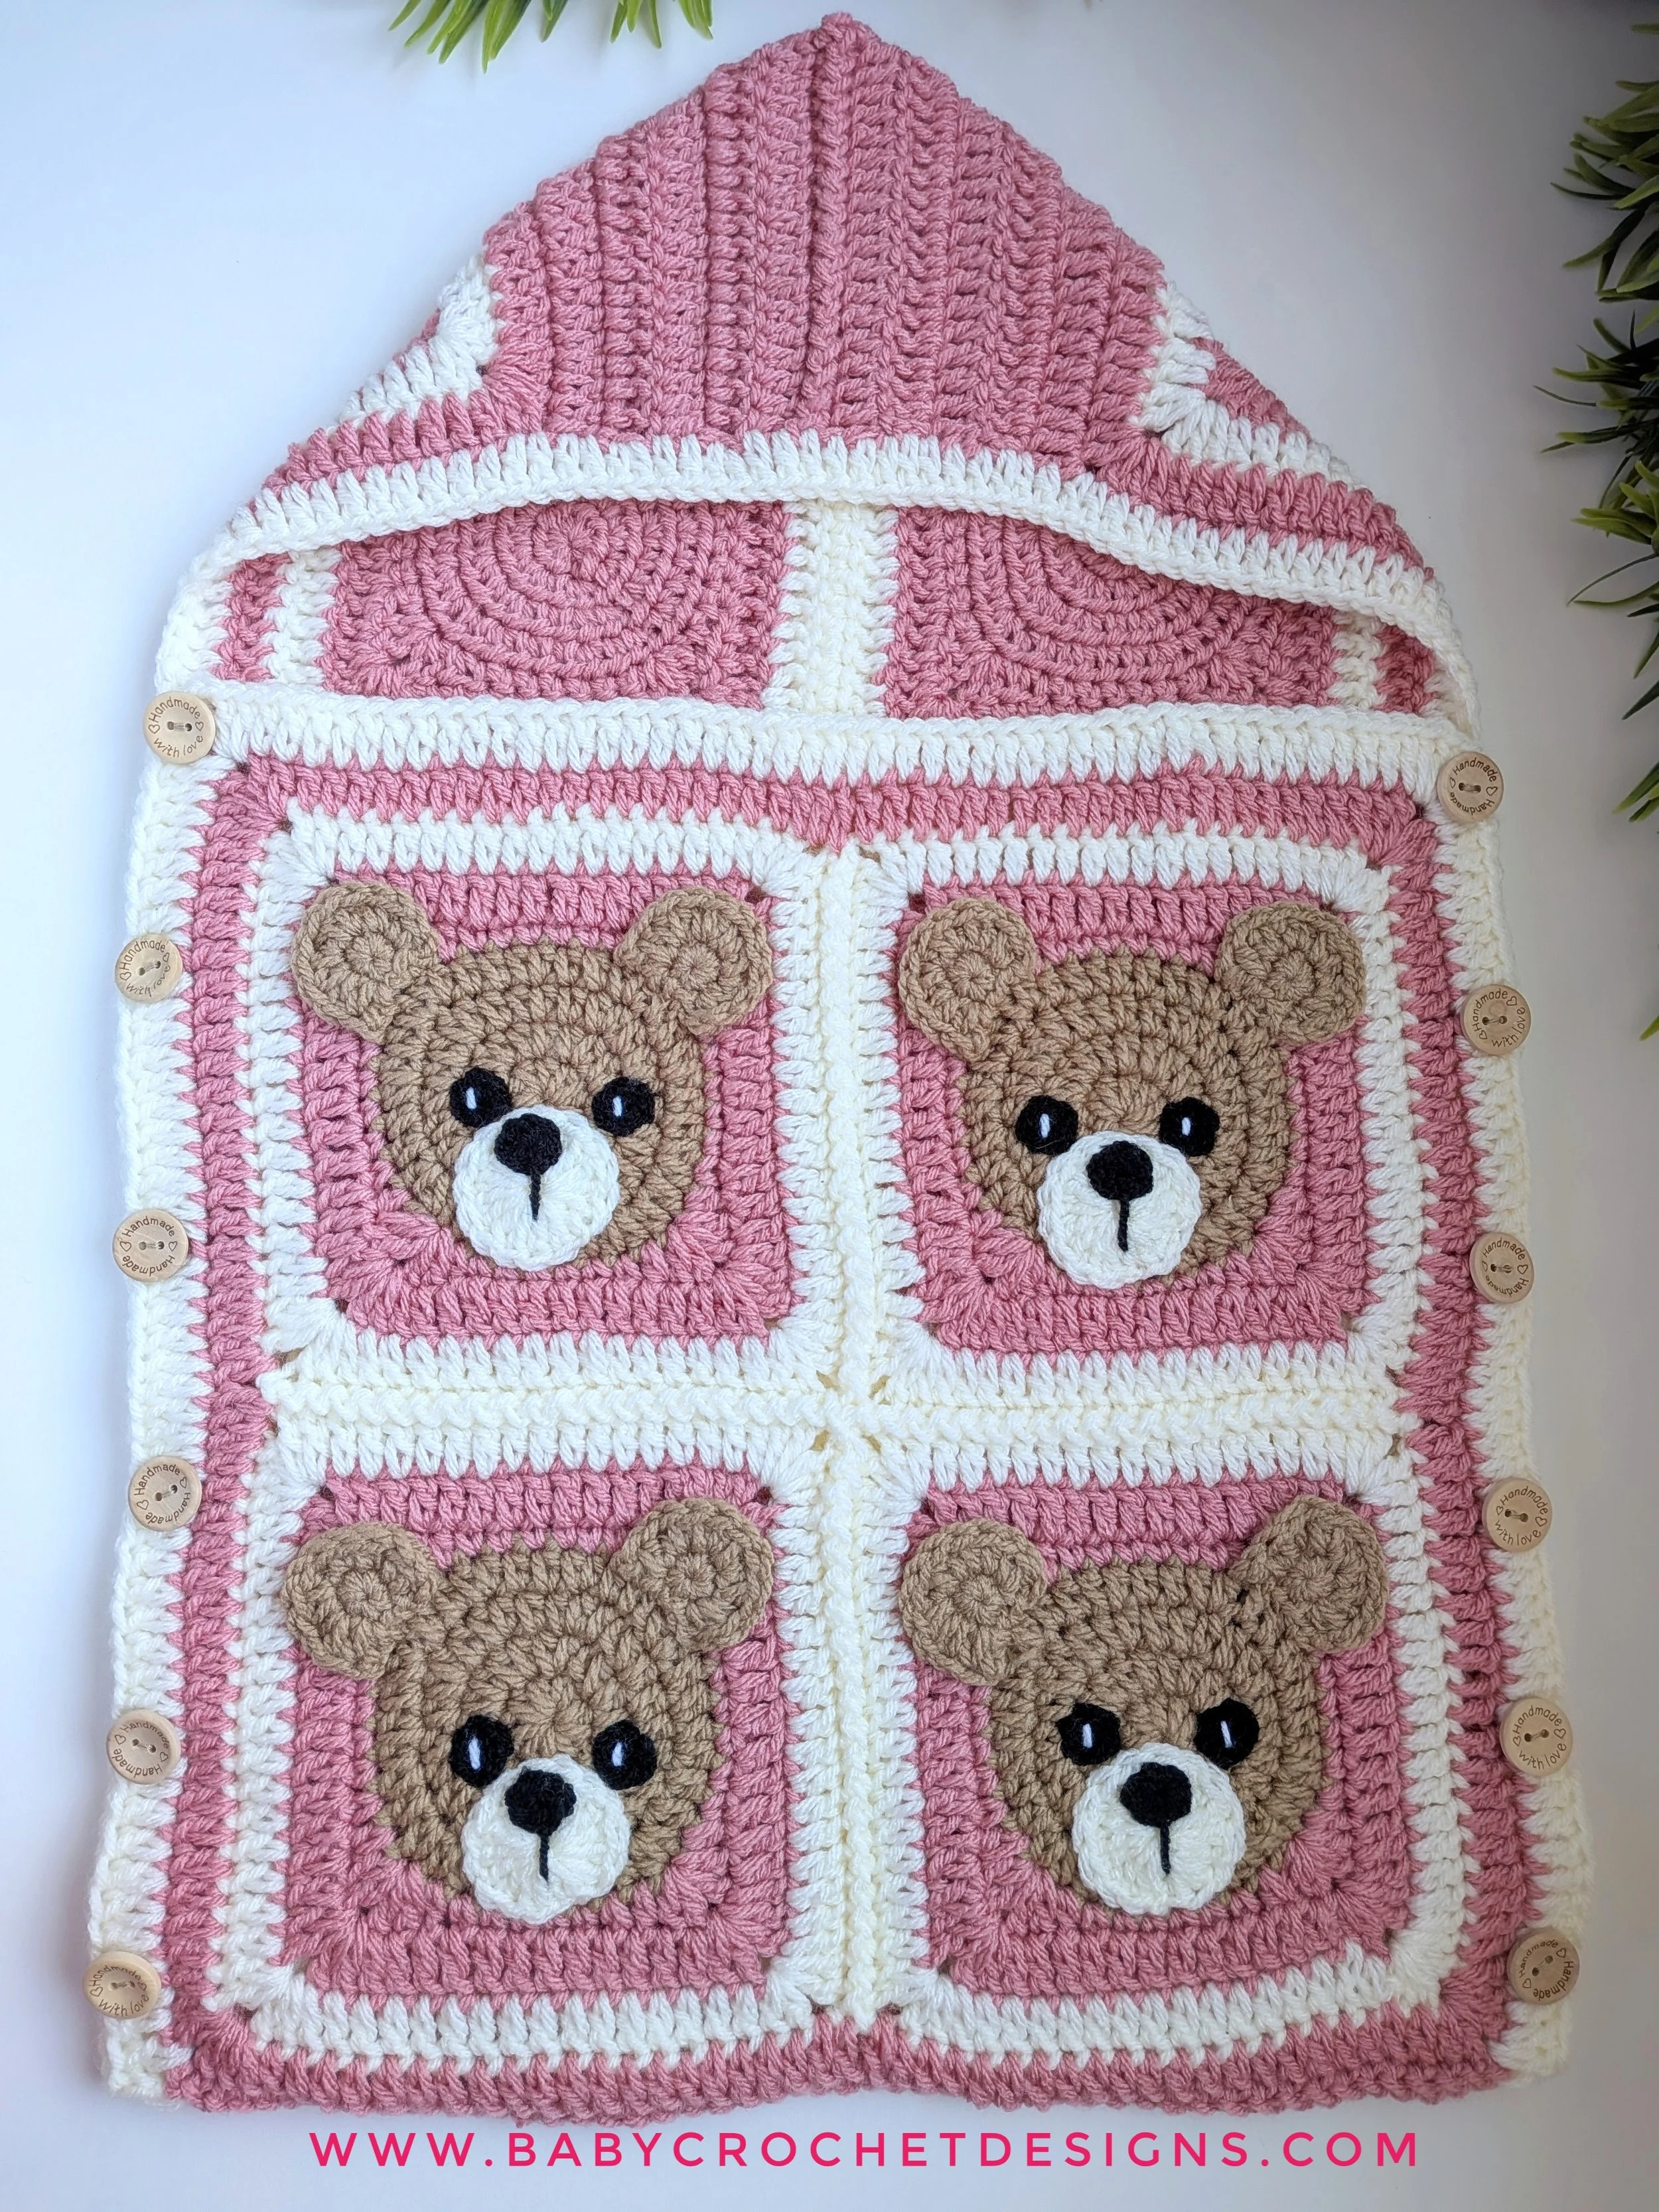
Pick & Mix Baby Snuggle Sack
This cute little snuggle sack is made using the pick and mix granny squares, its perfect for keeping baby warm while out in the pram.
SIZES 0-3 / 3-6 / 6-12 MONTHS
FINISHED LENGTH (INCLUDING HOOD) 24” / 28” / 32”
HOOD LENGTH 8” / 9” / 10”
WIDTH 16” / 18” / 20”
SKILL LEVEL
Intermediate
MATERIALS
Aran weight 4 yarn. For my example I used Hobbii Crafting Acrylic (265 metres per 100g)
1 x (02) Cream, 1 x (17) Cosmetic Pink, 1 x (04) Camel.
A small amount of black dk weight for the eyes.
4mm & 5.5mm crochet hooks
Scissors
Stitch markers
12 x 20mm buttons
WRITTEN IN ENGLISH US TERMS WITH ABBREVIATIONS FOR UK
sc = single crochet (double crochet in UK)
hdc = half double crochet (half treble crochet UK)
dc = double crochet (treble crochet UK)
dc2tog = double crochet 2 stitches together
slst = slip stitch
blo = back loop only (crochet into the back loop of the stitch
[ ] = in the same stitch
* * = repeat between
ch = chain
GAUGE
With 5.5mm hook
7 dc x 4 rows = 2”
PATTERN NOTES
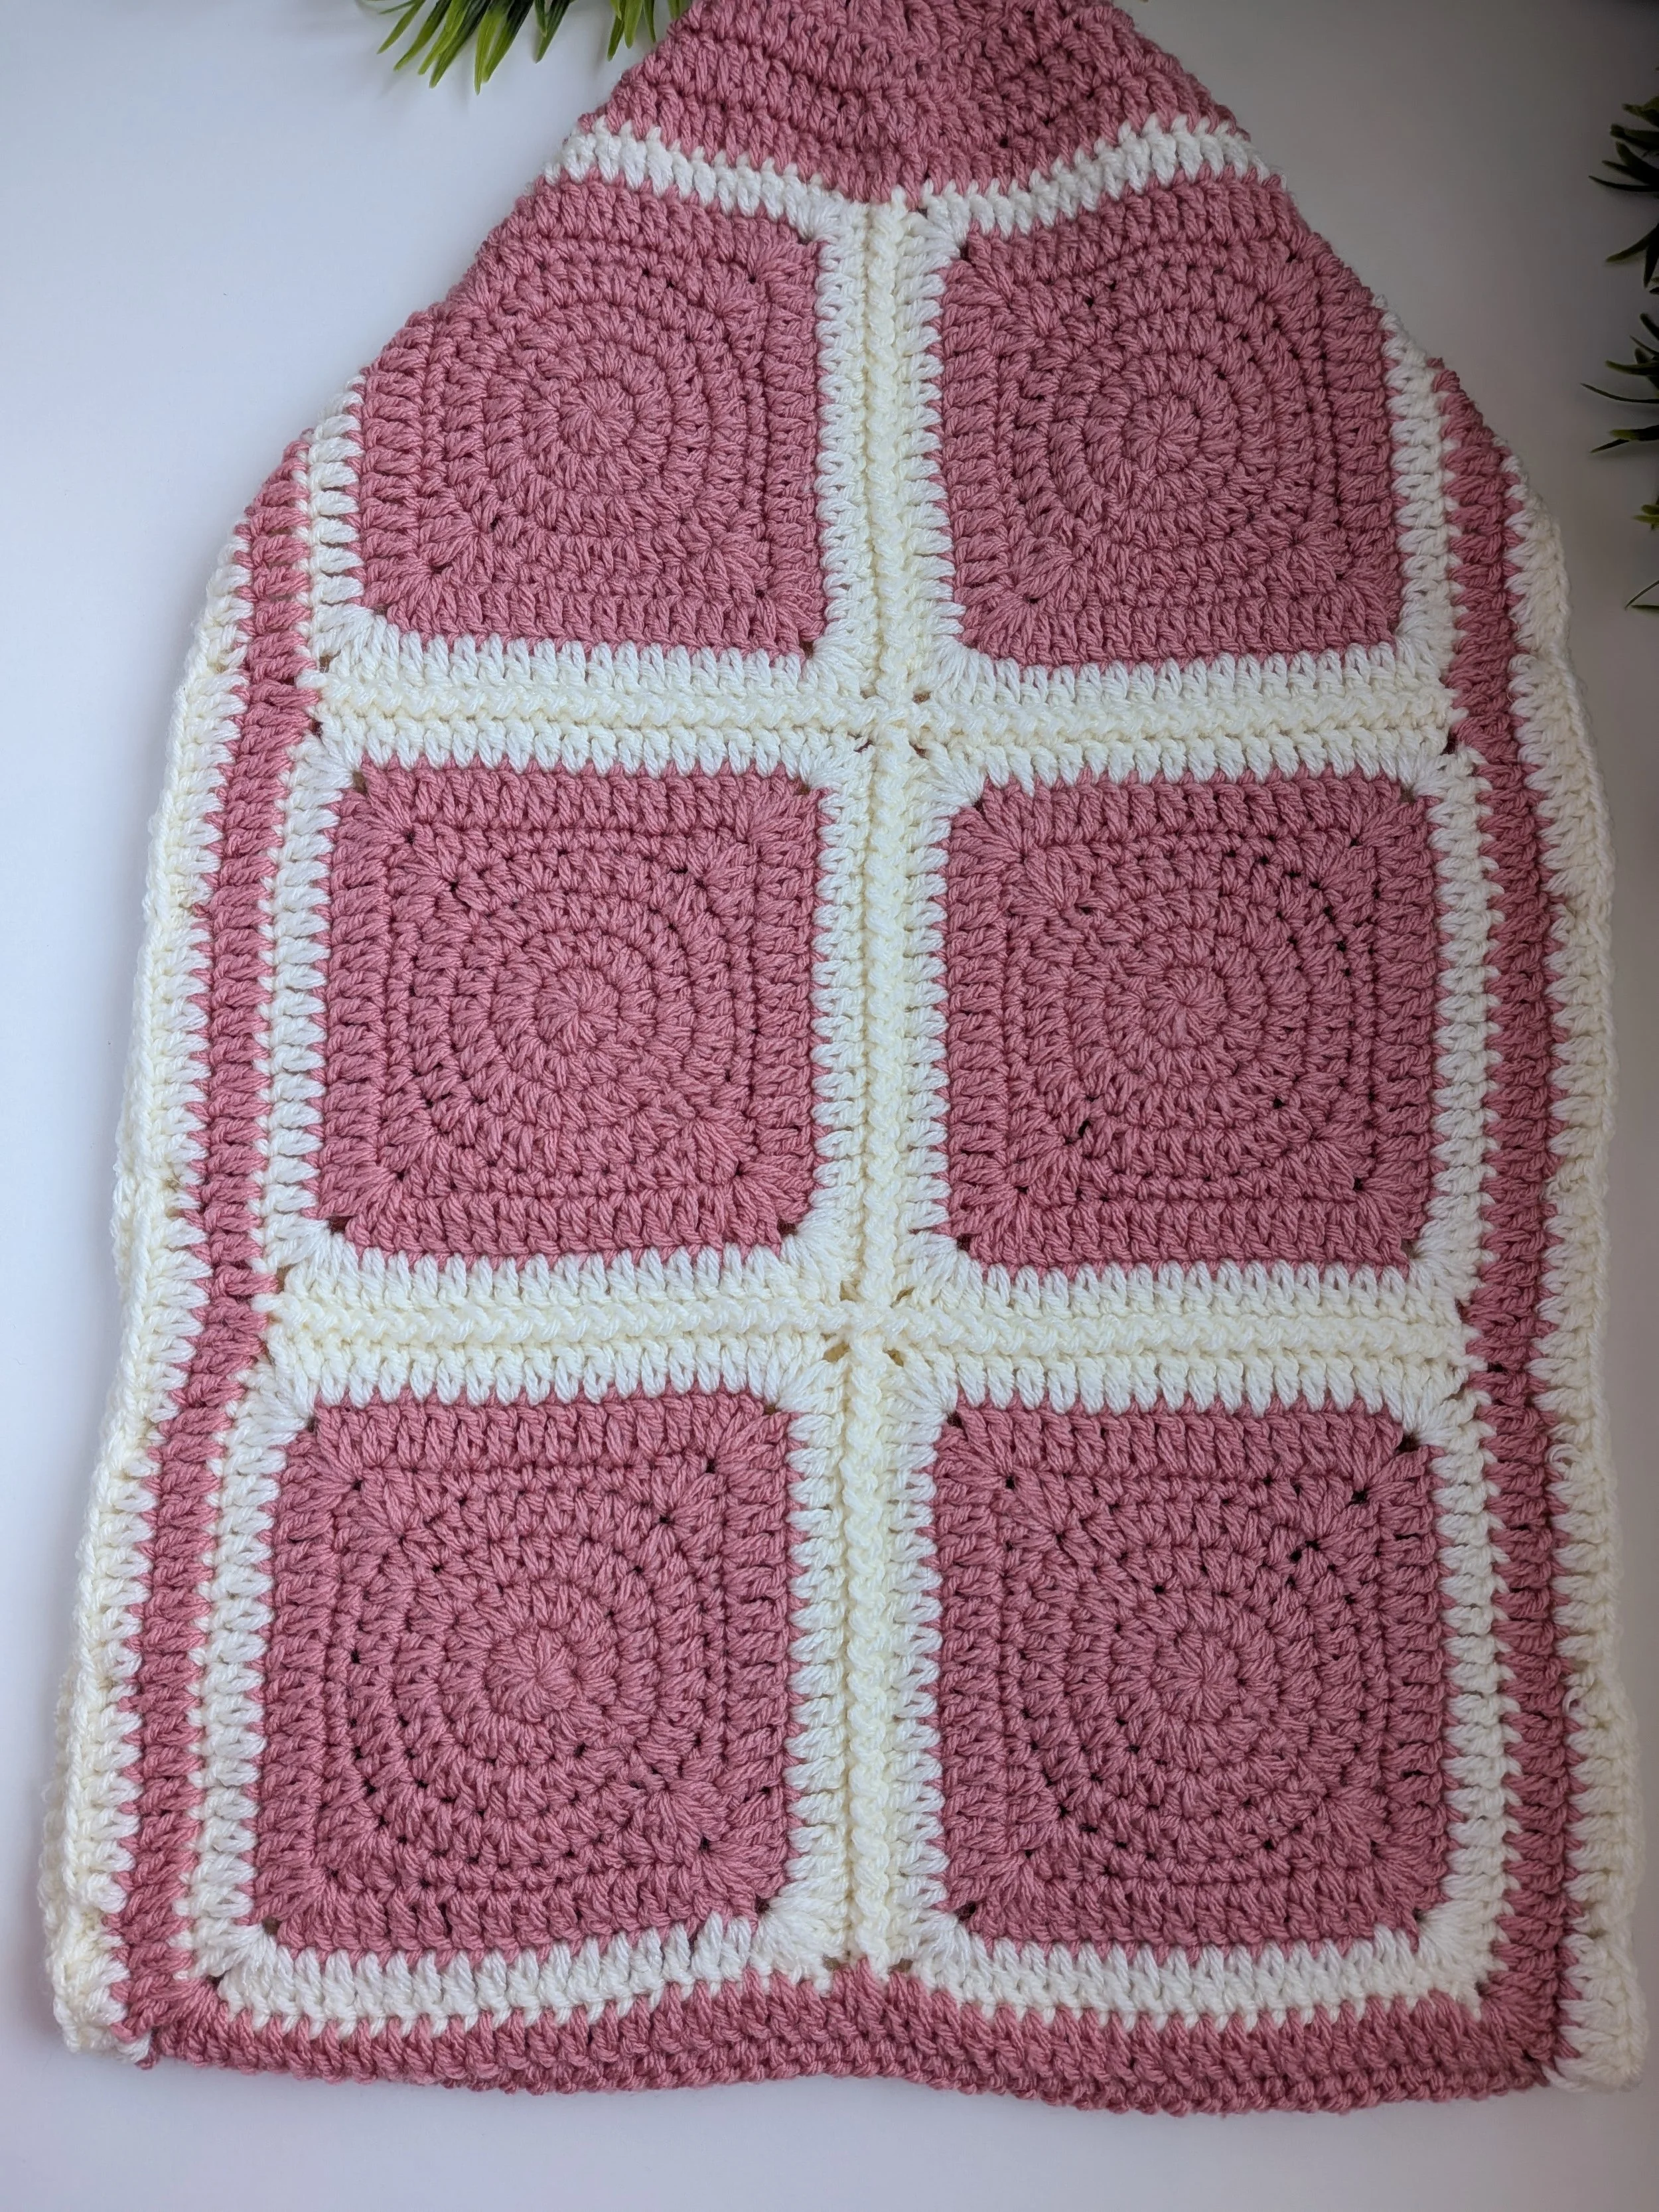
This pattern starts with making 4 granny squares for the front and 6 for the back. Then they will be crocheted together so there is no sewing.
SAFETY:
Please read your local government safety guidelines to ensure the safety of your finished snuggle sack.
Never leave a baby unattended while using the snuggle sack and ensure buttons are sewn securely.
The mods are available here
SPOOKY CHRISTMAS FARMYARD WOODLAND JUNGLE SUMMER
The ch1 and 2 do not count as a stitch.
The ch3 counts as a dc.
FRONT PANEL
Make 4 x 7” / 8” / 9” bear squares as follows or any of the other pick and mix squares of your choice
Starting with the brown and 5.5mm hook
Round 1: make a magic circle, ch2, 9 hdc, slst to the first and pull tight. (9)
Round 2: [ch2, 2 hdc] in the same stitch, [2 hdc] in each stitch to end, slst to the first. (18)
Round 3: ch2, *hdc 1, [2 hdc] in the next* x 9, slst to the first. (27)
Round 4: ch2, *hdc 2, [2 hdc] in the next* x 9, slst to the first. (36)
Change to pink
Round 5: ch1, dc in the first, ch 1, [2 dc] in the next, hdc 1, sc 5, hdc 1, *[2 dc] in the next, ch1, [2 dc in the next], hdc 1, sc 5, hdc 1* repeat twice more, slst to the first stitch, then slst to the ch1 corner space to start the next round. (44)
Round 6: ch1, *[2 dc, ch2, 2 dc], dc 11* x 4, slst to the first stitch, then slst to the ch2 corner space to start the next round. (60)
Change to cream for 7” only
Round 7: ch1, *[2 dc, ch2, 2 dc], dc 15* repeat twice more, slst to the first stitch, then slst to the ch2 corner space to start the next round. (76) Fasten off for 7”
Change to cream for 8” only
Round 8: ch1, *[2 dc, ch2, 2 dc], dc 19* x 4, slst to the first stitch, then slst to the ch2 corner space to start the next round. (76) Fasten off for 8”
Change to cream for 9” only
Round 9: ch1, *[2 dc, ch2, 2 dc], dc 23* x 4, slst to the first stitch, then slst to the ch2 corner space to start the next round. (76) Fasten off for 9”
(If using the other animals in the pick and mix range make the 4” square mods)
BEAR EARS
Using Camel make two
Round 1: Make a magic circle, ch1, 6 sc into the circle, slst to the first and pull tight. (6)
Round 2: ch1, [2 hdc] in each stitch. (12) Fasten off with a long end for sewing.
BEAR MUZZLE
Using Cream
Round 1: Make a magic circle, ch2, 15 dc into the circle, slst to the first and pull tight. (15) Fasten off with a long end for sewing.
NOSE / EYES
Using black dk make 3
Round 1: Make a magic circle, ch1, 6 sc into the circle, slst to the first and pull tight. (6)
Fasten off and sew at the top of the muzzle, sew a black line down to the bottom, then sew in place.
JOINING
Join the 4 squares 2 wide x 2 long with cream using zig zag slst
EDGING
Join pink in any ch2 corner
Round 1: ch1, *[2 hdc, ch2, 2 hdc] in the corner, hdc 19 / 23 / 27 across the square, hdc in the ch2 corner, hdc in the centre join, hdc in the ch2 corner, hdc 19 / 23 / 27 across the square* x 4, slst to the first. (180)
The front panel should now measure 15” / 17” / 19”
BACK PANEL
Starting with the pink and 5.5mm hook
Round 1: make a magic circle, ch2, 9 hdc, slst to the first and pull tight. (9)
Round2: [ch2, 2 hdc] in the same stitch, [2 hdc] in each stitch to end, slst to the first. (18)
Round3: ch2, *hdc 1, [2 hdc] in the next* x 9, slst to the first. (27)
Round4: ch2, *hdc 2, [2 hdc] in the next* x 9, slst to the first. (36)
Round 5: ch1, dc in the first, ch 1, [2 dc] in the next, hdc 1, sc 5, hdc 1, *[2 dc] in the next, ch1, [2 dc in the next], hdc 1, sc 5, hdc 1* repeat twice more, slst to the first stitch, then slst to the ch1 corner space to start the next round. (44)
Round 6: ch1, *[2 dc, ch2, 2 dc], dc 11* x 4, slst to the first stitch, then slst to the ch2 corner space to start the next round. (60)
Change to cream for 7” only
Round 7: ch1, *[2 dc, ch2, 2 dc], dc 15* repeat twice more, slst to the first stitch, then slst to the ch2 corner space to start the next round. (76) Fasten off for 7”
Change to cream for 8” only
Round 8: ch1, *[2 dc, ch2, 2 dc], dc 19* x 4, slst to the first stitch, then slst to the ch2 corner space to start the next round. (76) Fasten off for 8”
Change to cream for 9” only
Round 9: ch1, *[2 dc, ch2, 2 dc], dc 23* x 4, slst to the first stitch, then slst to the ch2 corner space to start the next round. (76) Fasten off for 9”
JOINING
Join the 6 squares 2 wide x 3 long with zig zag slst using cream
EDGING
Join yarn in the top right ch2 corner
Round 1: ch1, *[2 hdc, ch2, 2 hdc] in the corner, hdc 19 / 23 / 27 across the square, hdc in the ch2 corner, hdc in the centre join, hdc in the ch2 corner, hdc 19 / 23 / 27 across the square* x 4, slst to the first. (180) Continue to the hood
The back panel should now measure 22” / 25” / 28” long
HOOD
Continuing from the edging slst across to the ch2 corner
Row 1: Ch1, dc in the ch2 corner, dc 19 / 23 / 27, dc2tog x 2, dc 20 / 24 / 28, dc in the ch2 corner. (43 / 51 / 59) Turn
Row 2: Ch1, dc 19 / 23 / 27, dc2tog x 2, dc 20 / 24 / 28. (41 / 49 / 57) Turn
Row 3: Ch1, dc 18 / 22 / 26, dc2tog x 2, dc 19 / 23 / 27. (39 / 47 / 55) Turn
Repeat row 3 until the back panel measures 24” / 28” / 32” long in total. (Each row after row 3 will have 1 less dc before and after the 2 dc2tog)
Fold the hood in half and zig zag slst together. Fasten off.
JOIN THE FRONT AND BACK PANELS
Zig Zag slst the front and back panel together along the bottom of each panel.
EDGING
Join Cream in the top right ch2 corner of the front panel
Round 1: ch1, [2 dc, ch2, 2 dc] in the corner, dc across the top, [2 dc, ch2, 2 dc] in the corner, dc up the side, around the hood (2 dc at the side of the rows across the hood) dc down the side, slst to the first, slst to the ch2 corner.
Sew 6 buttons on each side of the inside of the back panel
I would love to see your makes feel free to share with #pickandmixsnugglesack @babycrochetdesigns Instagram, Pinterest and Facebook. For pattern support either email me or join my pattern support group on Facebook.
*COPYRIGHT © 2026 This pattern is made for personal use only. My patterns may not be used in any tutorials. You may not copy, share or sell this pattern, or use any of my photos. You may make and sell items made from my patterns in moderation but please be kind and credit me in any of your photos or listings @BabyCrochetDesigns as the designer many thanks*