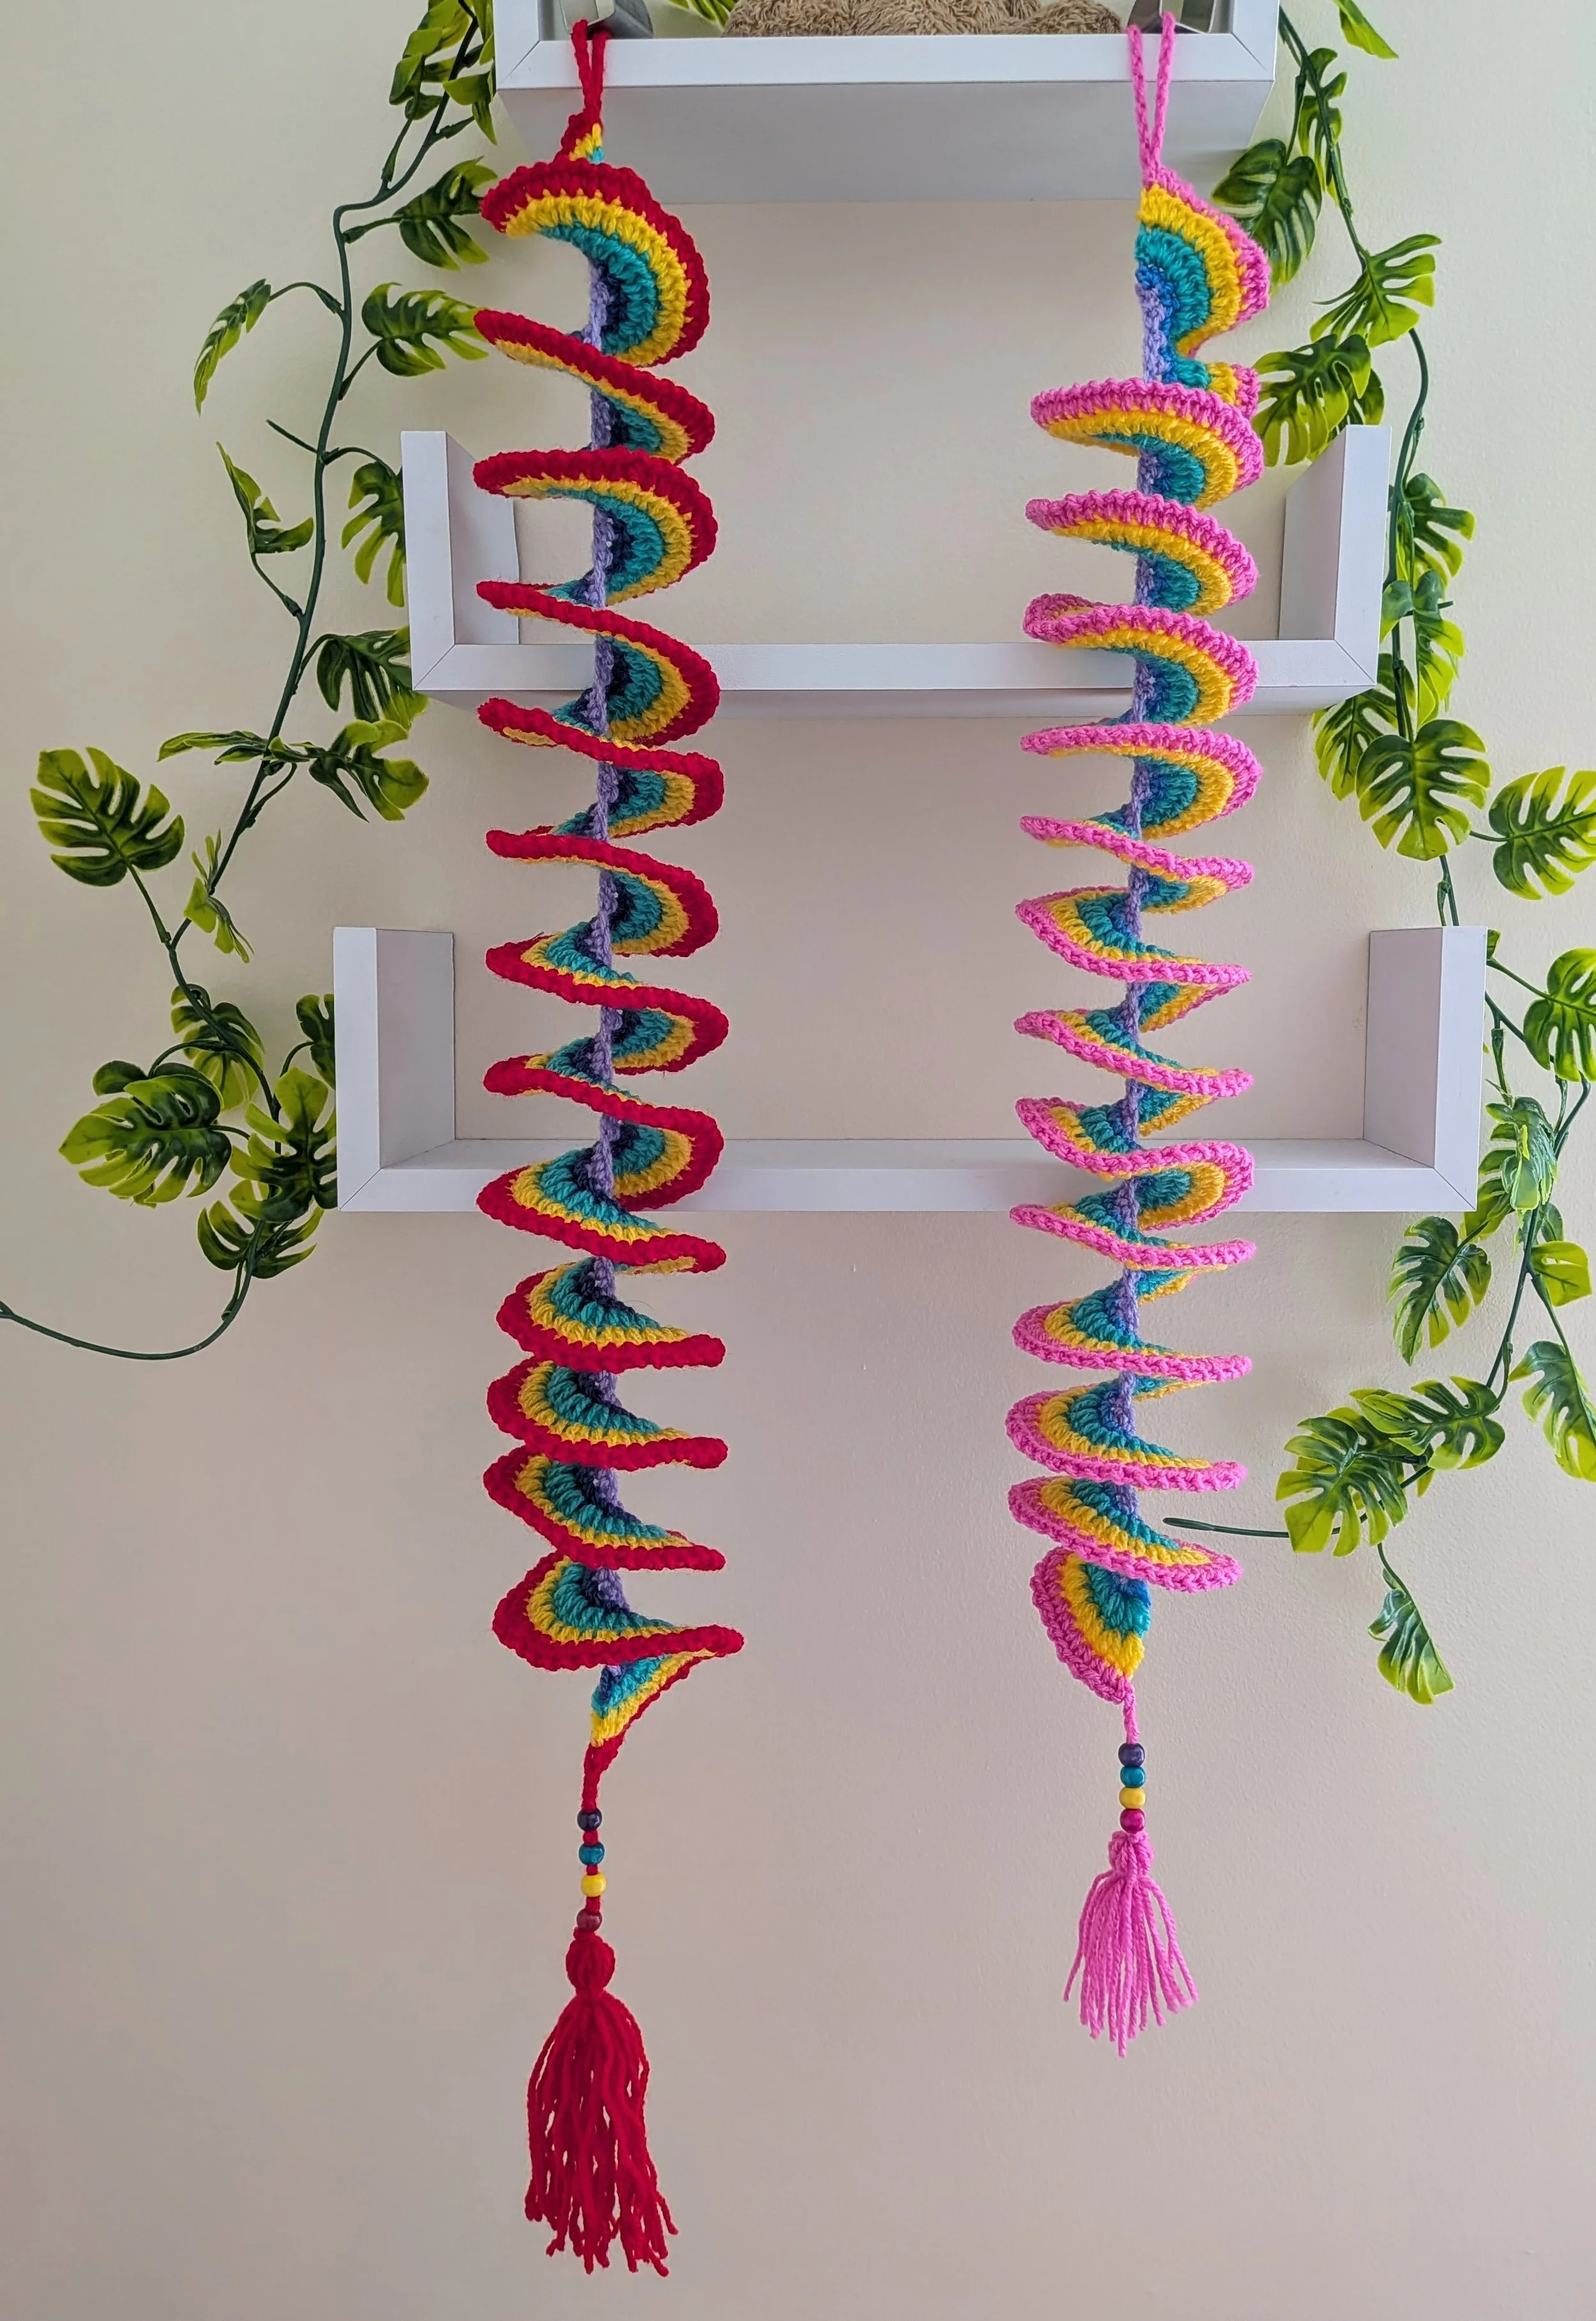
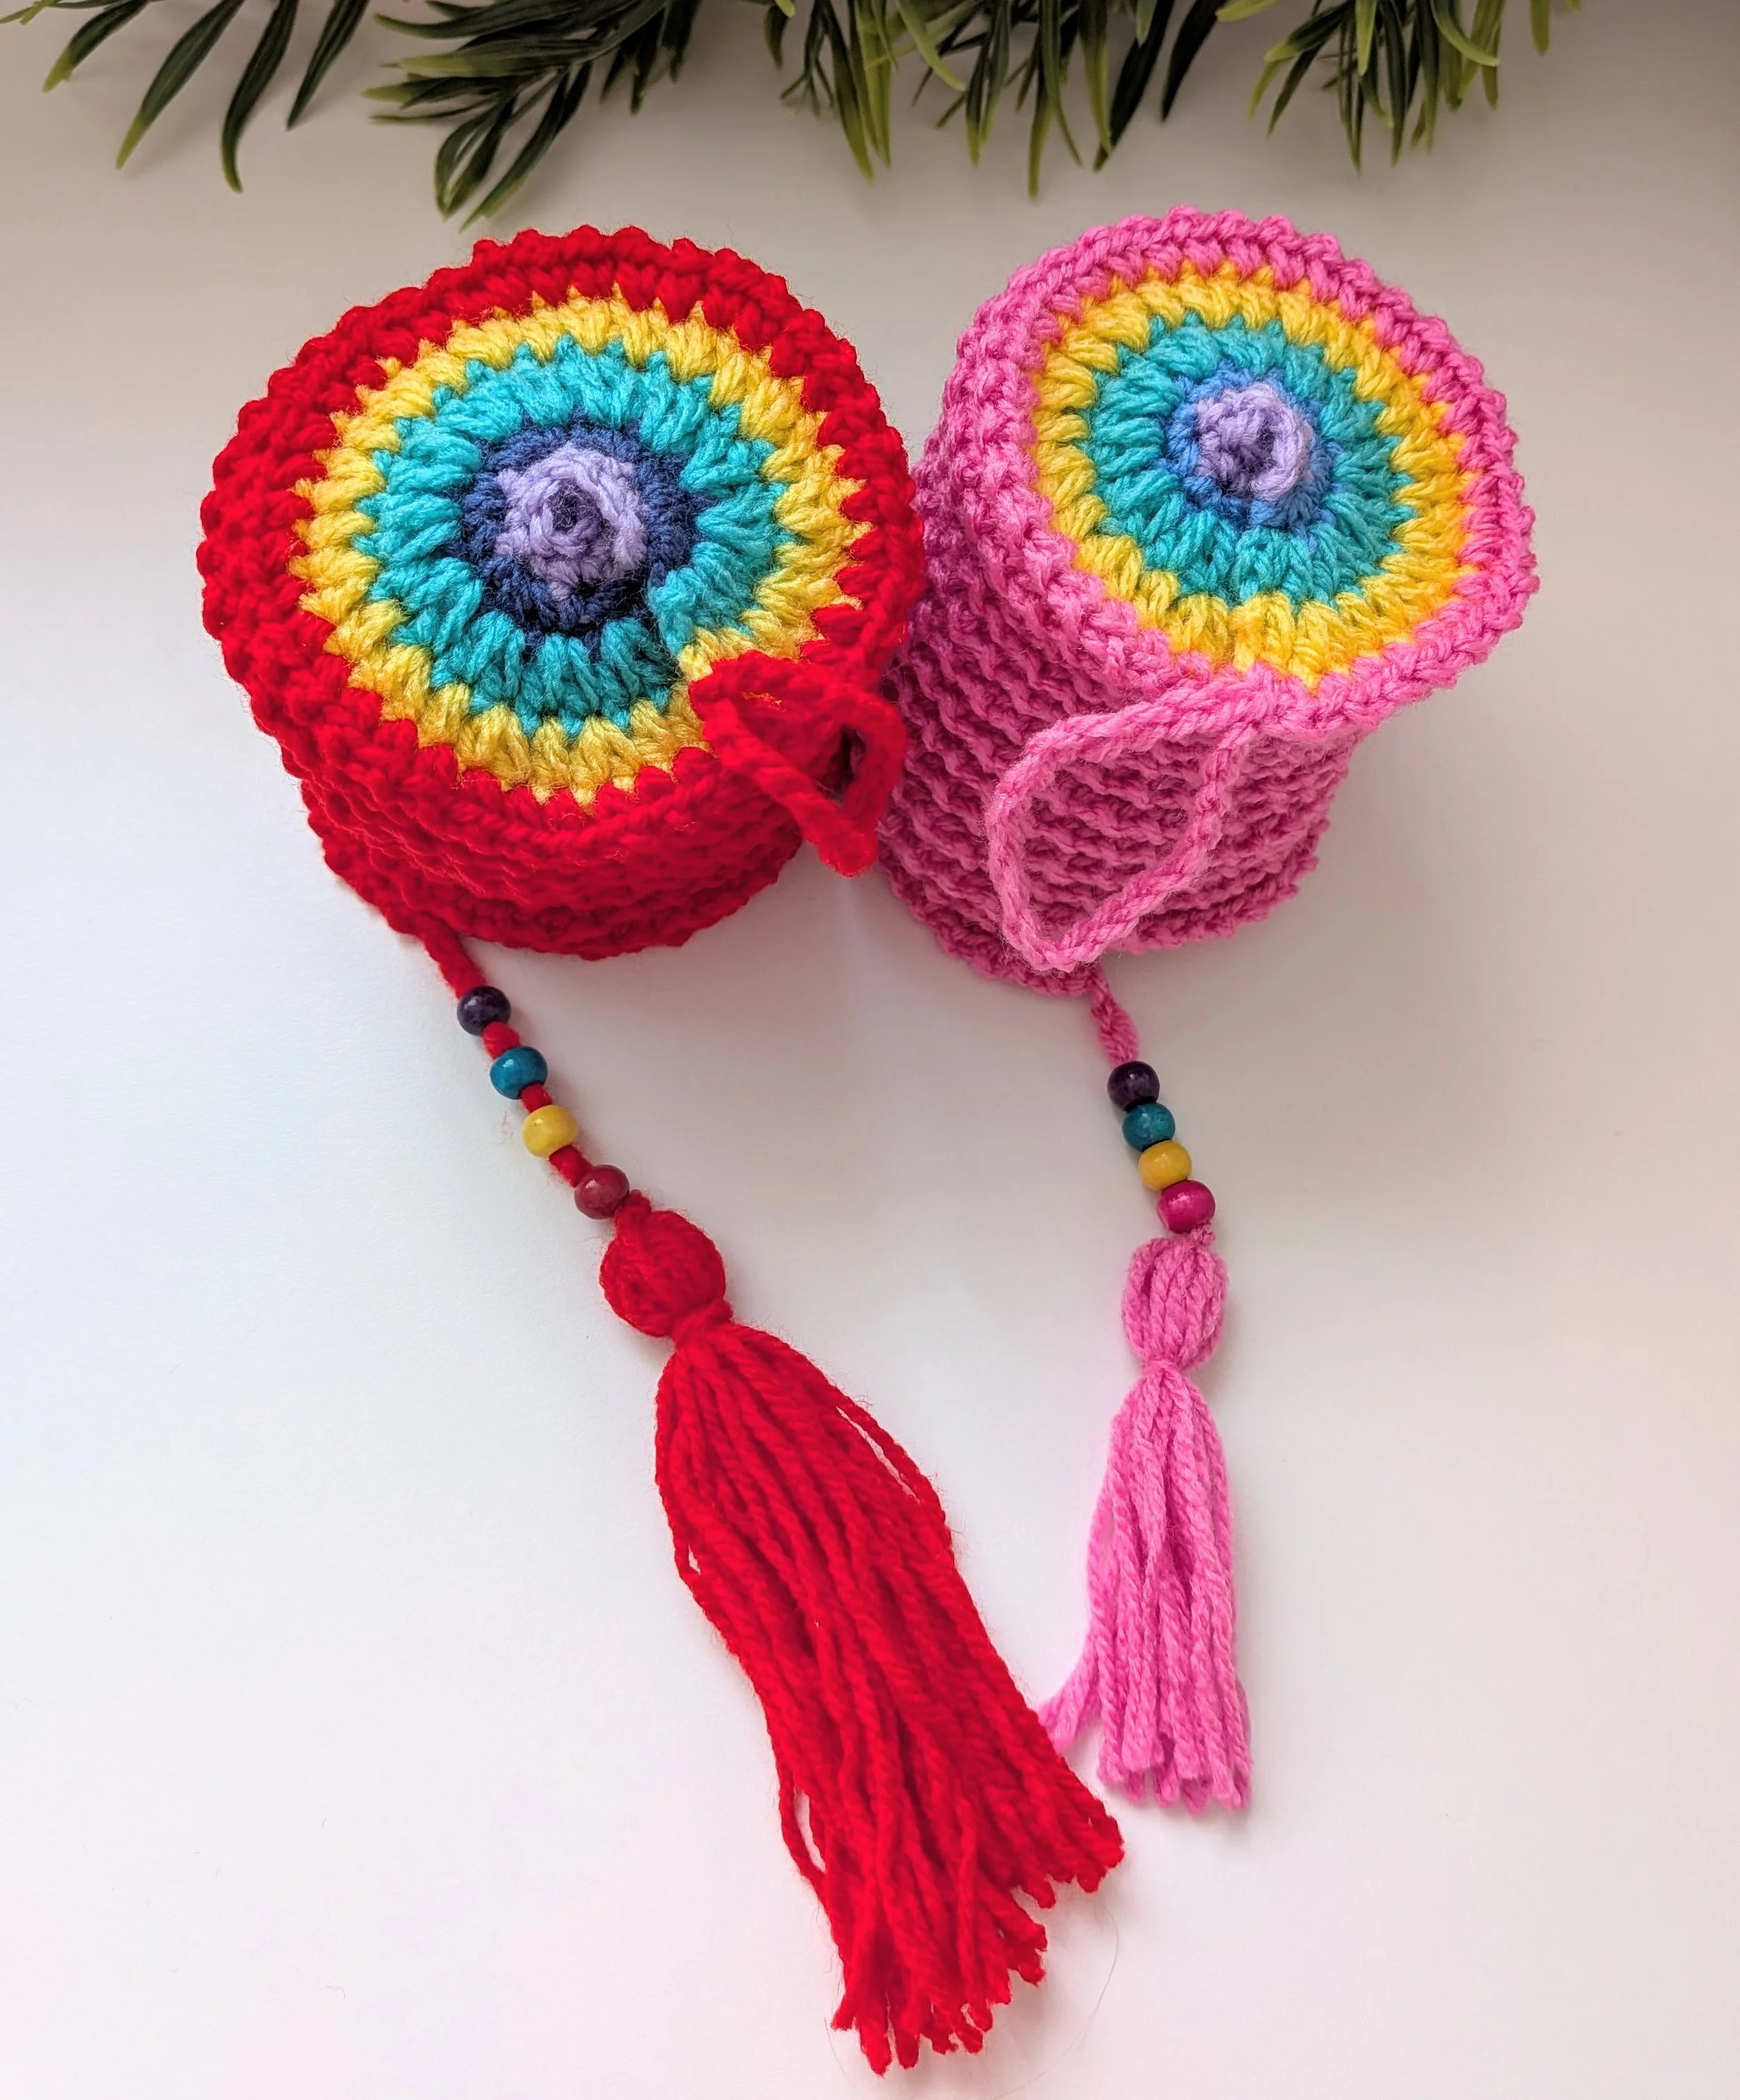
Rainbow Wind Spinner
This wind spinner is a simple project to make as a gift or decorate your garden. It’s great for using up some stash too!
MATERIALS
DK / weight 3 yarn. I used my scraps of yarn.
4mm crochet hook or any hook preferred for your choice of yarn.
Scissors and Needle
4 Beads
WRITTEN IN ENGLISH US CROCHET TERMS WITH ABBREVIATIONS FOR UK
CH = Chain Yarn over and pull through the loop on the hook.
SC = Insert hook into the stitch, yarn over, pull up a loop, yarn over and pull through both loops on the hook.
HDC = Half Double Crochet Yarn over insert hook into the stitch, yarn over and pull up a loop, yarn over and pull through all 3 loops on the hook.
[ ] = in the same stitch. (eg: [2 sc] in the next means you will make 2 sc in the next stitch).
* * = repeat between. This is to indicate a set of stitches that you’ll need to repeat the specified number of times.
RAINBOW WIND SPINNER
Chain 81 with purple
Row 1: sc in the 2nd chain from hook, sc 79. (80)
Join blue in the first stitch.
Row 2: ch1, [2 sc] in each stitch. (160)
Join green in the first stitch.
Row 3: ch1, [2 hdc] in each stitch. (320)
Join yellow in the first stitch
Row 4: ch1,hdc 1, [2 hdc] in the next x 160. (480)
Join Pink / Red in the first stitch
Row 5: (making the hanger first) [ch20, slst] in the first stitch, [ch1, sc] in each stitch to the end, ch10. Fasten off.
TASSEL
Cut 8 × 12” strands of yarn for the tassel. Cut 2 × 12” strands to tie.
Fold the 8 strands in half, then using a 12” strand of yarn, tie the centre of the strands to secure.
Using a 12” strand of yarn tie approx 2 cm below the top around all strands and secure. Trim tassels so they are level.
FINISHING
Thread 4 beads up the end chain and secure.
Sew the tassel at the end of the chain. VIDEO
I would love to see your makes feel free to share @babycrochetdesigns Instagram, Pinterest and Facebook. For pattern support either email me or join my pattern support group on Facebook.
COPYRIGHT © 2026 This pattern is made for personal use only. My patterns may not be used in any tutorials. You may not copy, share or sell this pattern, or use any of my photos. You may make and sell items made from my patterns in moderation but please be kind and credit me in any of your photos or listings @BabyCrochetDesigns as the designer many thanks
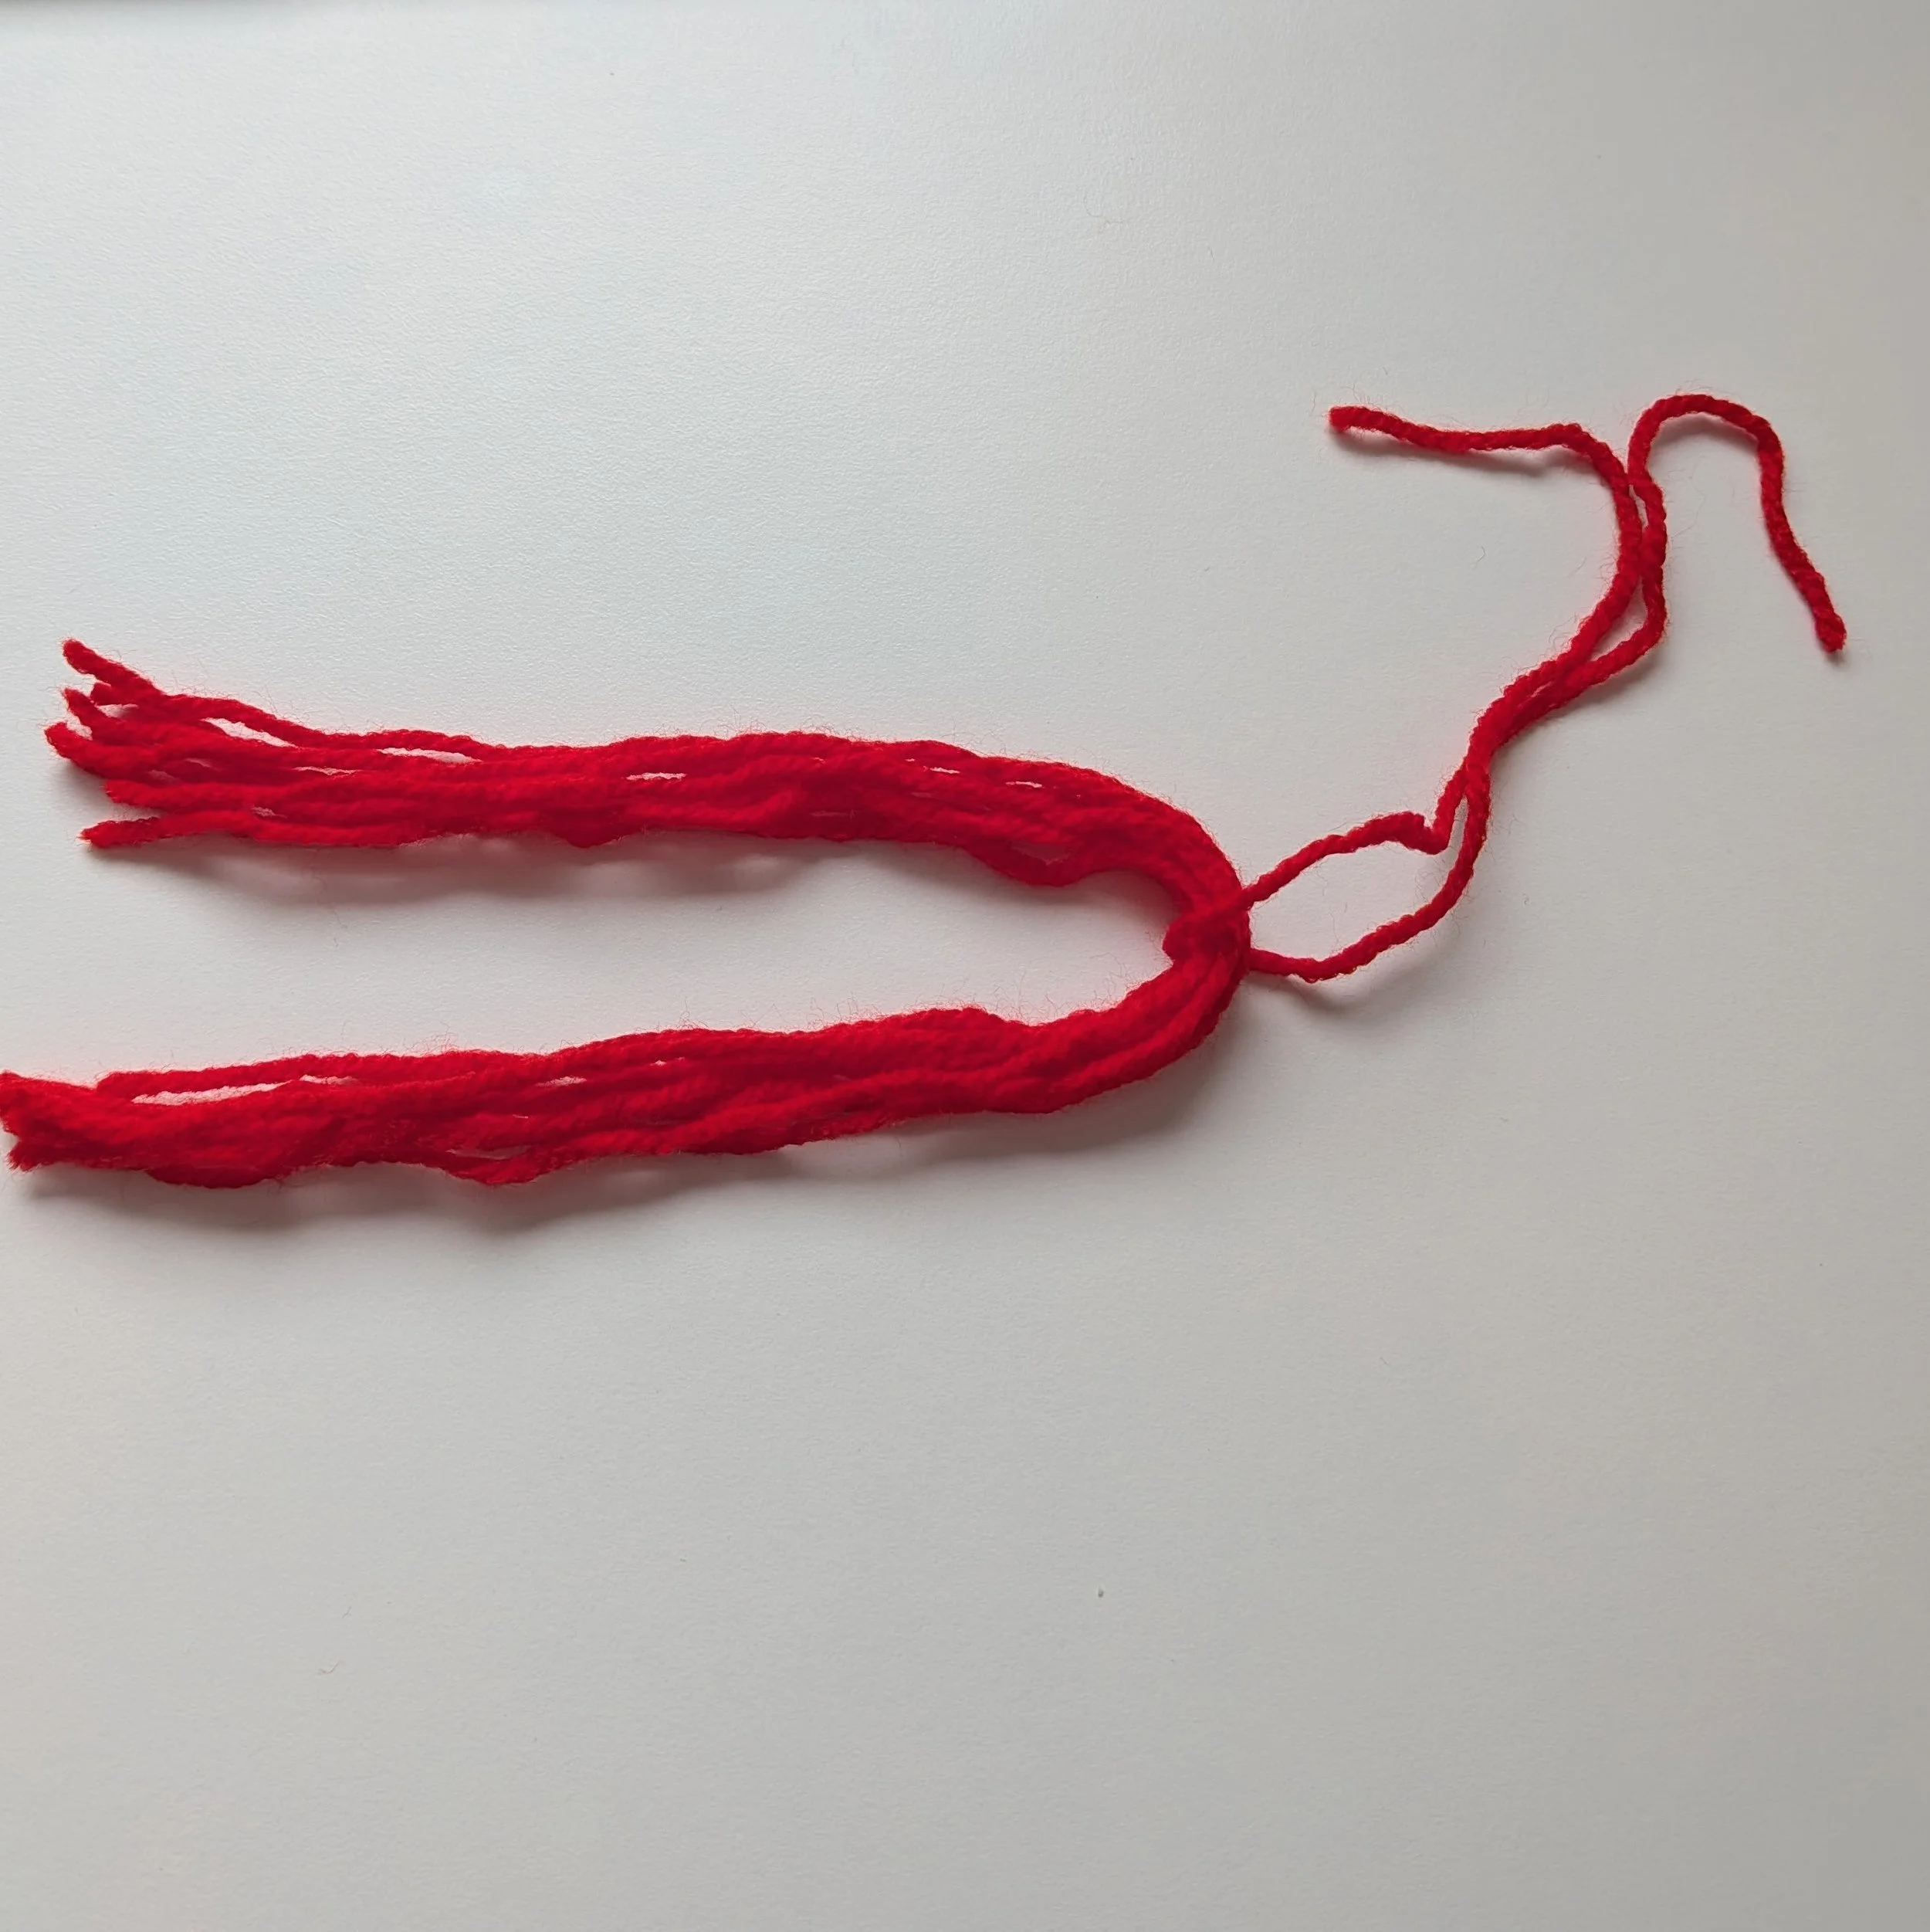
Fold in half and tie yarn
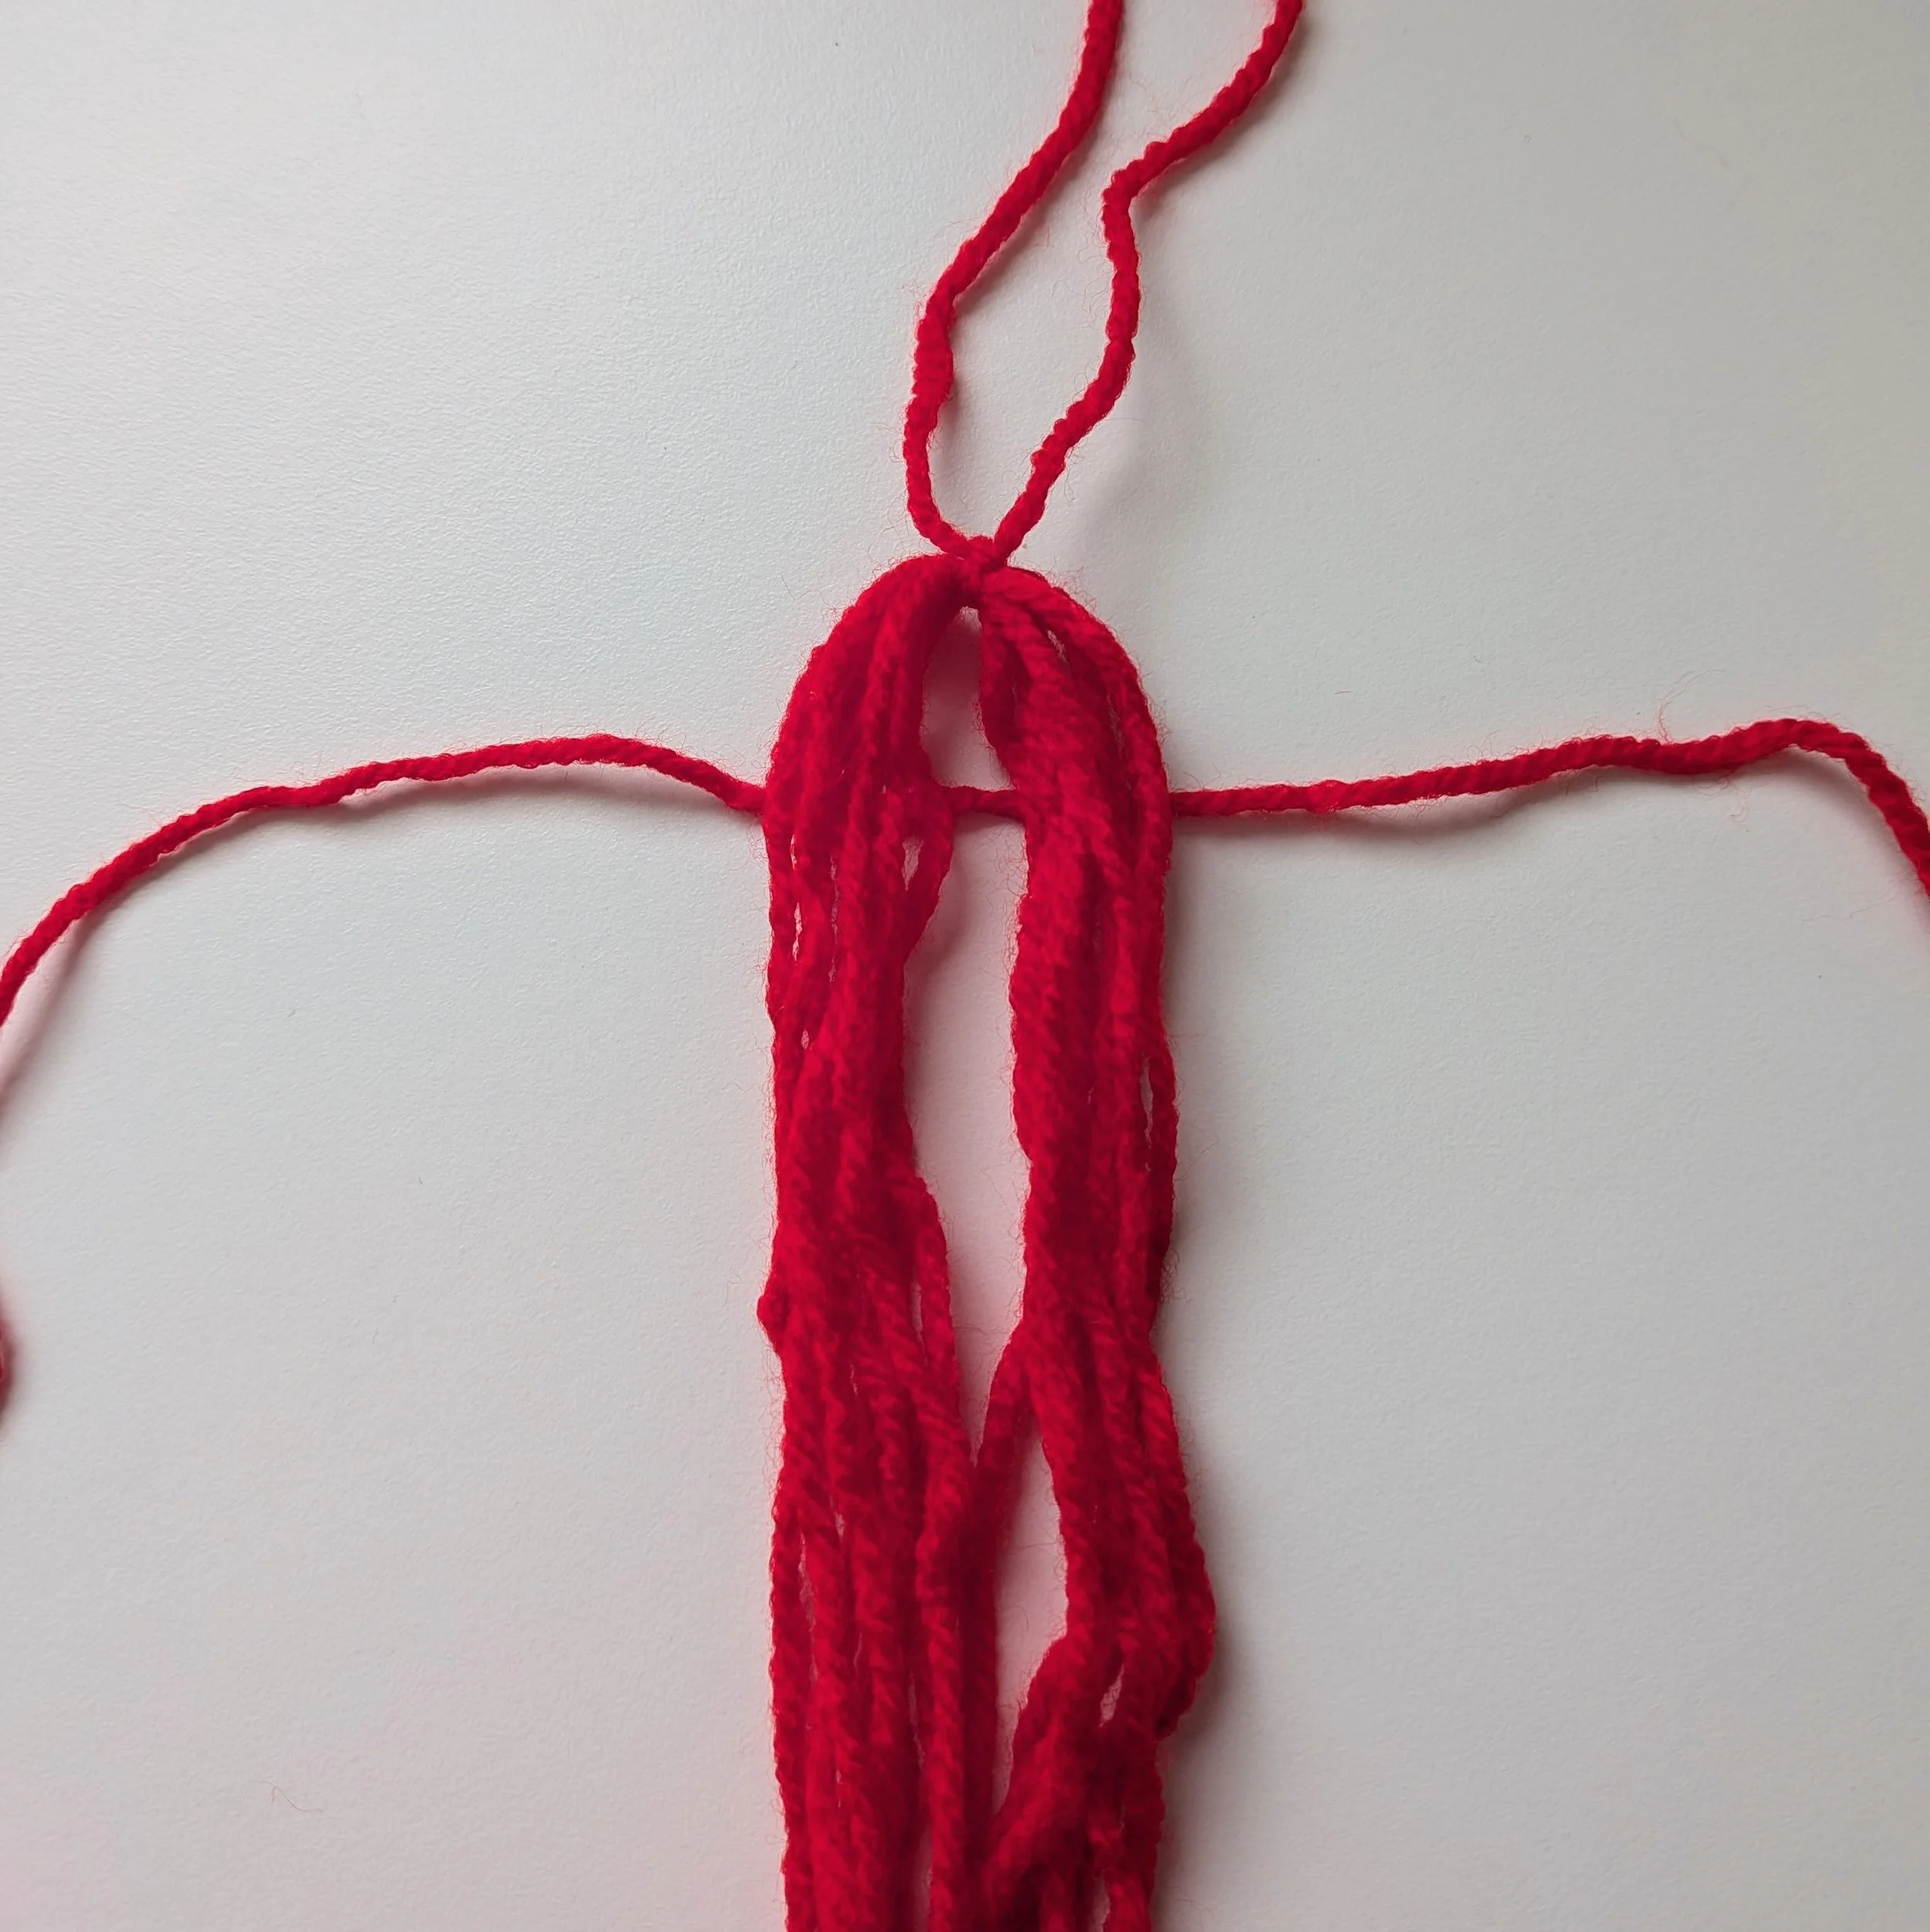
Tie yarn 2 cm below the first tie
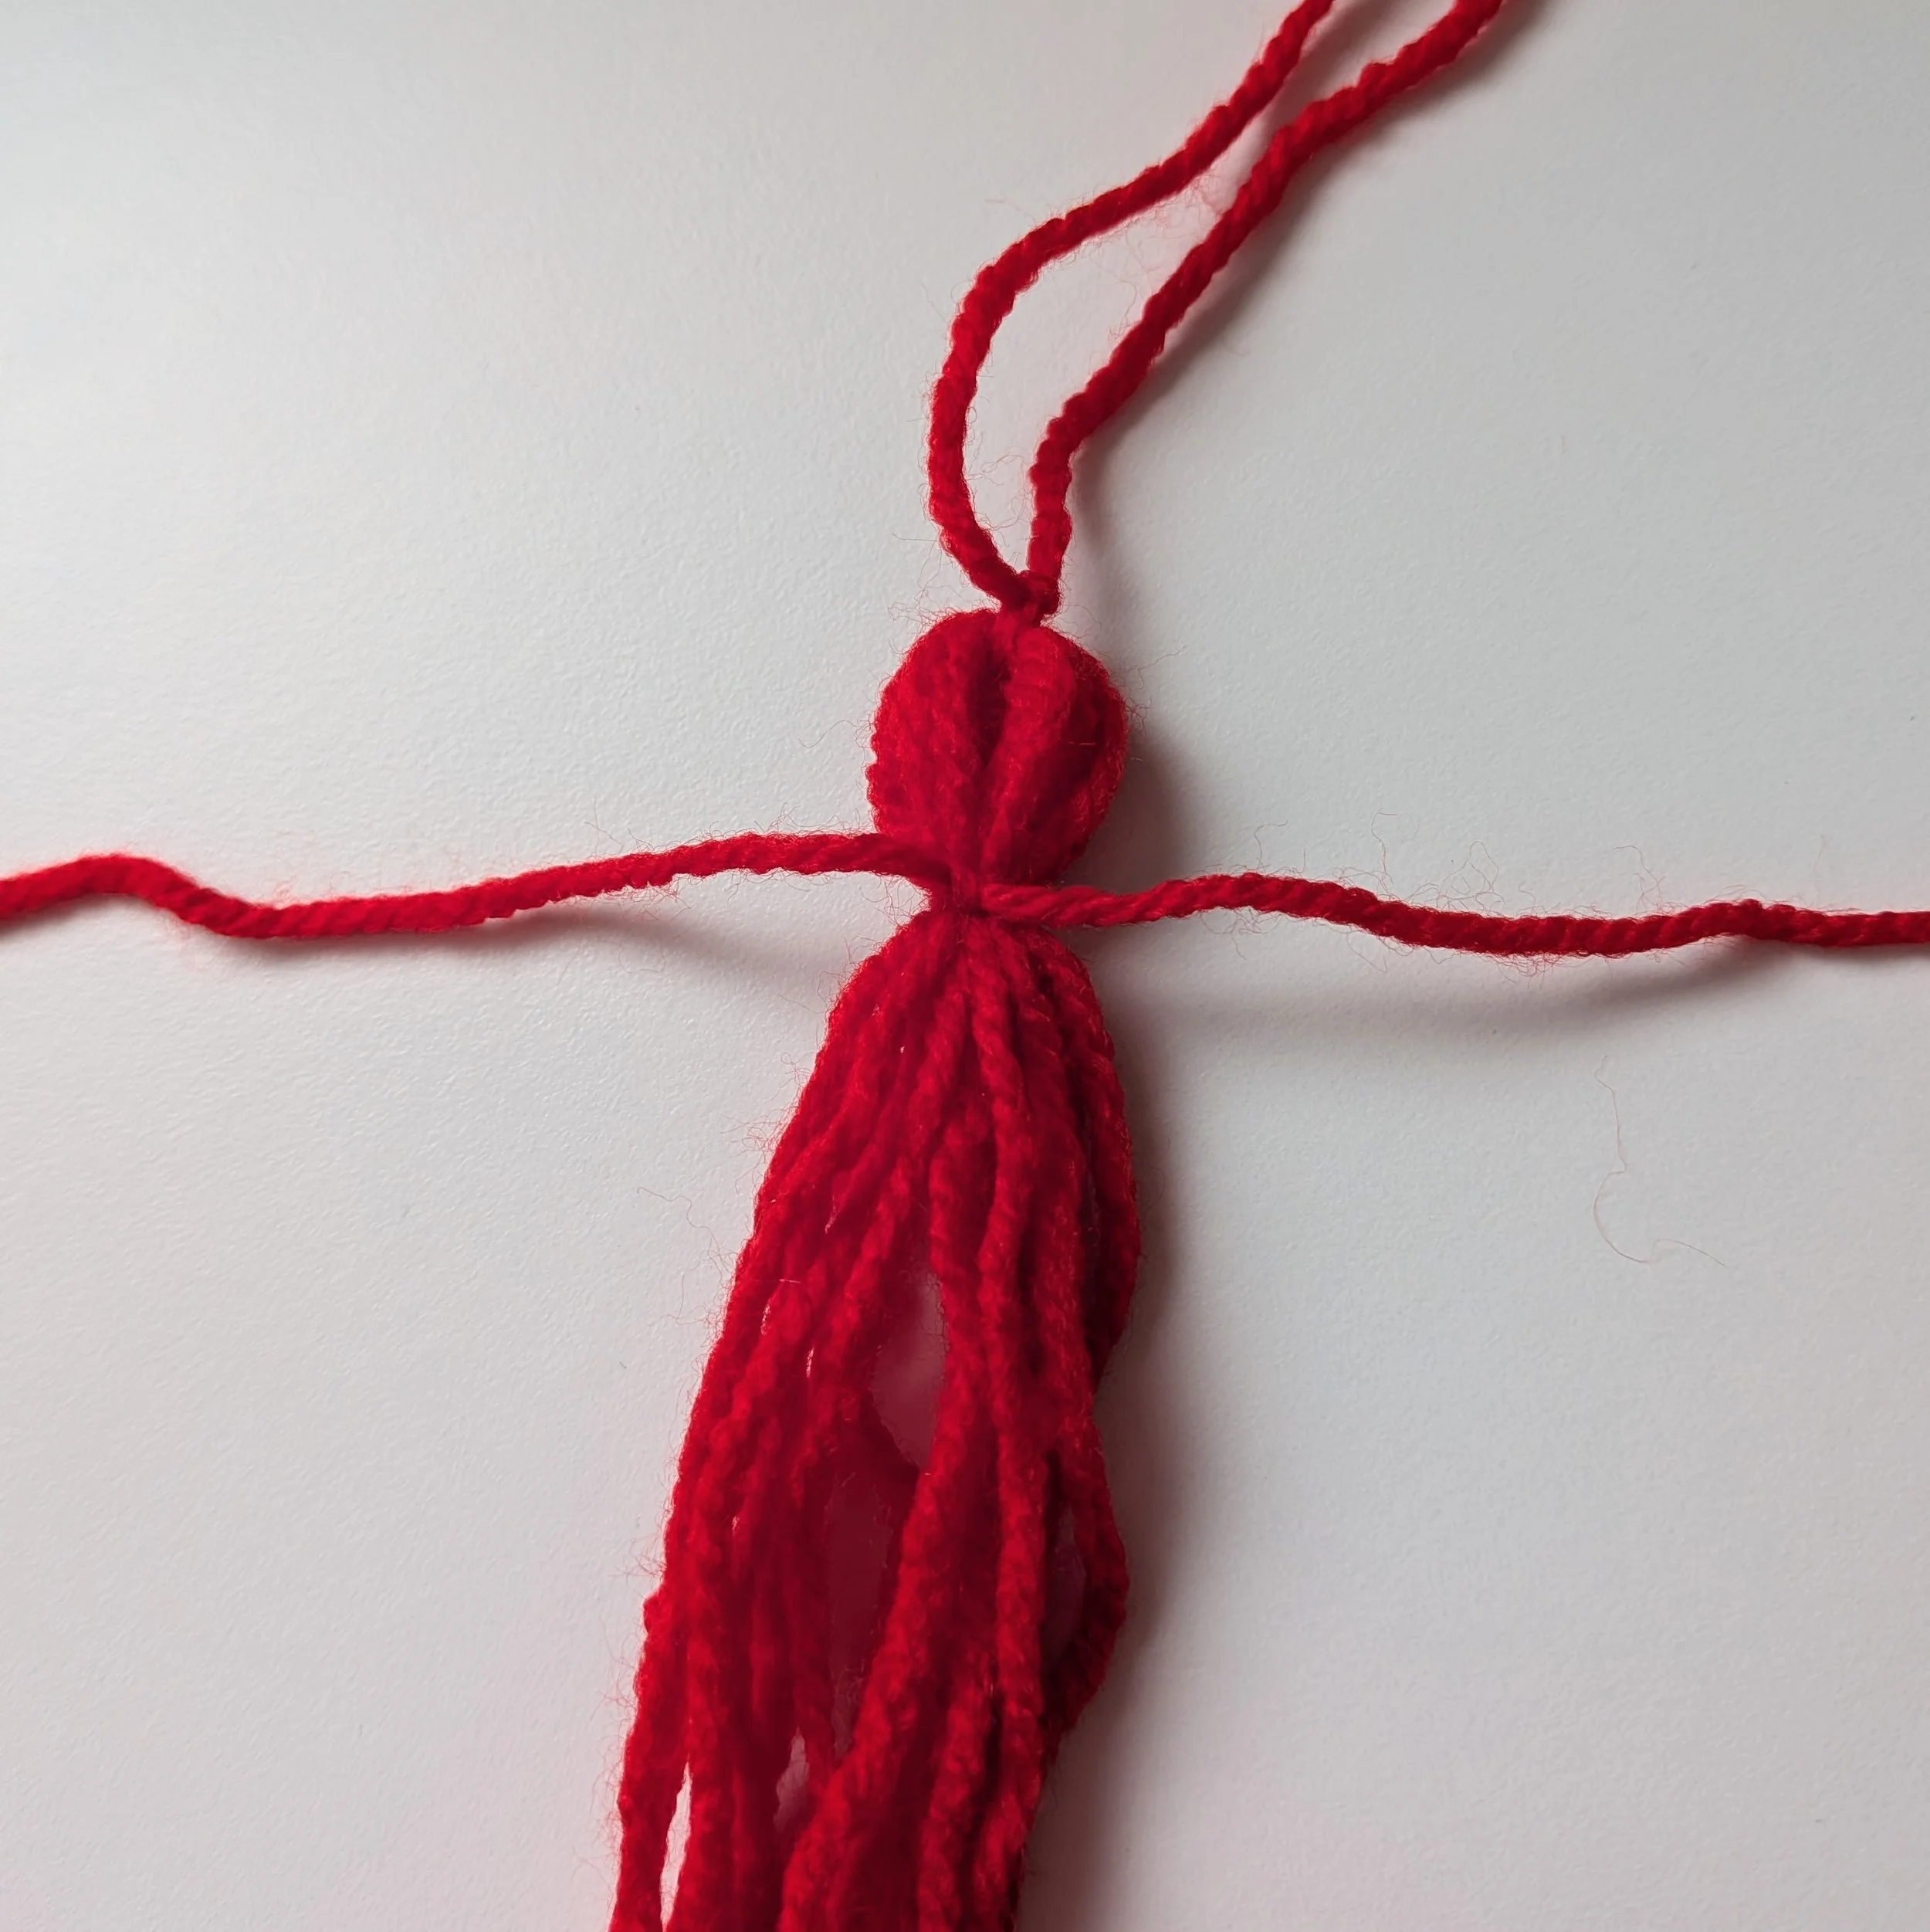
Secure and sew in ends
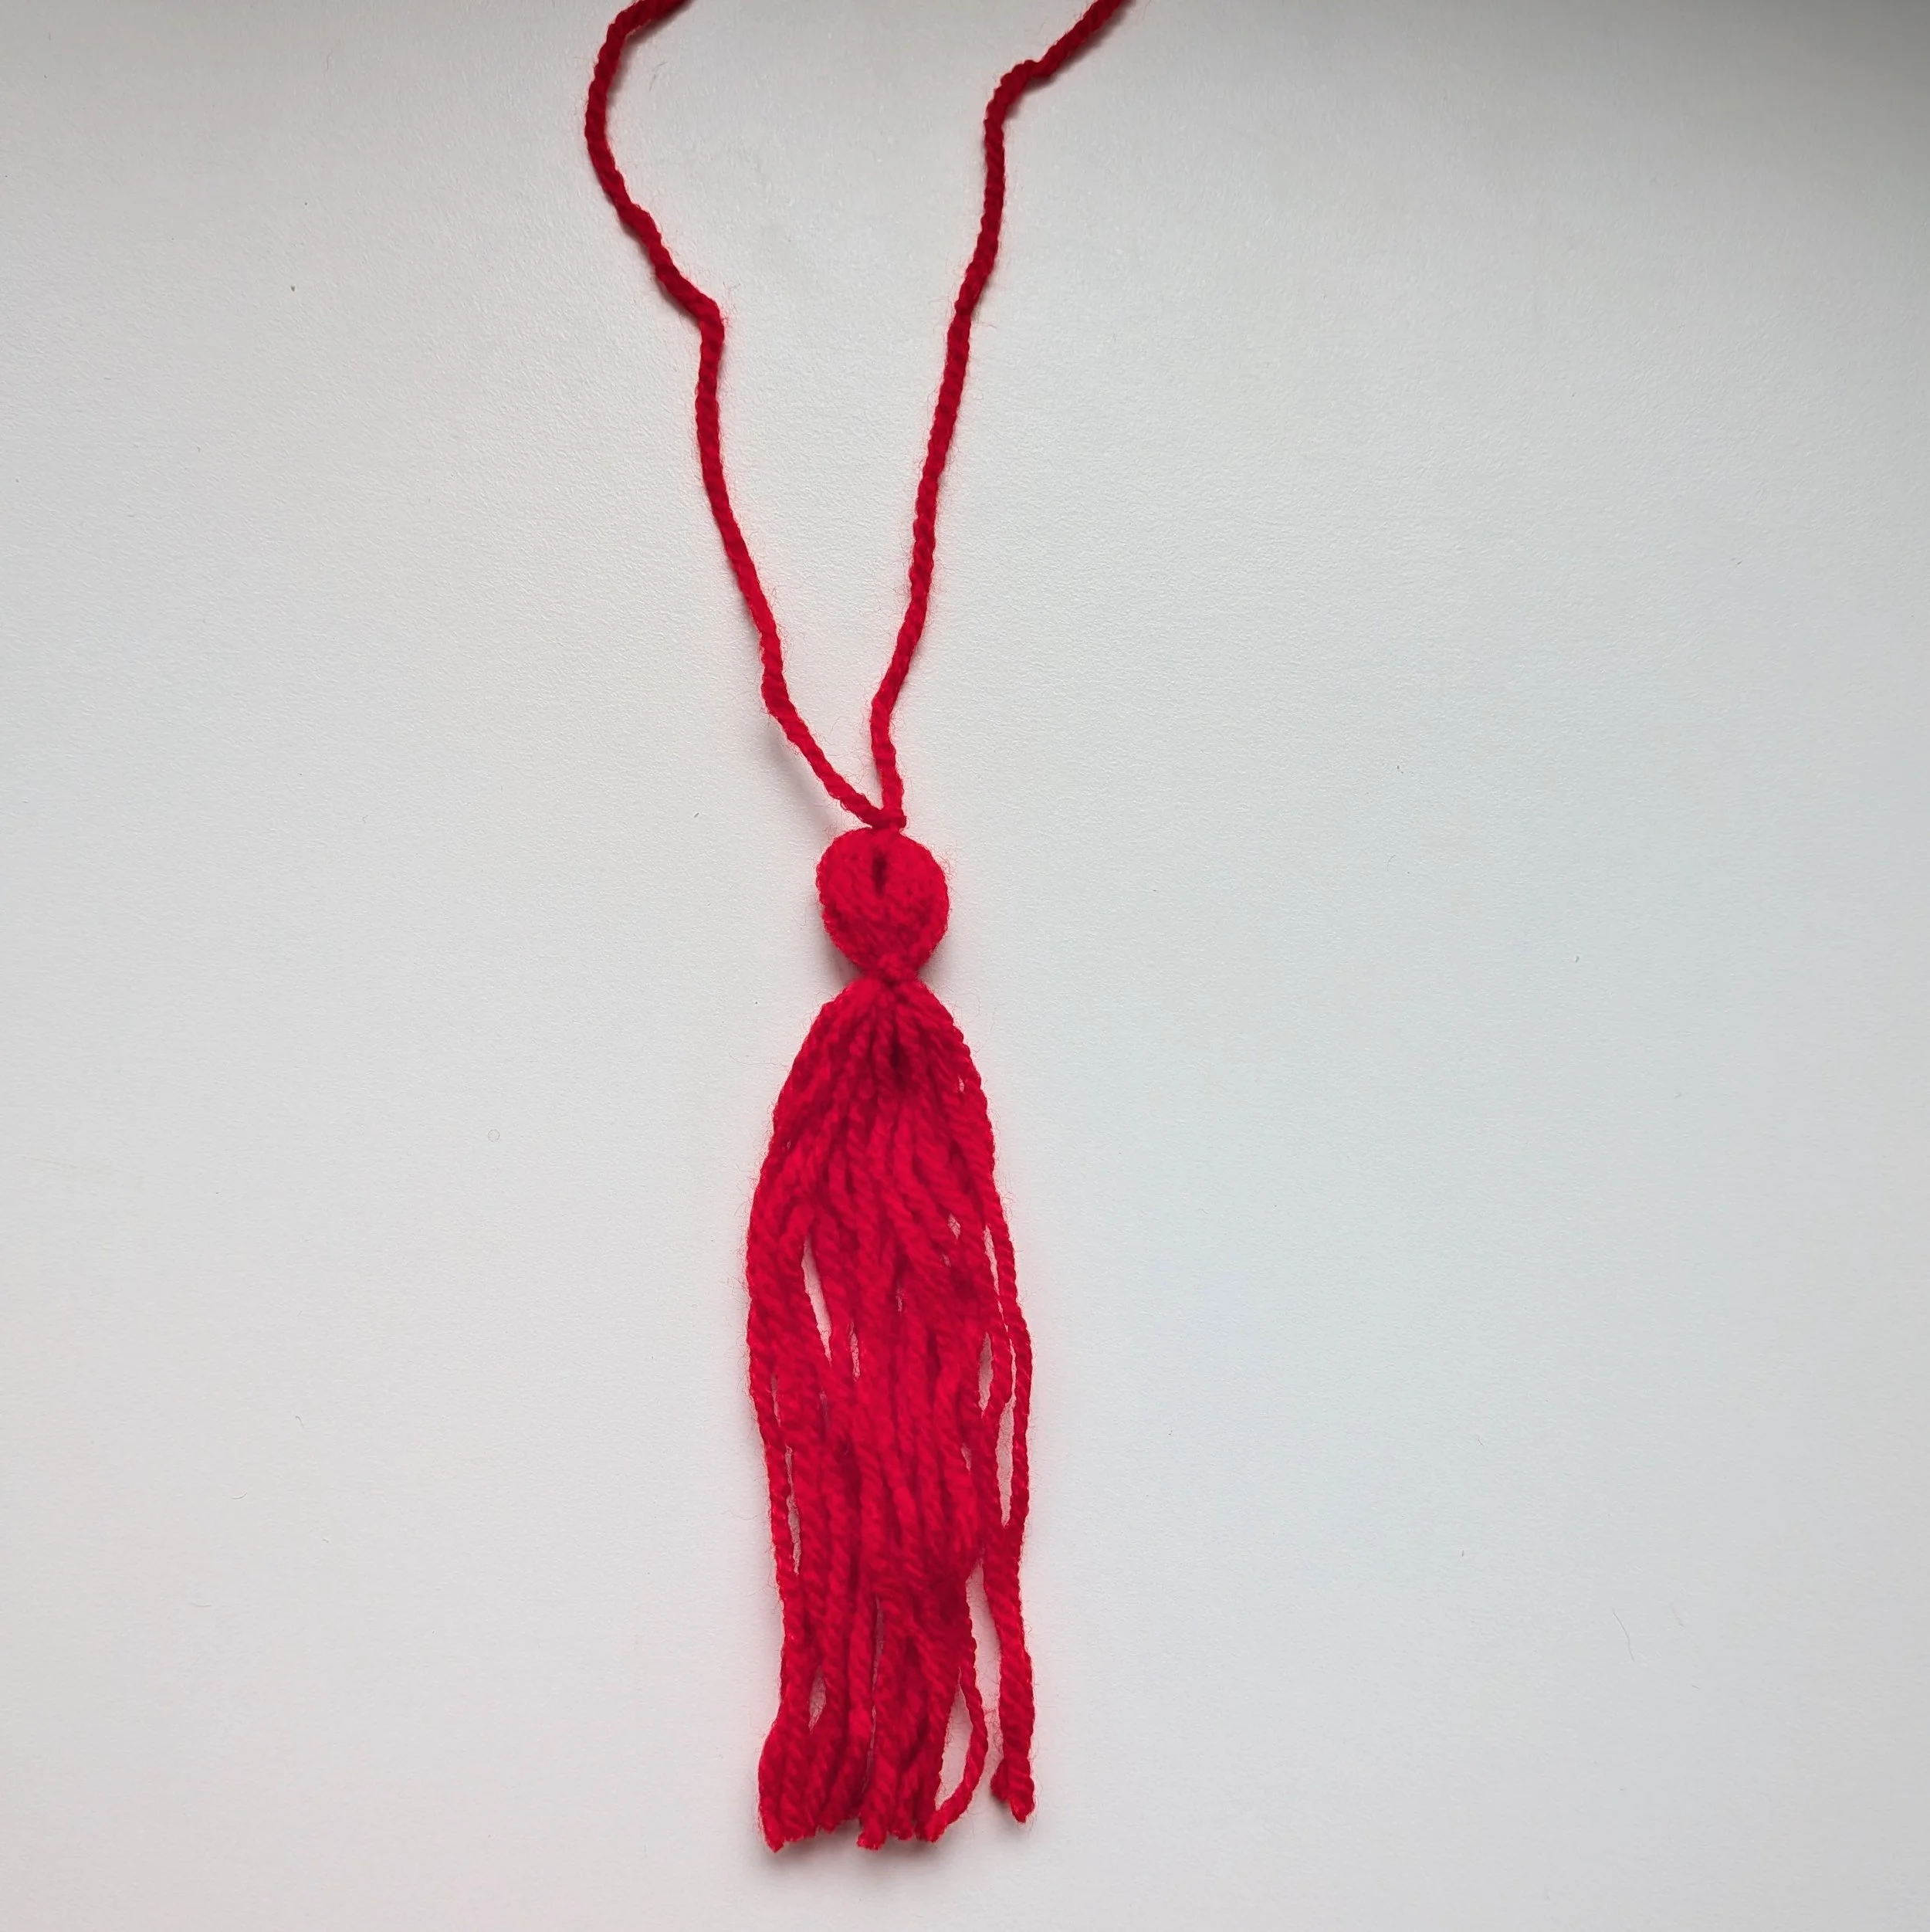
Trim tassels so they are level